Weird title, right?
What does making a pincushion and staying out of trouble have to do with each other??
Let me explain.
As you know, I have mentioned teaching a sewing class at my church. One Saturday as I was helping one of my younger students individually, I felt a tap over the head with a yard stick. I looked up and my precious mentor had been the one to capture my attention. At first I thought she was just goofing around but then realized that I had broken a cardinal rule of a sewing teacher. I’ve sewn for forty plus of my almost sixty years and I had done a very bad, bad thing as a sewing teacher. It is something I have done all my sewing life but would have never wanted my students to know. I had a pin in my mouth!
Can you believe it?! What a bad example I was setting for my students. I’m so glad she caught me because it is so habitual for me that I never even noticed I was doing it. And it’s something I would never want to pass on to my students.
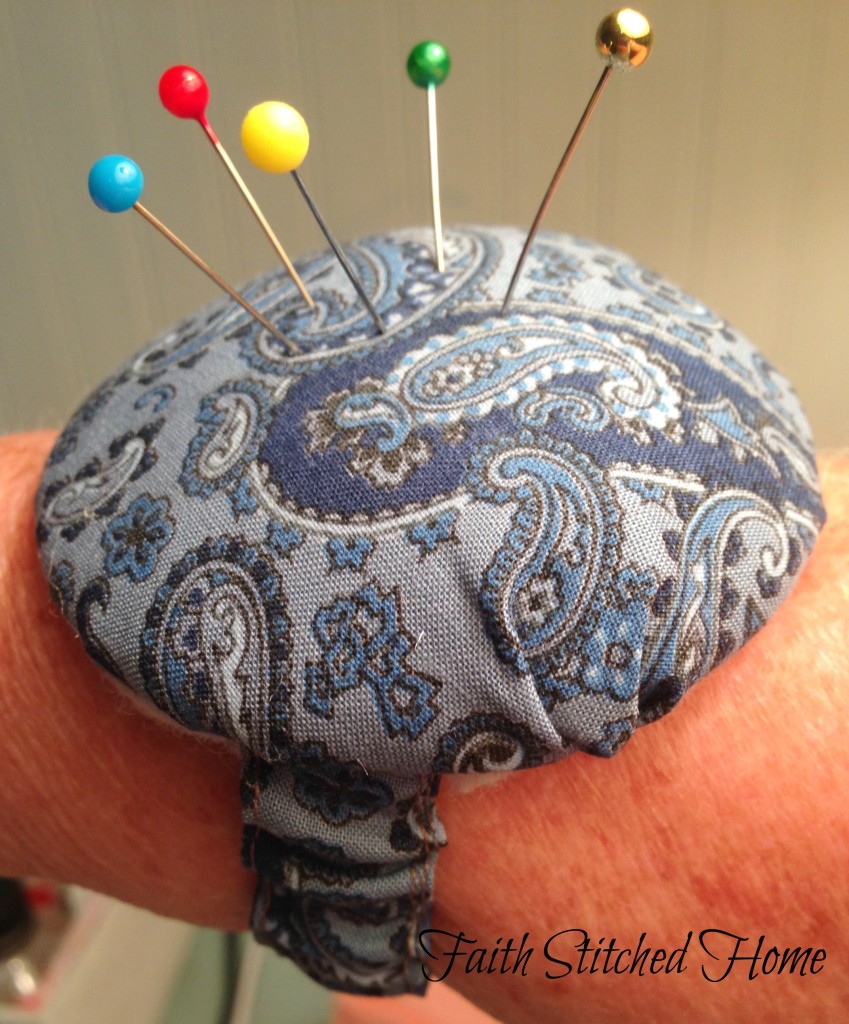
I might not have done that very bad thing had I had a pincushion right there next to me. So my mistake and that rap on the head inspired me to do something I should have done years and years ago – make a wrist pincushion.
Gather your supplies
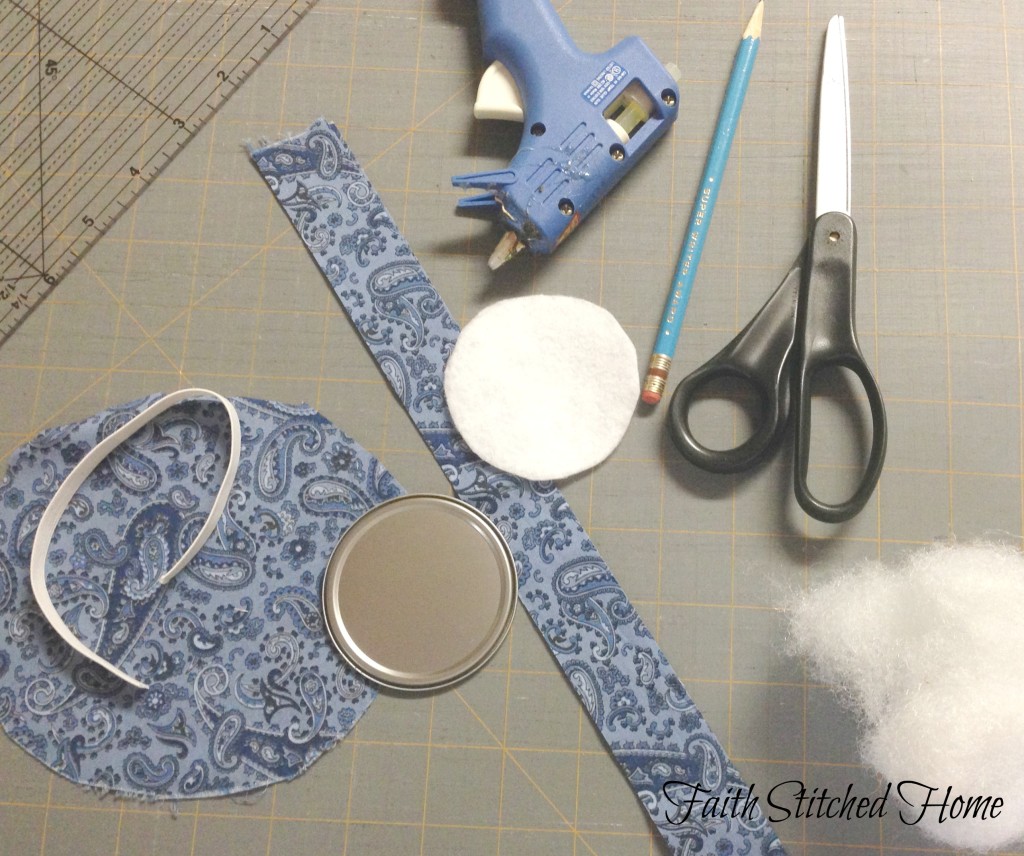
You will need:
- Lid from a frozen orange juice concentrate can or the flat lid from a Mason jar
- Fabric scraps big enough to cut a circle 2 inches larger that your lid and a strip long enough to fit around your wrist plus 2 inches. This is a great scrap busting project.
- Backing material cut to the exact size of your lid. I used white felt.
- Piece of elastic long enough to fit around your wrist. [Or small piece of Velcro – see note below]
- A small wad of stuffing
- Glue glue with glue sticks
- Needle, safety pin, thread, and scissors
Making the wristband
- Using a dressmaker tape, measure your wrist at the area you want to wear your pincushion and add 2 inches.
- Cut the strip wide enough to accommodate your elastic width times 2 plus 1 inch. Ex.: 1/2 inch elastic would require width to be cut 2 inches wide.
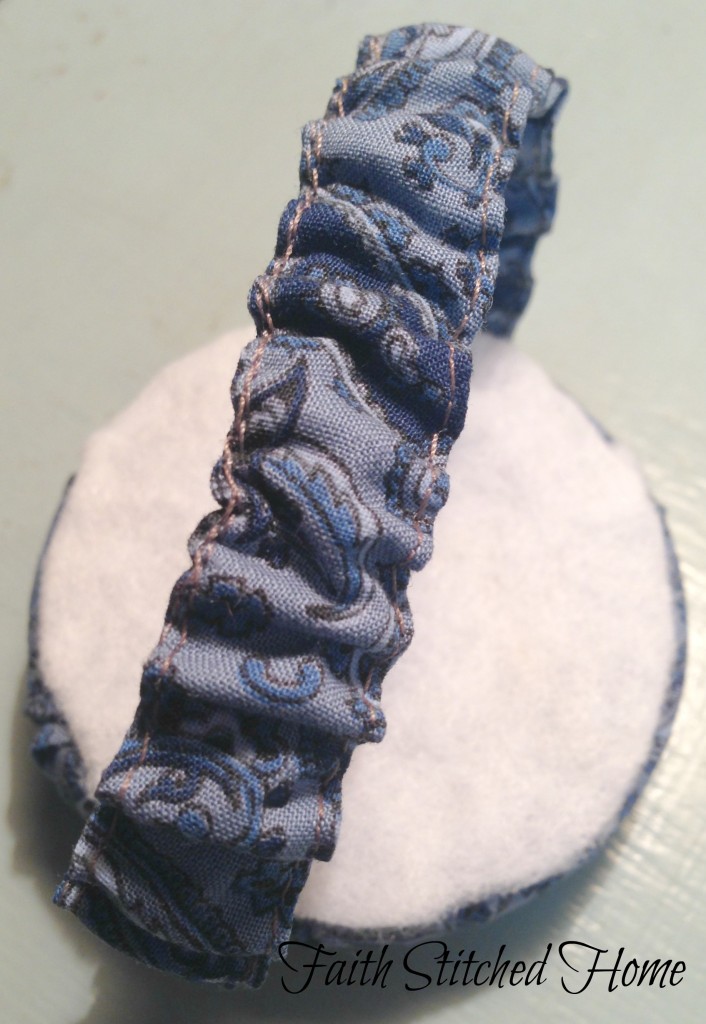
- Fold strip in half and press. Top-stitch as close to folded edge as possible.
- Fold raw edge sides in about 3/8 inch on each side and press. Top-stitch as close to edge as possible.
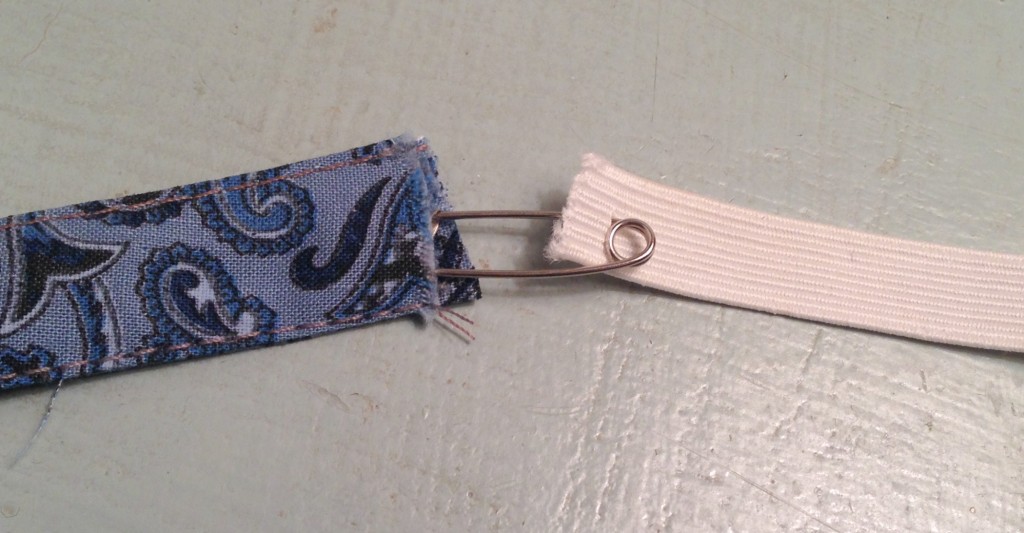
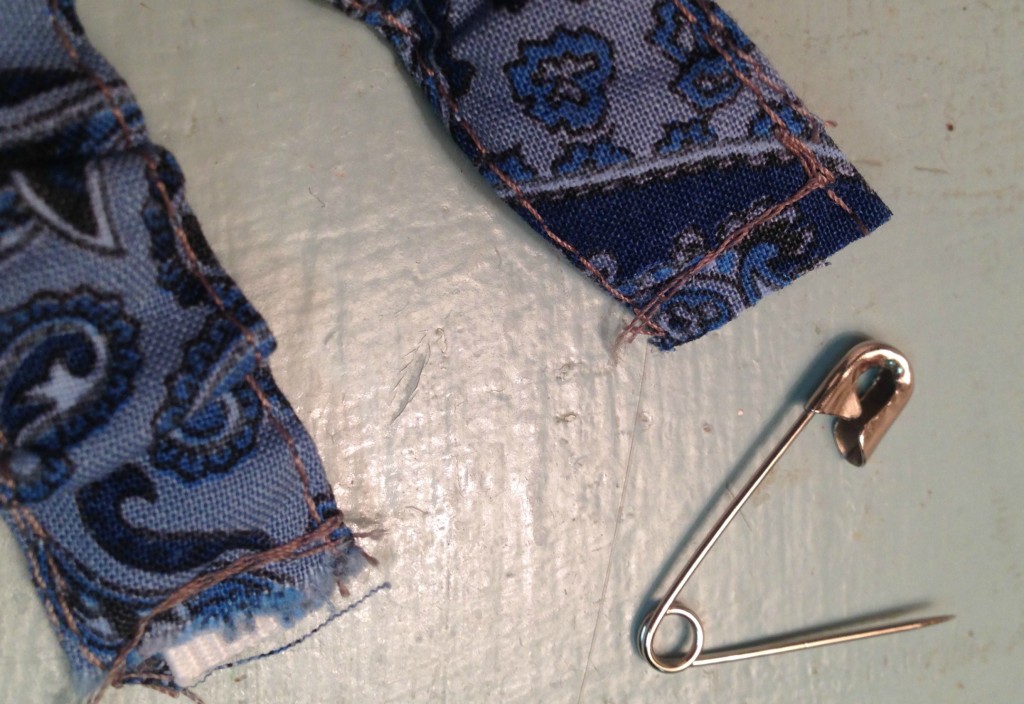
- Attach safety pin to one end of elastic and feed through wristband attaching on each end by sewing across a couple of times.
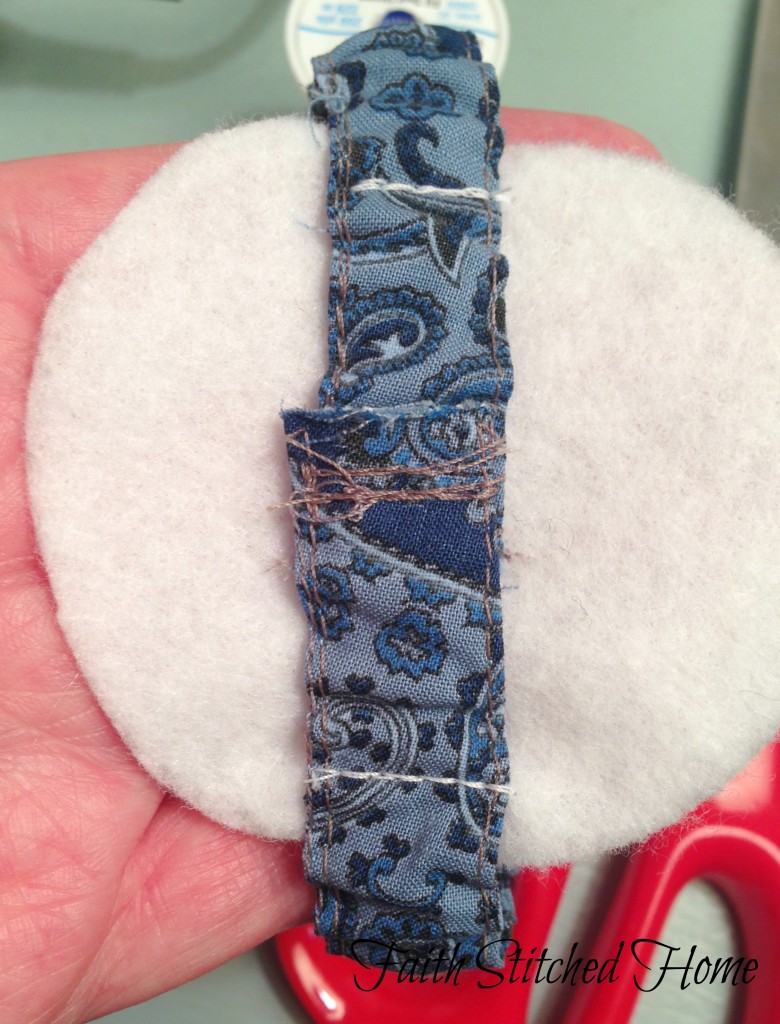
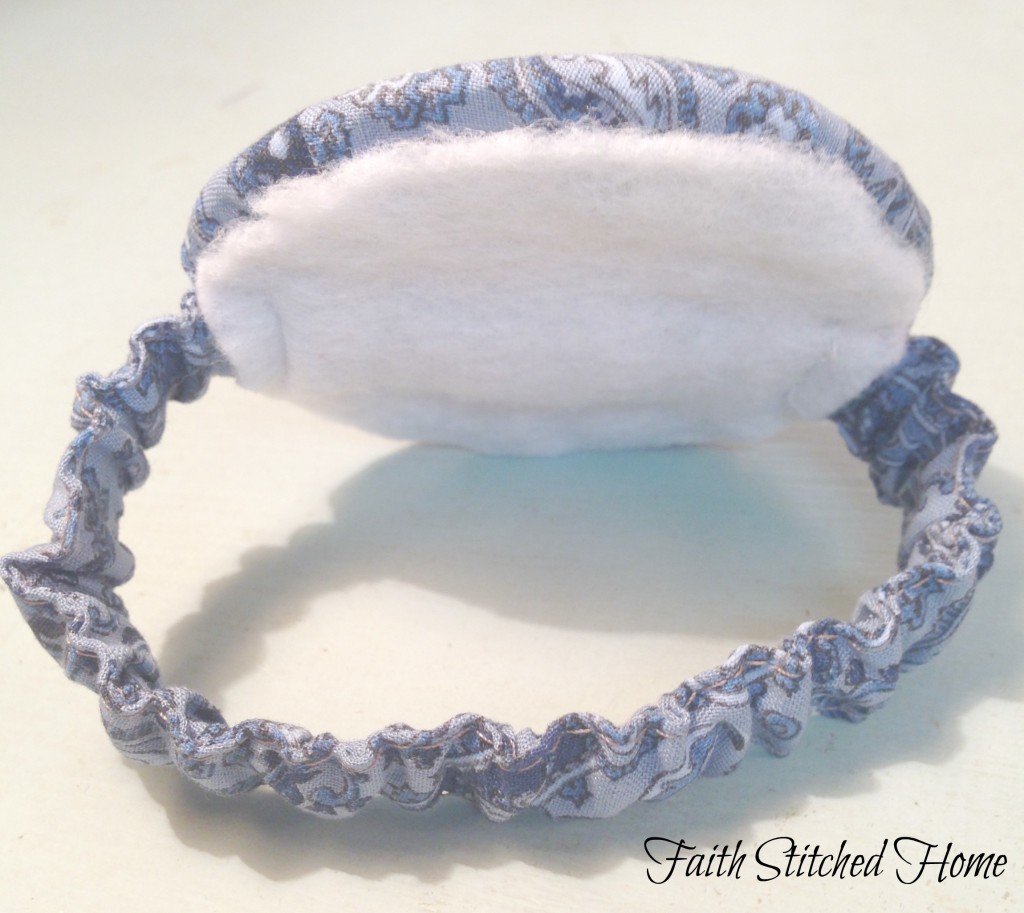
- Overlap 1 inch of stitched ends over the other and stitch across to secure. This stitching will be covered by the backing so don’t worry about how it looks.
- Stitch secured end of wristband to backing being sure that wristband is flat when stitching.
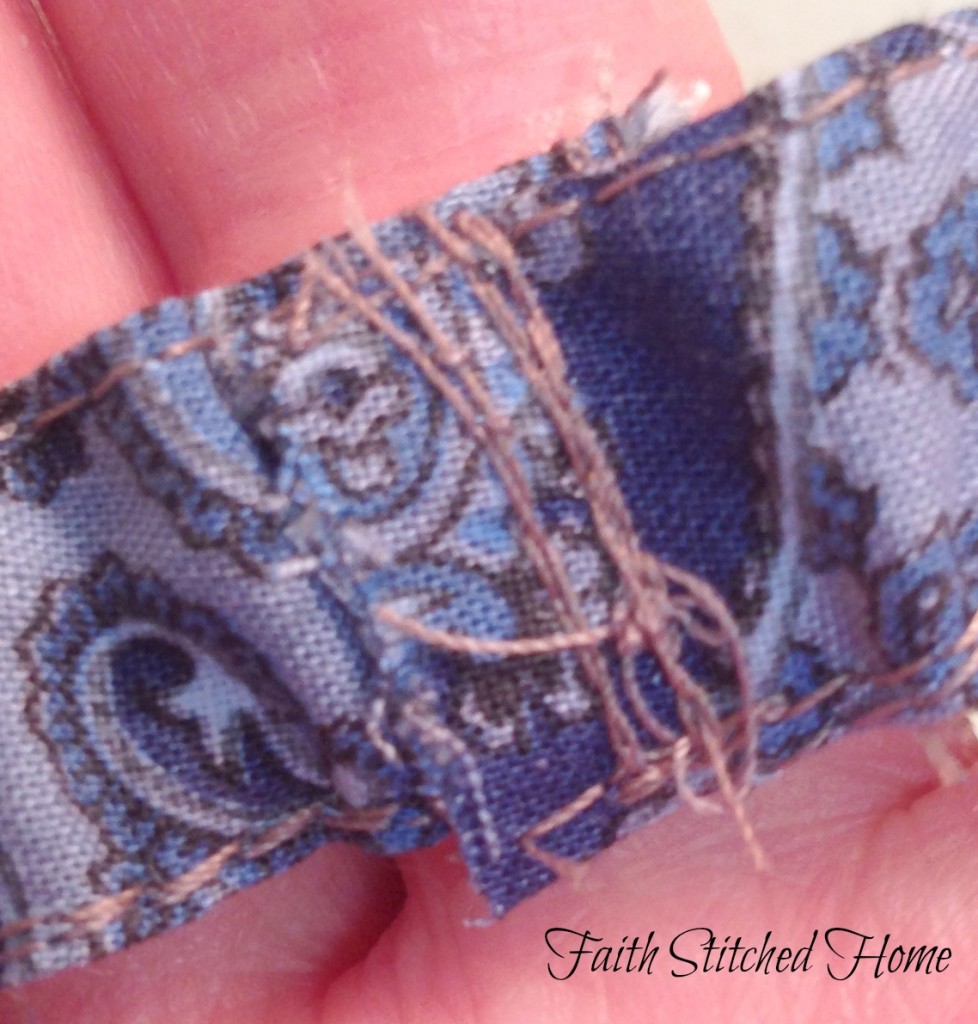
Overlap ends of wristband and stitch across to secure making a stretchy fabric bracelet.
Don’t worry about being neat; this will be covered up by the backing.
Note to beginners: I think it would be easier to sew a flat wristband (without the elastic) and attach a square of Velcro to each end of wristband for closure. Instead of sewing ends together and attaching at that point to the backing, you would attach the middle of the wristband to the backing. If any of my students read this tutorial, we will use the hook and loop closure method for class.
Making the pincushion
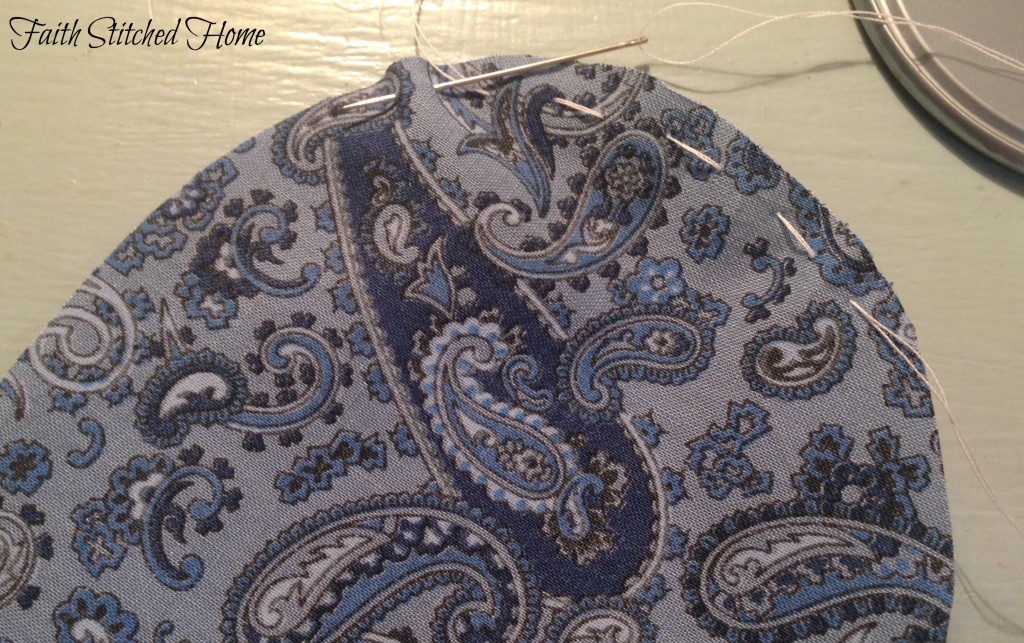
- Cut a double length of thread for your sewing needle long enough plus some to baste around your fabric circle.
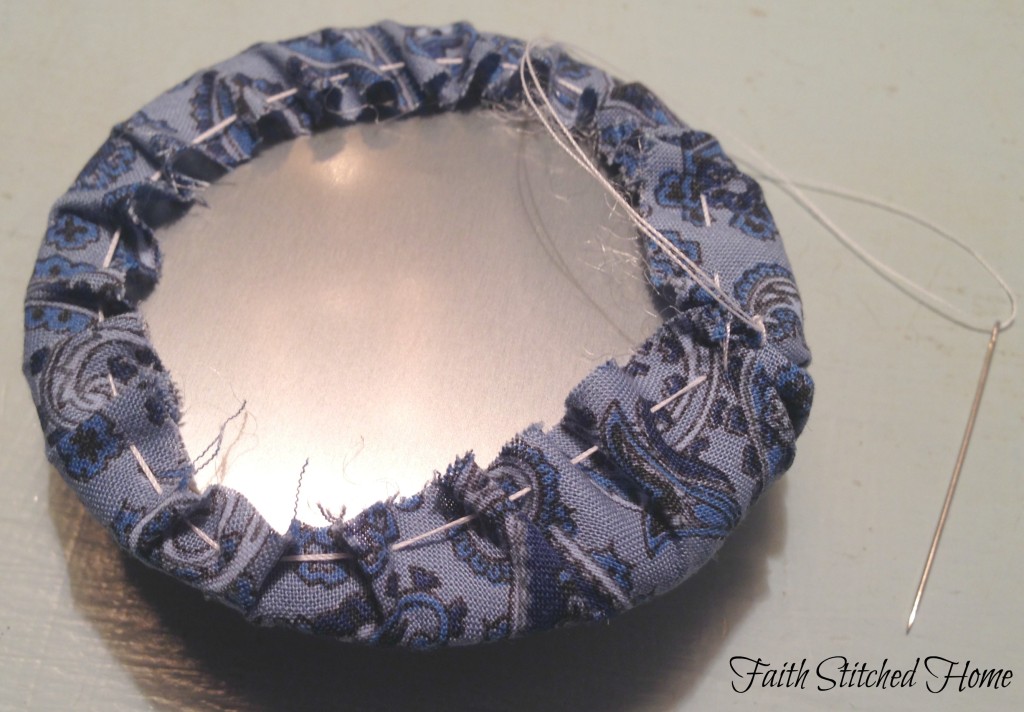
- Using doubled thread, hand baste around the edge of the circle.
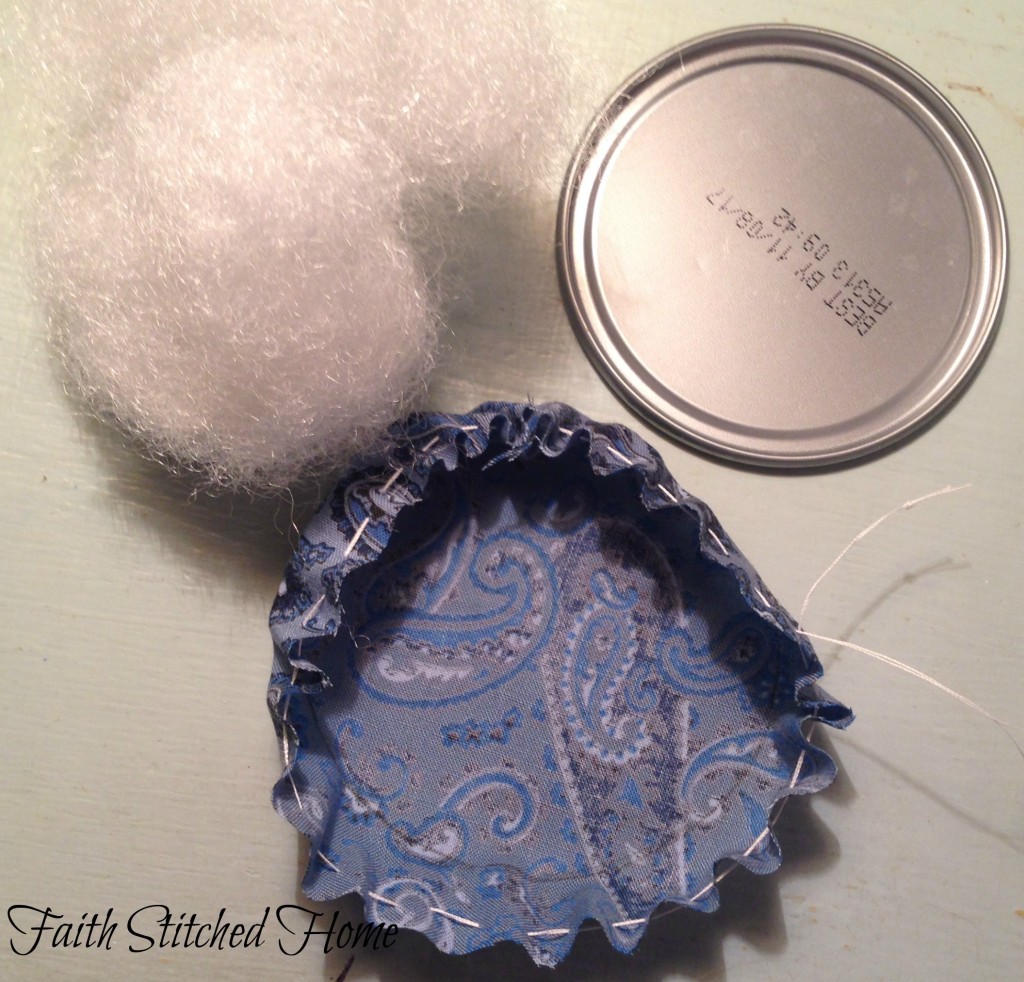
- Lightly hot glue your wad of stuffing to the orange juice can lid.
- Lay this face down to the back side of your basted fabric circle.
- Pull your basting stitches to gather the fabric around the lid.
- When the fabric is tight around the lid, take a stitch or two to secure the fabric in place. You should now have a puffy pincushion.
Attaching the wristband to the pincushion
- Squeeze tiny amounts of hot glue between the juice lid and gathered, basted fabric to help make the pincushion fabric more secure to the lid/base.
- Beginning in the center, squeeze a few lines of hot glue across the width of the lid. Secure the felt backing (wristband side toward the lid) centering it as you go.
- Continue to hot glue the remainder of the felt backing to the lid. Try to glue all areas of the backing.
- If your felt backing extends beyond the edge of the pincushion, trim down as close to the edge as possible.
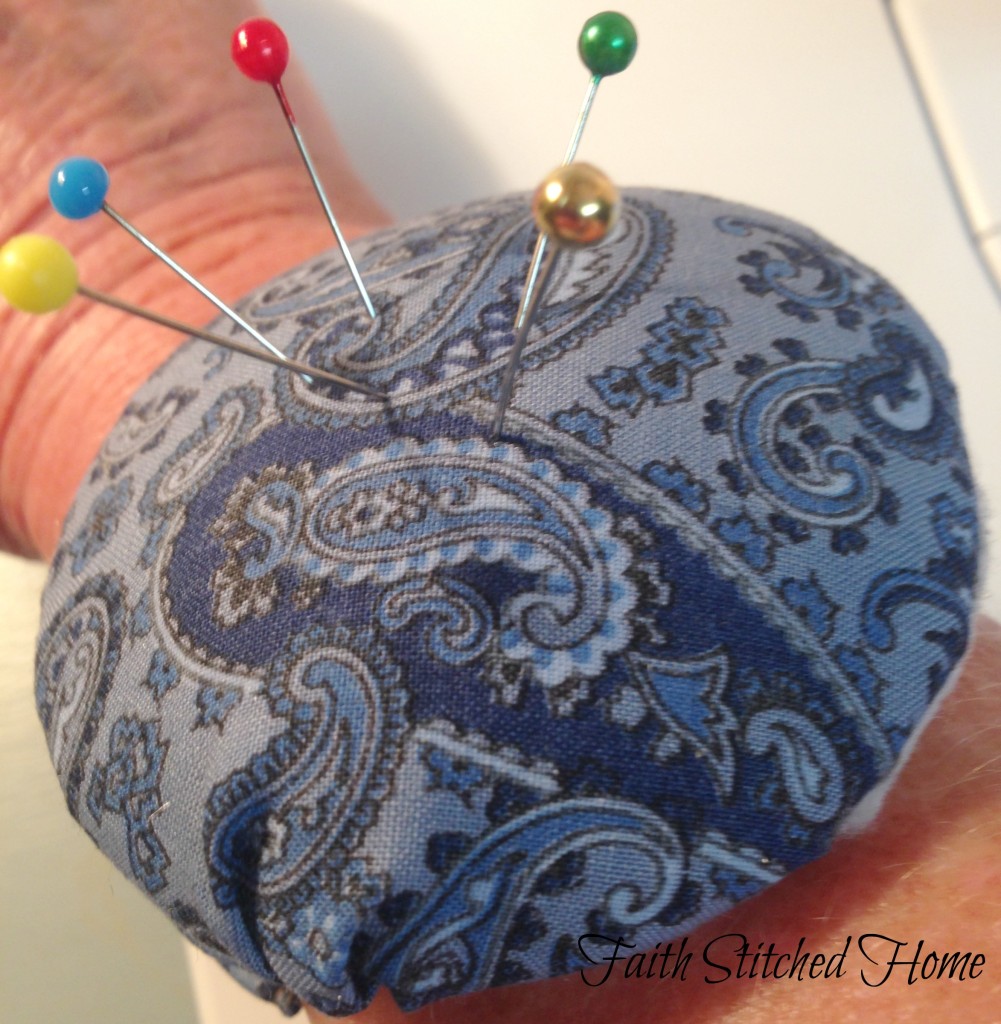
You are finished. Wear it proudly!
Now I can have a pincushion right there close by and no excuses. If my mentor ever catches me putting a pin in my mouth again, she has every right to pin me to the wall!
xo, Faith
Faith, I don’t sew, but I so often have put a pin in my mouth! The wrist pincushion is a great idea and so cute! Blessings, Pam @ Everyday Living
Dear Pam,
Thanks for your comment. I apologize for the much delayed response as I have long neglected my blog but hope to improve on that. Even with the wrist pincushion I still need to break my bad habit of putting pins in my mouth, but having it on my wrist sure makes it easier. Thanks for visiting here; I hope you’ll come back soon. xo, Faith