I find so much inspiration on the internet, especially on Pinterest. Obviously, I like to peruse sites that have sewing content and have collected some really great ideas that I want to try – every single idea. Alas, it will never come to be but I can give it my best shot.
How many times have you put a bowl of soup in the microwave and when it is finished cooking you reach in for the bowl believing it not to be too hot to handle and then quickly realize you were so wrong about that assumption? Then you proceed to run to the table, soup splashing as you scurry, and when you arrive at the table you realize you don’t have a placemat or trivet or pot holder to sit it on. Then you trip over your own feet to get back to your kitchen linen drawer to get something to sit the hot bowl on so you don’t ruin the finish on your tabletop. Heating up that yummy bowl of soup has turned into a dangerous mission. Ah, but there is a solution to this dilemma.
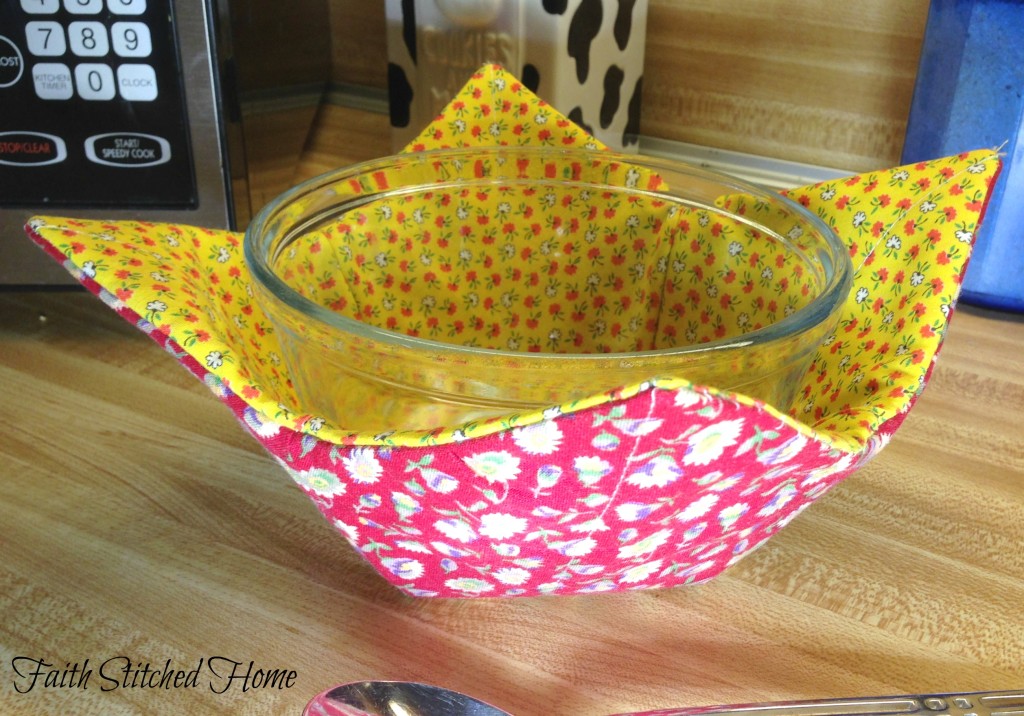
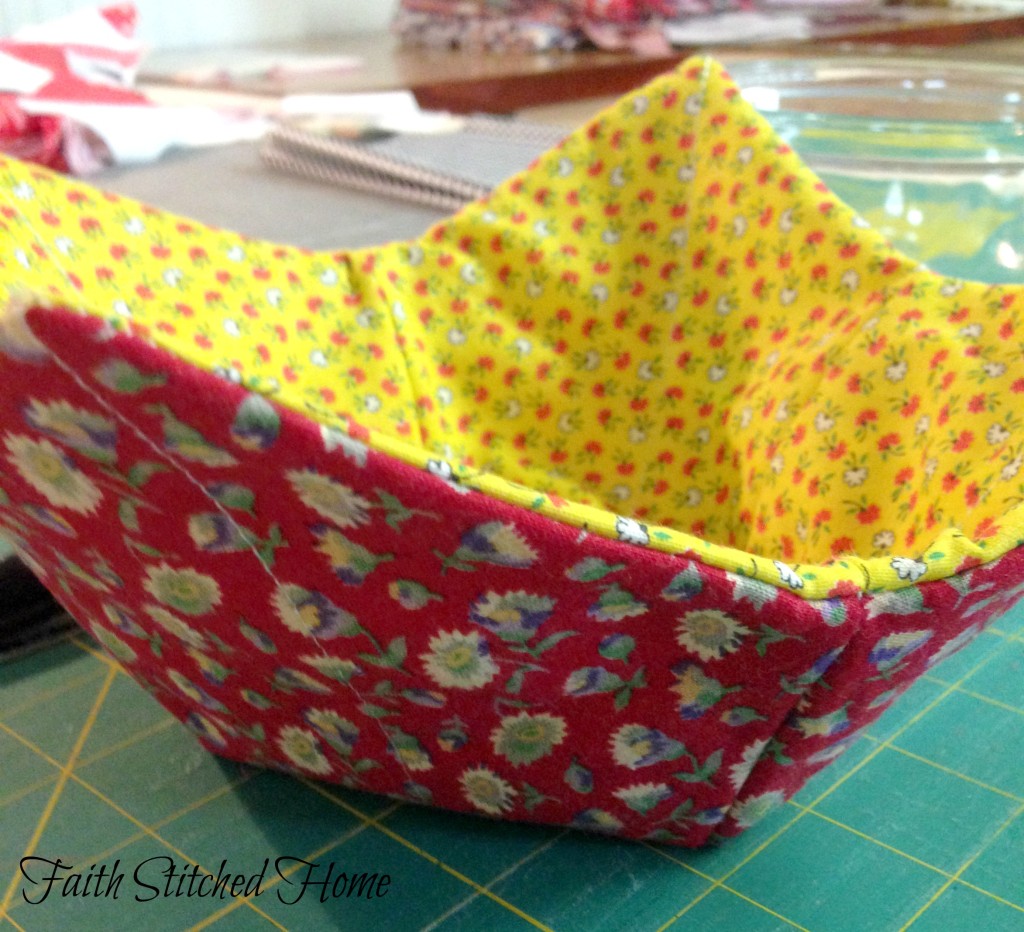
The project du jour is a microwaveable fabric bowl. I found the inspiration here.
It’s such a useful project and I love useful and practical.
I won’t go into a lot of explanation as Karen has given a very good tutorial of construction of the bowl. But I’ll share some of my take-aways.
Take – away #1:
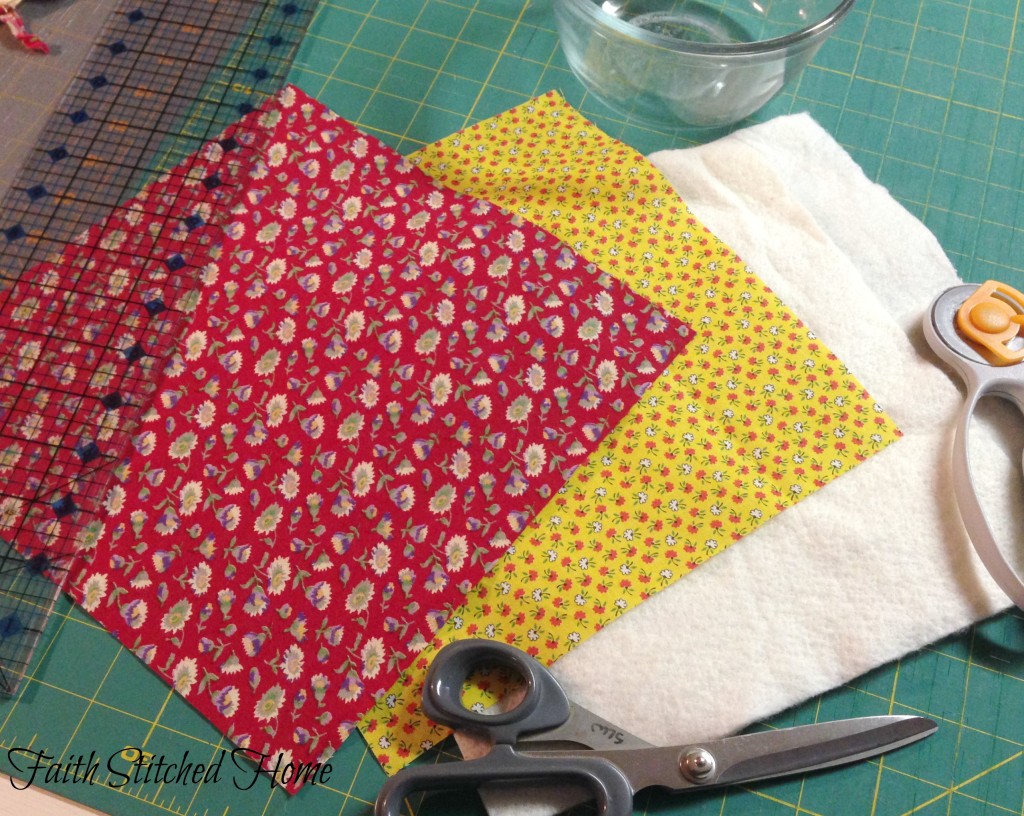
A key point to remember [as mentioned in the tutorial] is to use all cotton fabric and batting. Since you’ll have this in the microwave, you don’t want it to catch fire or melt. I didn’t specifically buy fabric or batting for this project, I just used some scraps I had on hand. It looks like cotton, feels like cotton, laundered like cotton. Let’s hope it is cotton! If you buy supplies to make this project, be sure it is cotton!
Take – away #2:
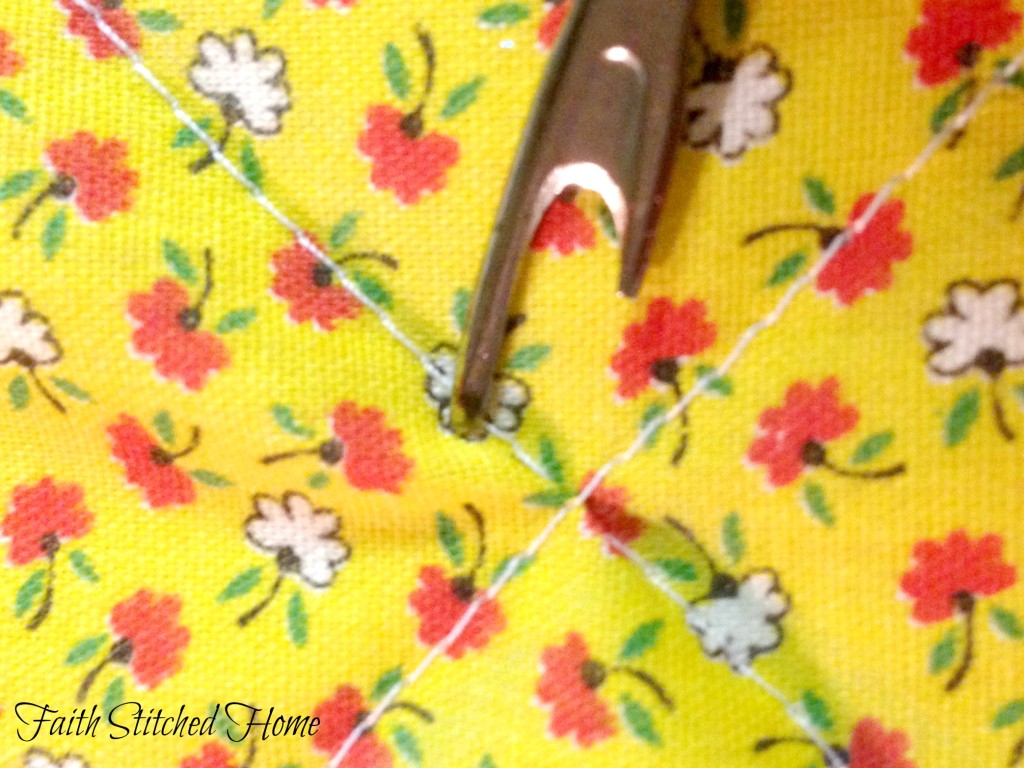
If you don’t have a walking foot when sewing the X across the square, this might happen. See that little wrinkle. It doesn’t show up in the photo very well, but the tip of the seam ripper in underneath the wrinkle.
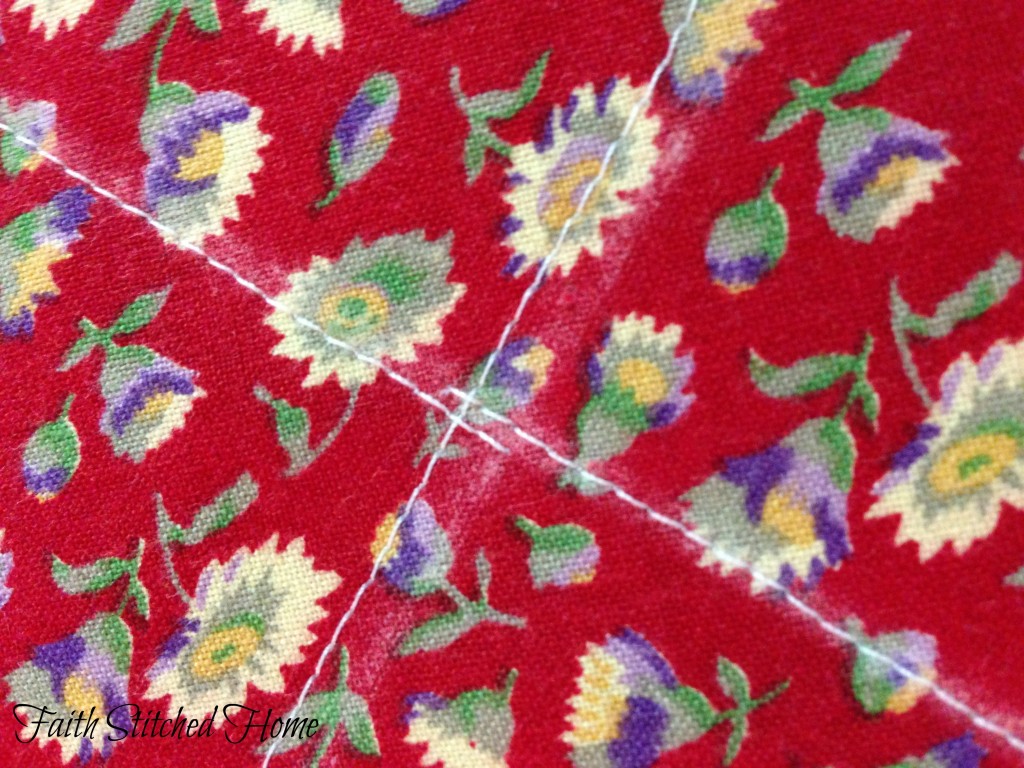
So here is what I did to make that not happen. I stitched the second quilting line from the center of the X to the corner and then did the same for the other half. I didn’t quite line my stitch lines up just right.
Take – away #3:
The author of the tutorial does not specify the sizing of her darts to give the fabric the “bowl” shape. From the looks of my bowl, it seemed to have a more narrow bottom than hers, although mine and hers measured at the same size. I pinned the darts before marking and sat my bowl in it to see how it fit. If your bowl is a different size, I surmise that you could do the same to check the fit and make adjustments to the darts accordingly.
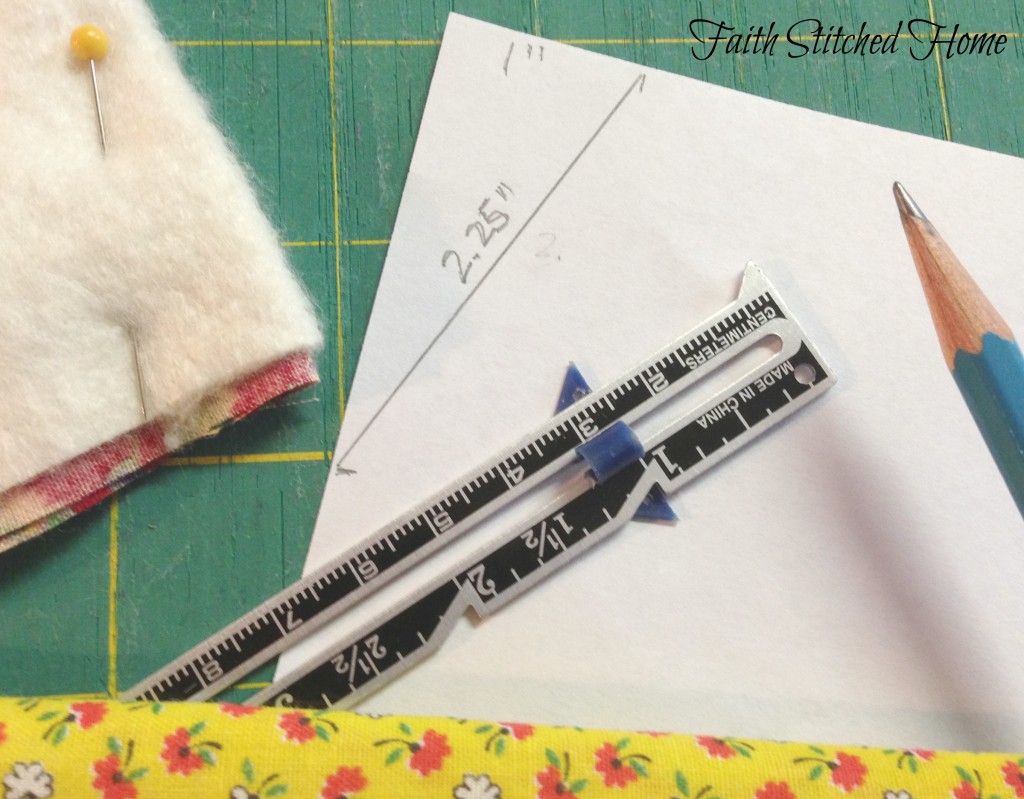
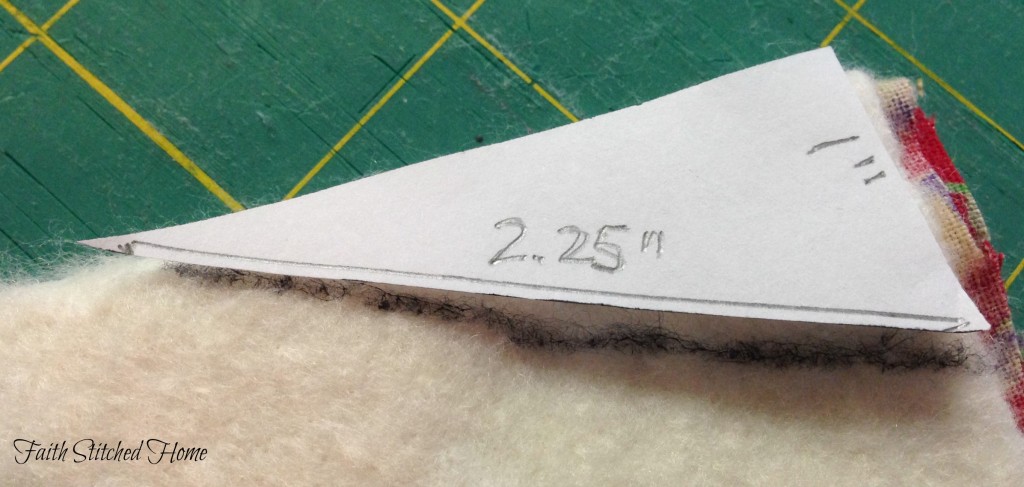
Since I wanted a precise measure for each dart for consistency, I made a little dart pattern. I did use the same measure as the author (1 inch across and 2.25 inches down).
For me, it seemed easier to make marking the darts this way. Place the straight side of your pattern along the fold and mark. Now all of my darts will be the same size.
Take – away #4:
Read the directions thoroughly beginning to end before proceeding. I was overly confident. I have a right, don’t I? My goodness, I’ve been sewing since I was a small child which is over 50 years! I should know what I’m doing. Well guess what? Confession time! I goofed and had to start over. You didn’t have to know that but it happens, even to the most seasoned seamstresses. I tell you this so you know we are not perfect. Only One is perfect! Remember that.
Besides I am doing this project to use in my Sewing Ministry class and I look at it from a teacher’s point of view. Any way I can help my students learn, I’m all for it and learning from mistakes can be very effective.
Thanks to Karen for the great tutorial and to Christina for sharing it.
I think this little bowl might make a great gift for a graduate that will soon be going off to college and living in a dorm room and eating lots of soup. You could put it in a cute little gift basket along with some cans of soup, package of crackers, a bowl, spoon, and maybe a gift card to a big box grocery store. What do you think of that idea?
Happy sewing!
xo, Faith
Leave a Reply