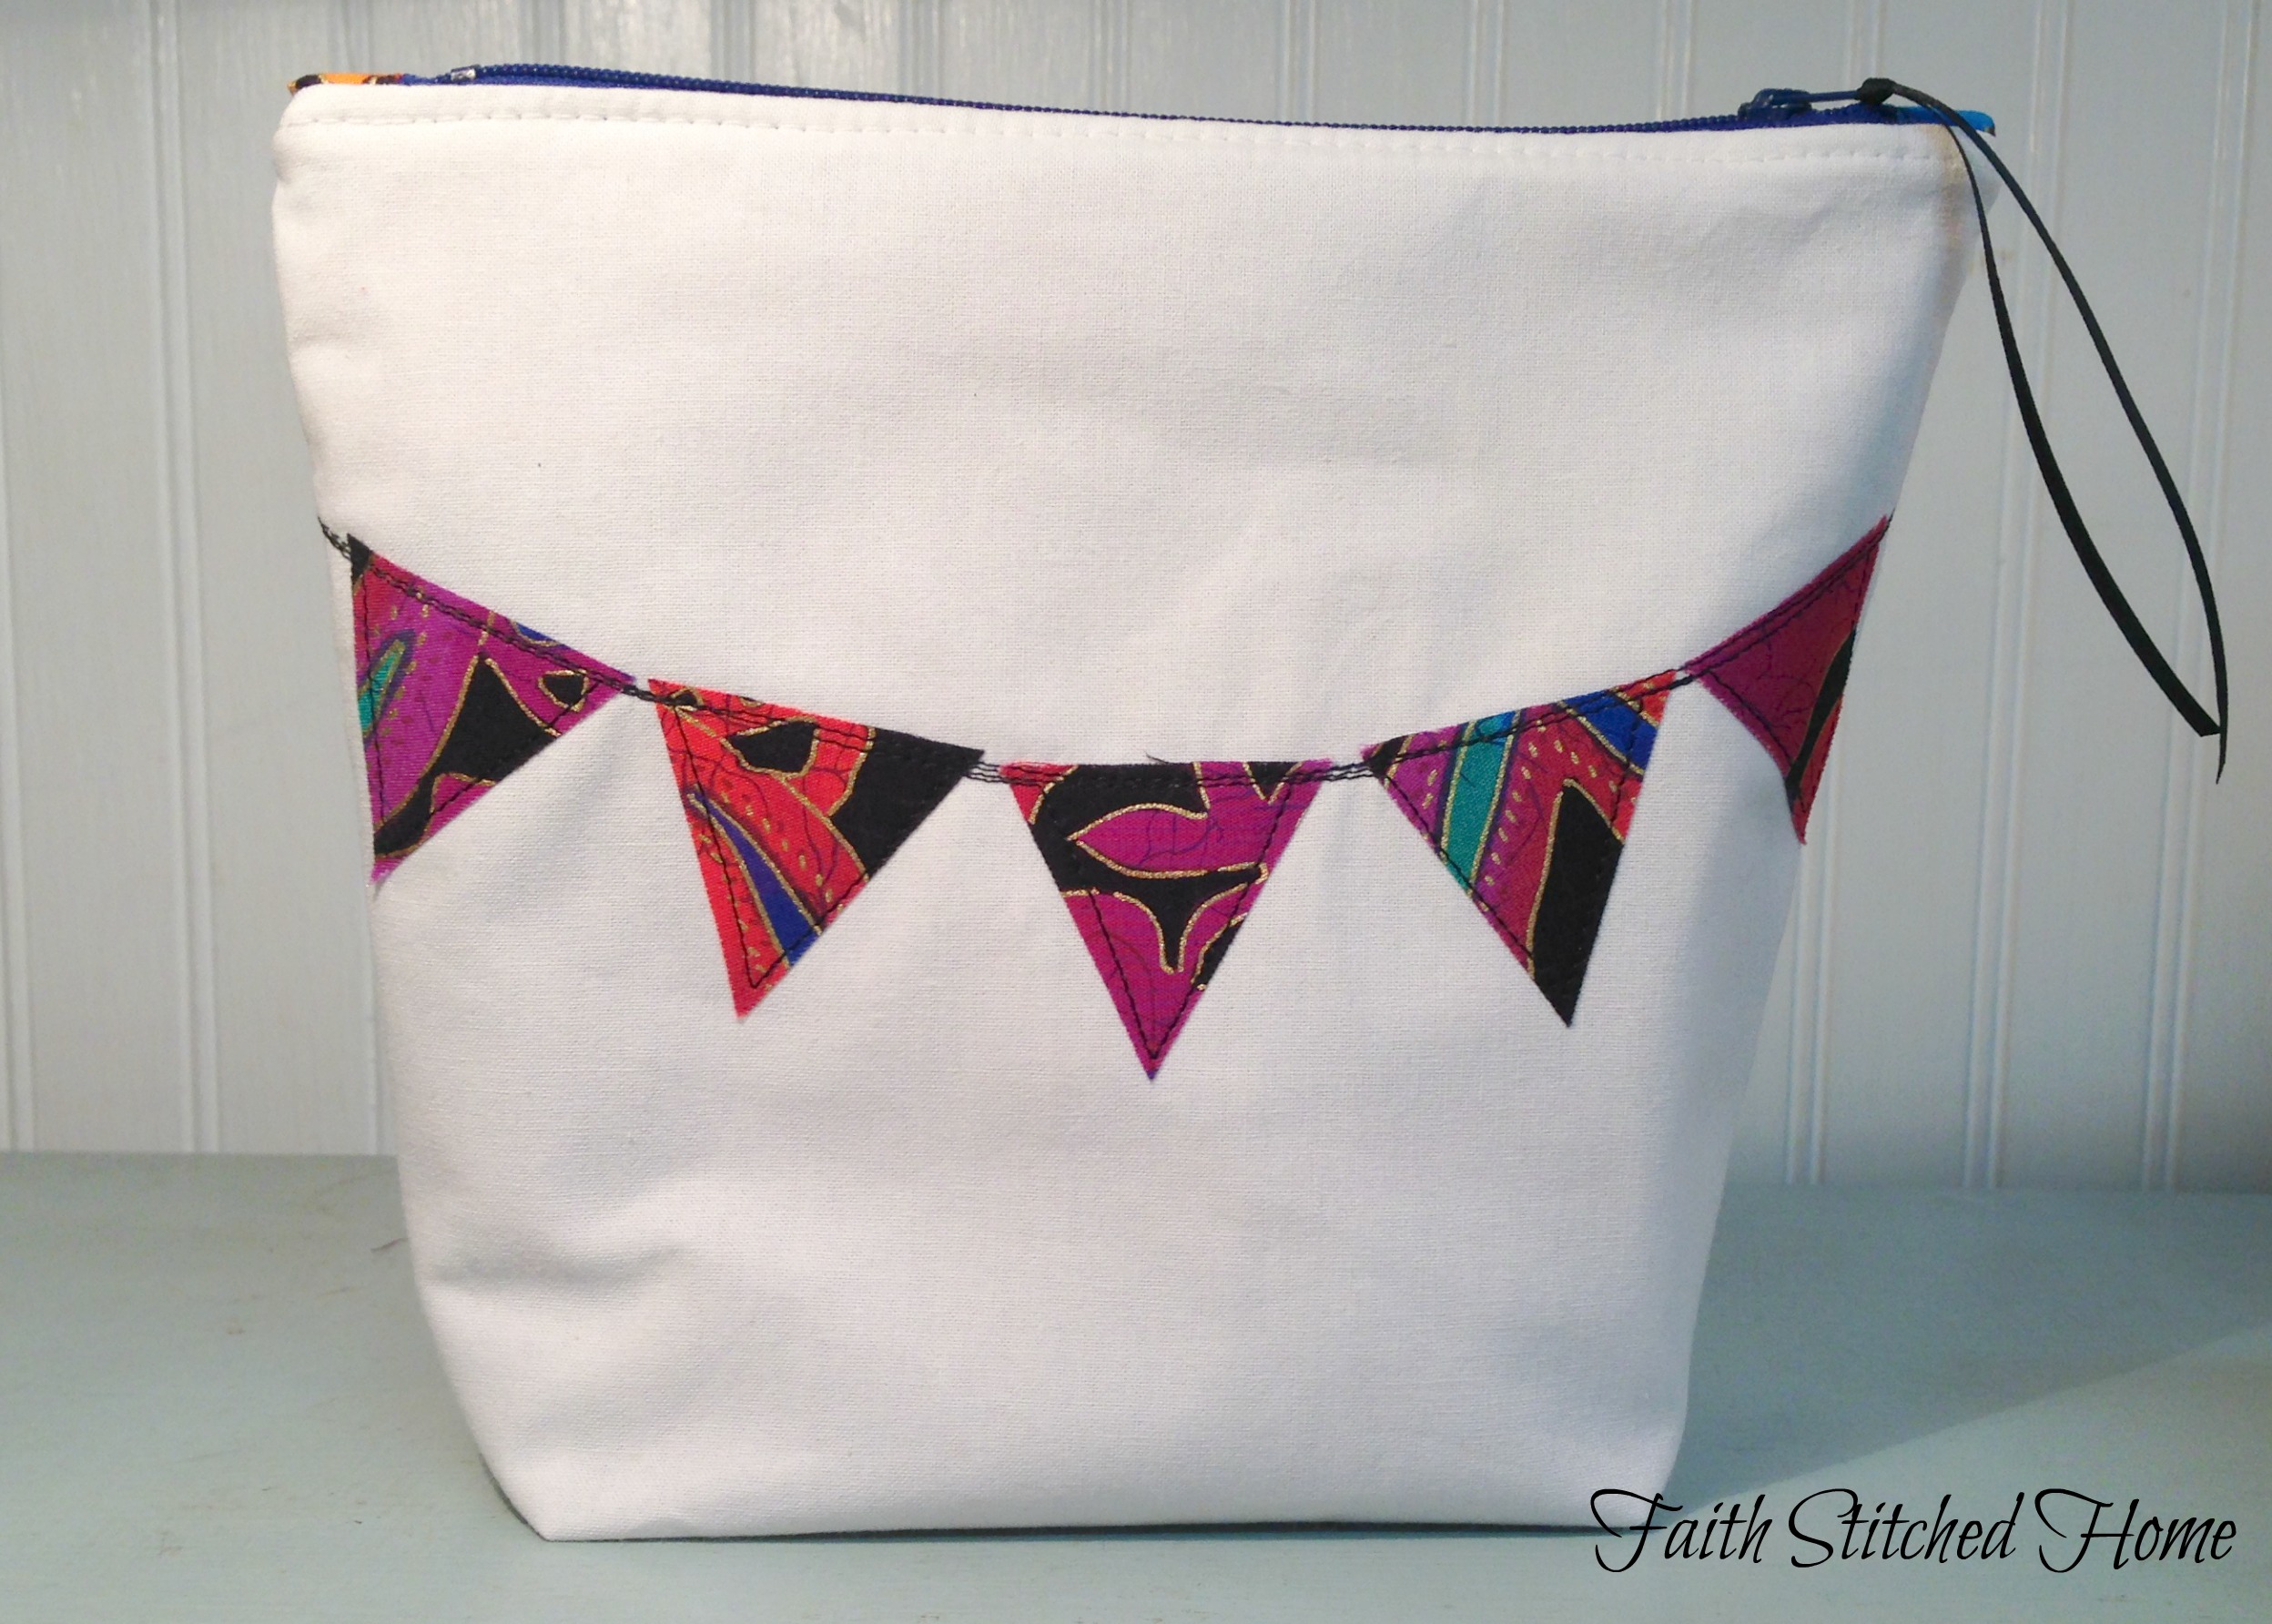
I’ve mentioned the sewing ministry that we started at church here before. We’ve been plugging along now for about three months and this past week we made a zipper bag. It’s nothing new, but I sort of made things up as I went along and promised our most enthusiastic student that I would do a tutorial.
Go get a glass of sweet iced tea now because these instructions are long. I’m trying to cover everything for those who are new to sewing. Don’t be overwhelmed. This is really not a difficult project. I’m just the type that wants every single step pointed out, so I try to make my directions as concise as possible.
At a previous class, we had talked about zipper installation and this lesson helped us practice that task as well as learning to box corners and introduce applique – raw edge applique to be exact. Here goes!
Supplies:
- Zipper: I used a 7 inch zipper as this project is intended to be a cosmetic bag.
- 9.5 inch square of solid fabric
- 9.5 inch square of patterned fabric
- Small fabric scraps of varied colors and patterns
- Interfacing: Medium weight would work best. I prefer fusible. You need a piece large enough to cut 2 pieces the same size as your solid fabric.
- Small piece of fusible webbing like Wonder Under
- Thread: One spool to match your solid fabric and one spool of black.
- 6 inch piece of very narrow ribbon
- Small triangle traced on card stock, piece of cereal box, or whatever, and cut out for pennant banner pattern. Mine is about 1.5 inches long by 1.25 inches wide at top.

Cutting Instructions:
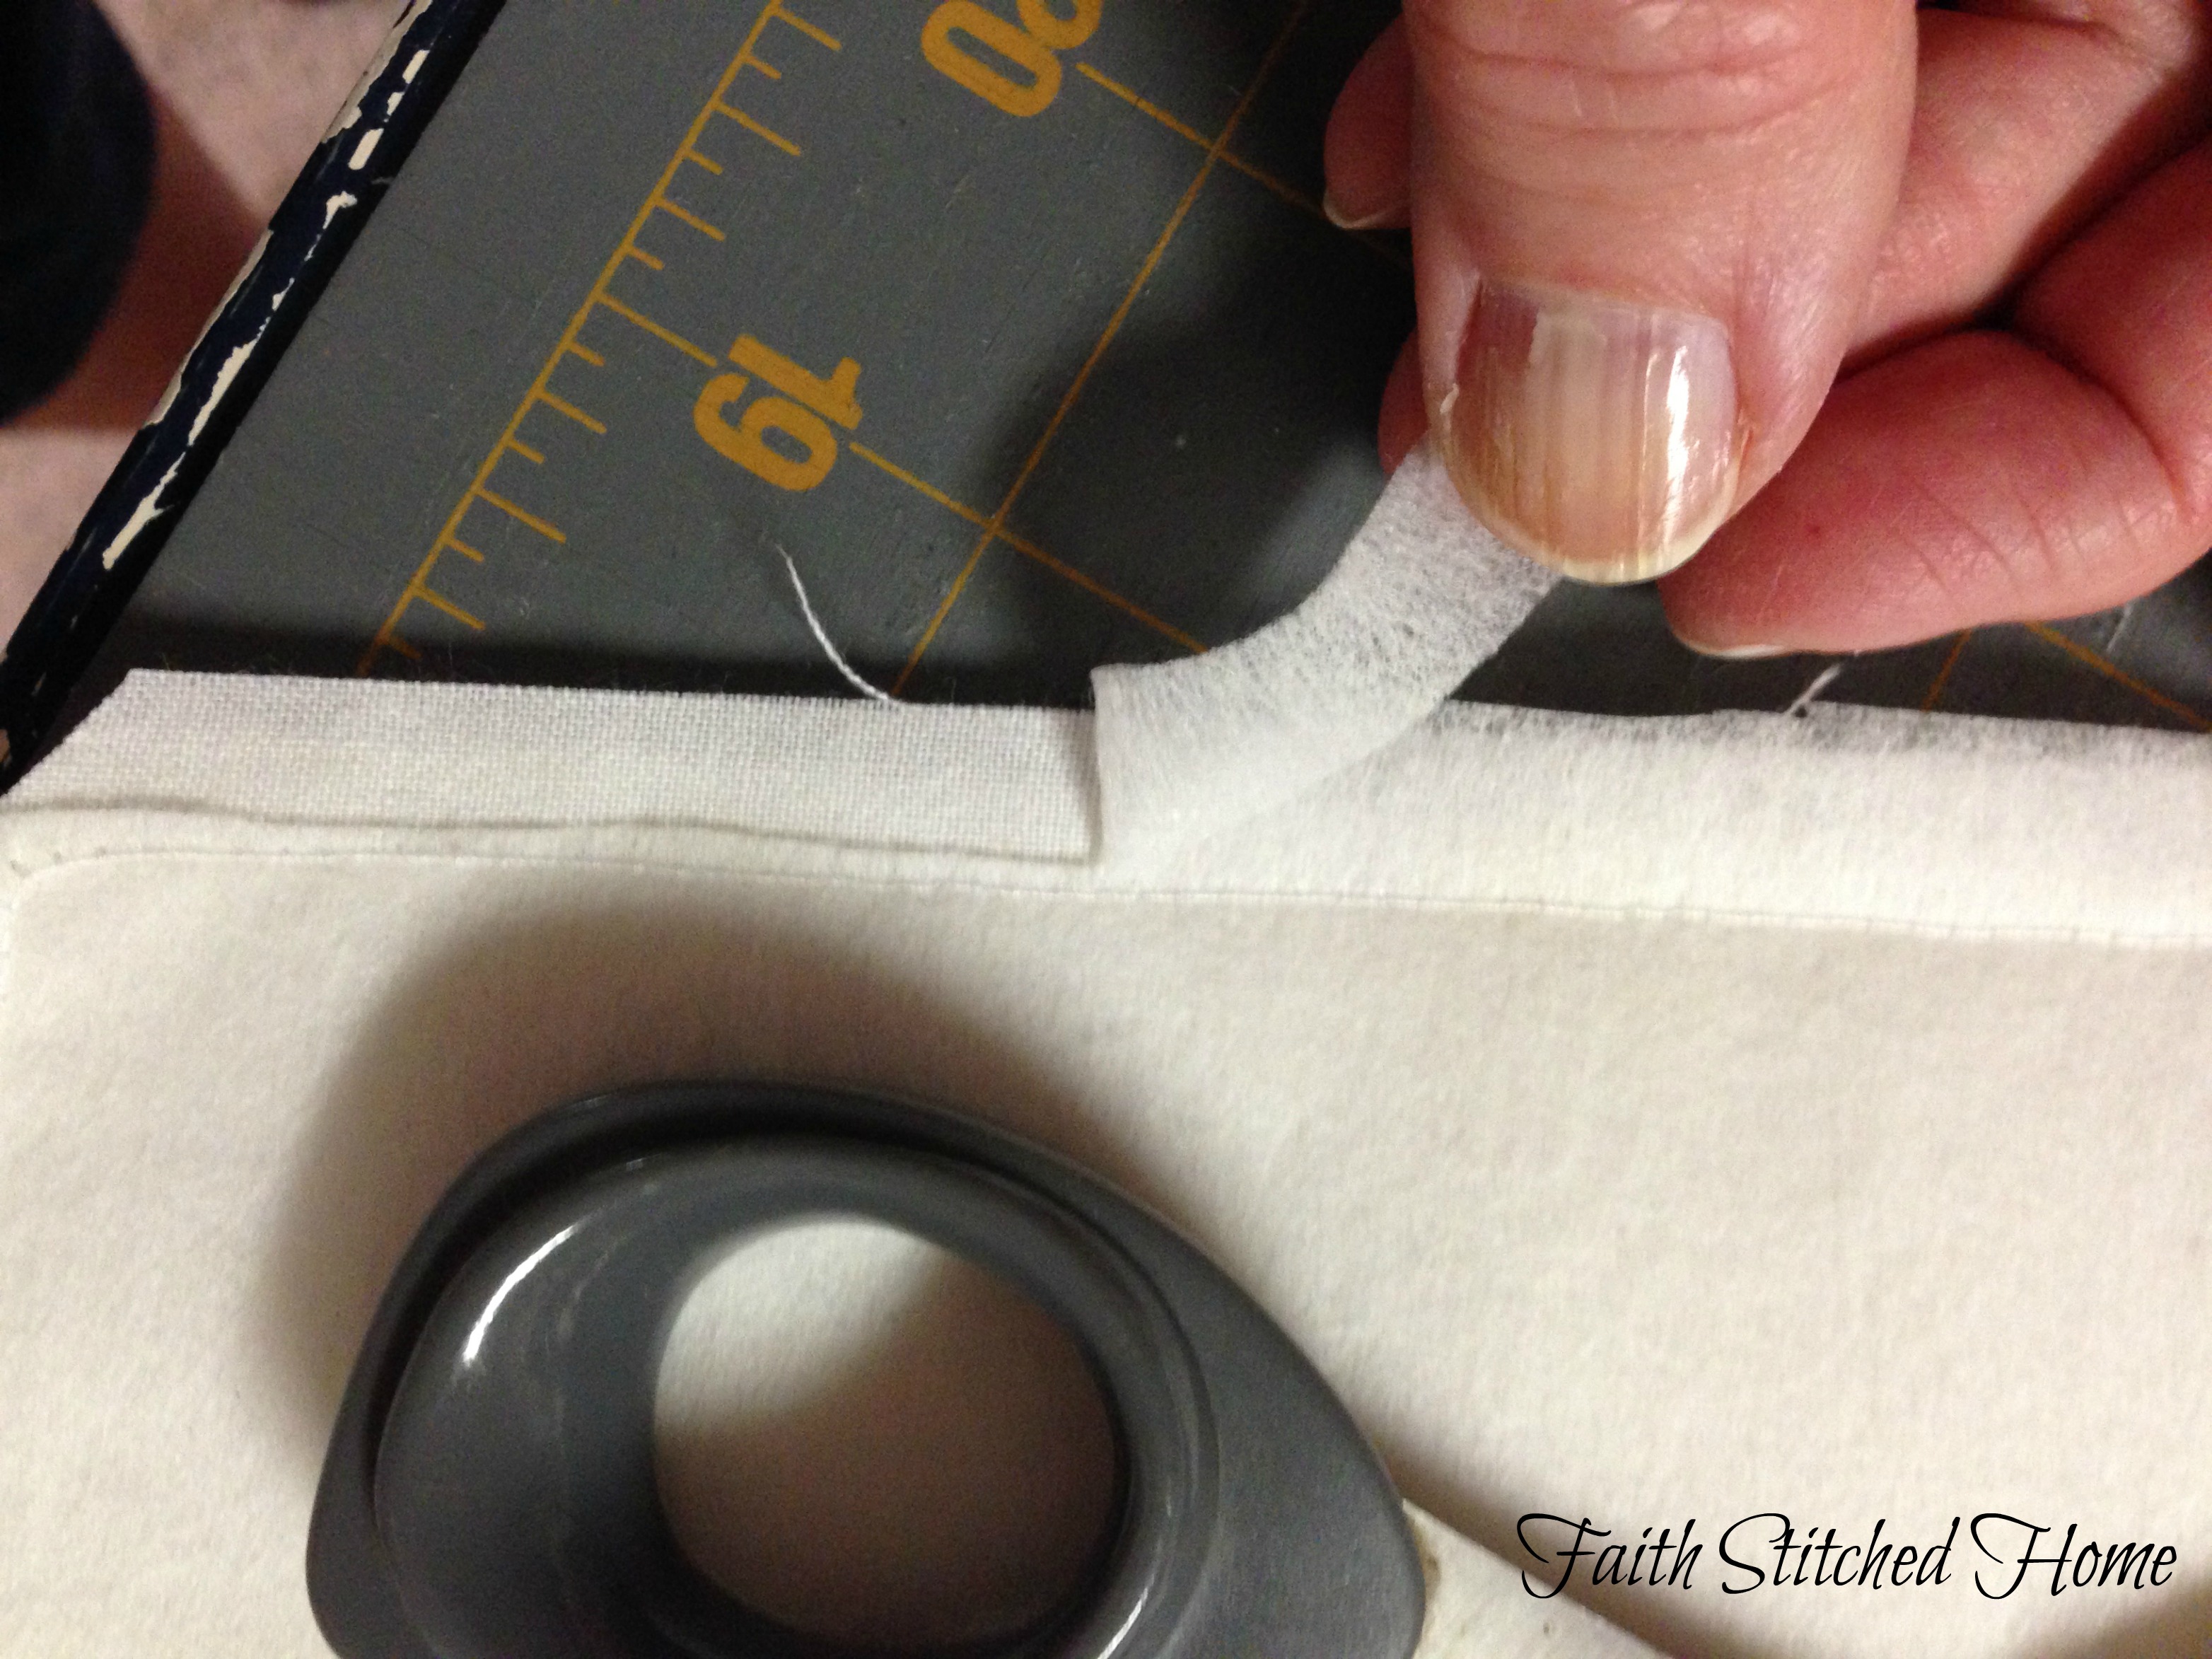
- Measure your zipper tape (not just teeth) tip to tip and add 1 inch. In my example using a 7 inch zipper, the total measurement end to end of the zipper tape was 8.5 inches. Therefore I cut my fabric 9.5 inches square. If you want your bag to be taller, then cut as tall as you like bearing in mind that we will box the bottom which will reduce the overall standing height of the bag.
- Cut two 2 inch squares of patterned fabric for the tabs at the end of your zipper. Note: If you want your zipper end tabs to be wider, you may cut the square as long as you like (still 2 inches wide). Just be sure the cut width of your bag will be as wide as the zipper teeth+ finished tabs + 1/2 inch seam allowance.
- Cut two pieces of interfacing same size as your bag piece.
- Fuse a small bit of fusible webbing onto a piece(s)of scrap fabric(s) that is larger than the webbing and large enough to trace your pennant flag pattern onto. Note: Be sure your fabric scrap is larger than your webbing or you will have a mess on your ironing board cover and be sure the paper backing on your webbing stays over the webbing or you will have a mess on your iron too! Cut enough pennants to go across the front of your bag. In my case, 5 – 7 would do the trick.
Instructions:
Applique pennant flags:
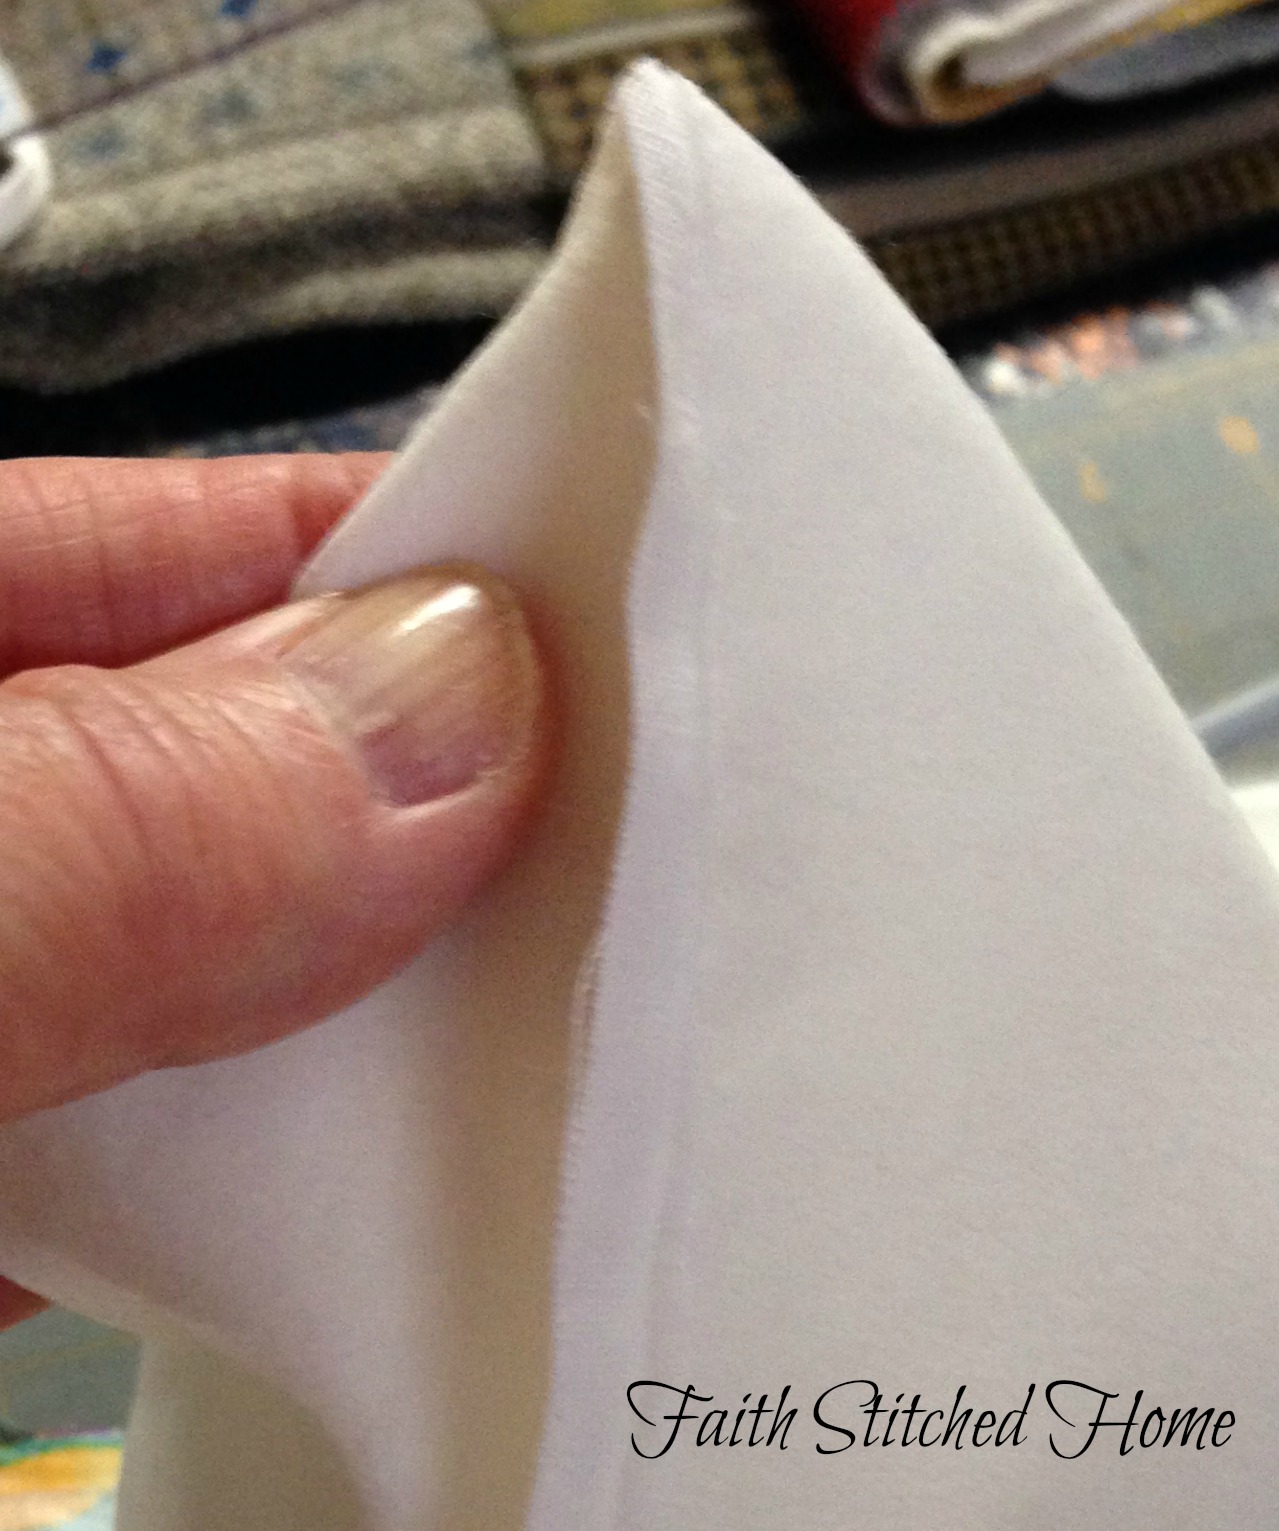
- Fuse or baste interfacing to back of bag fronts.
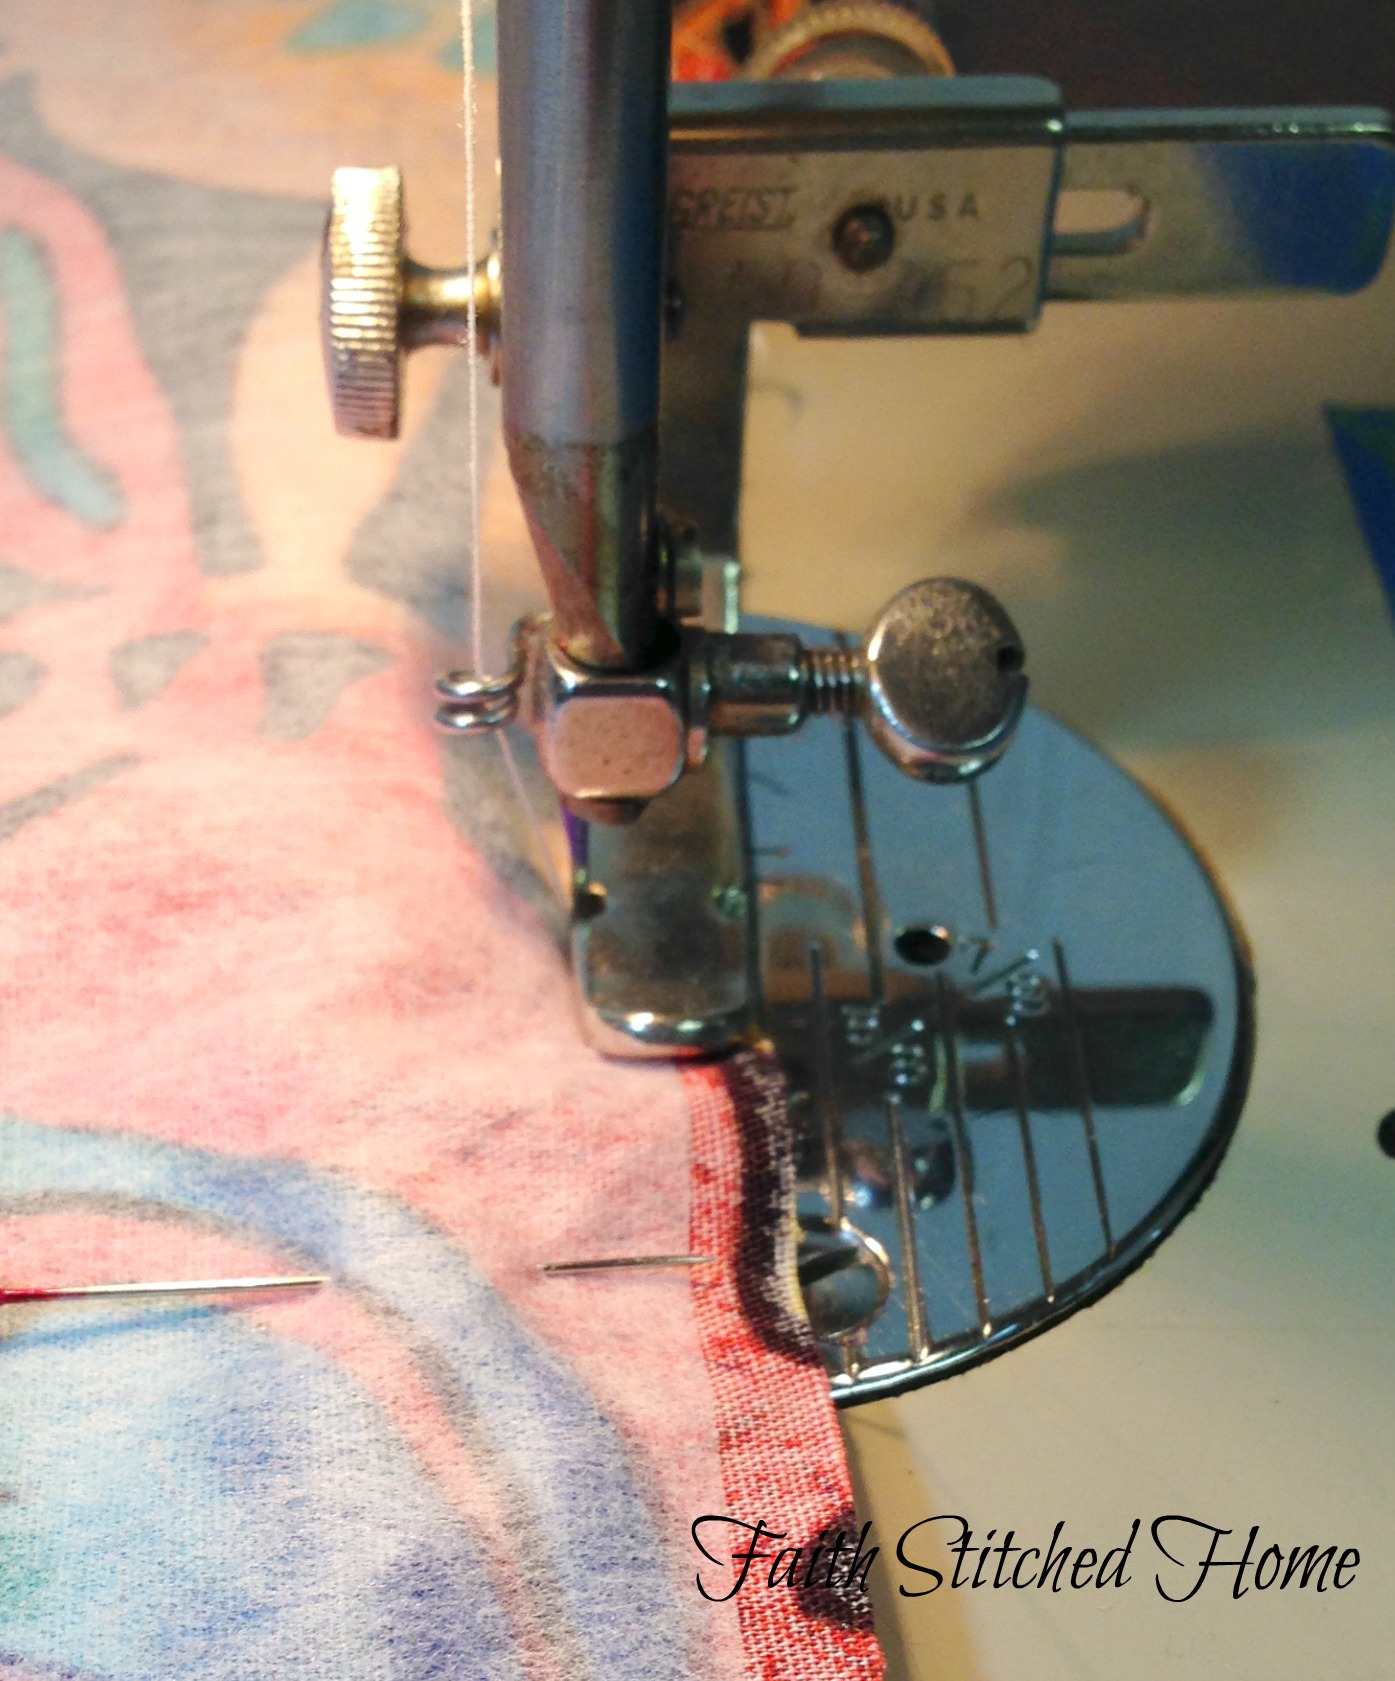
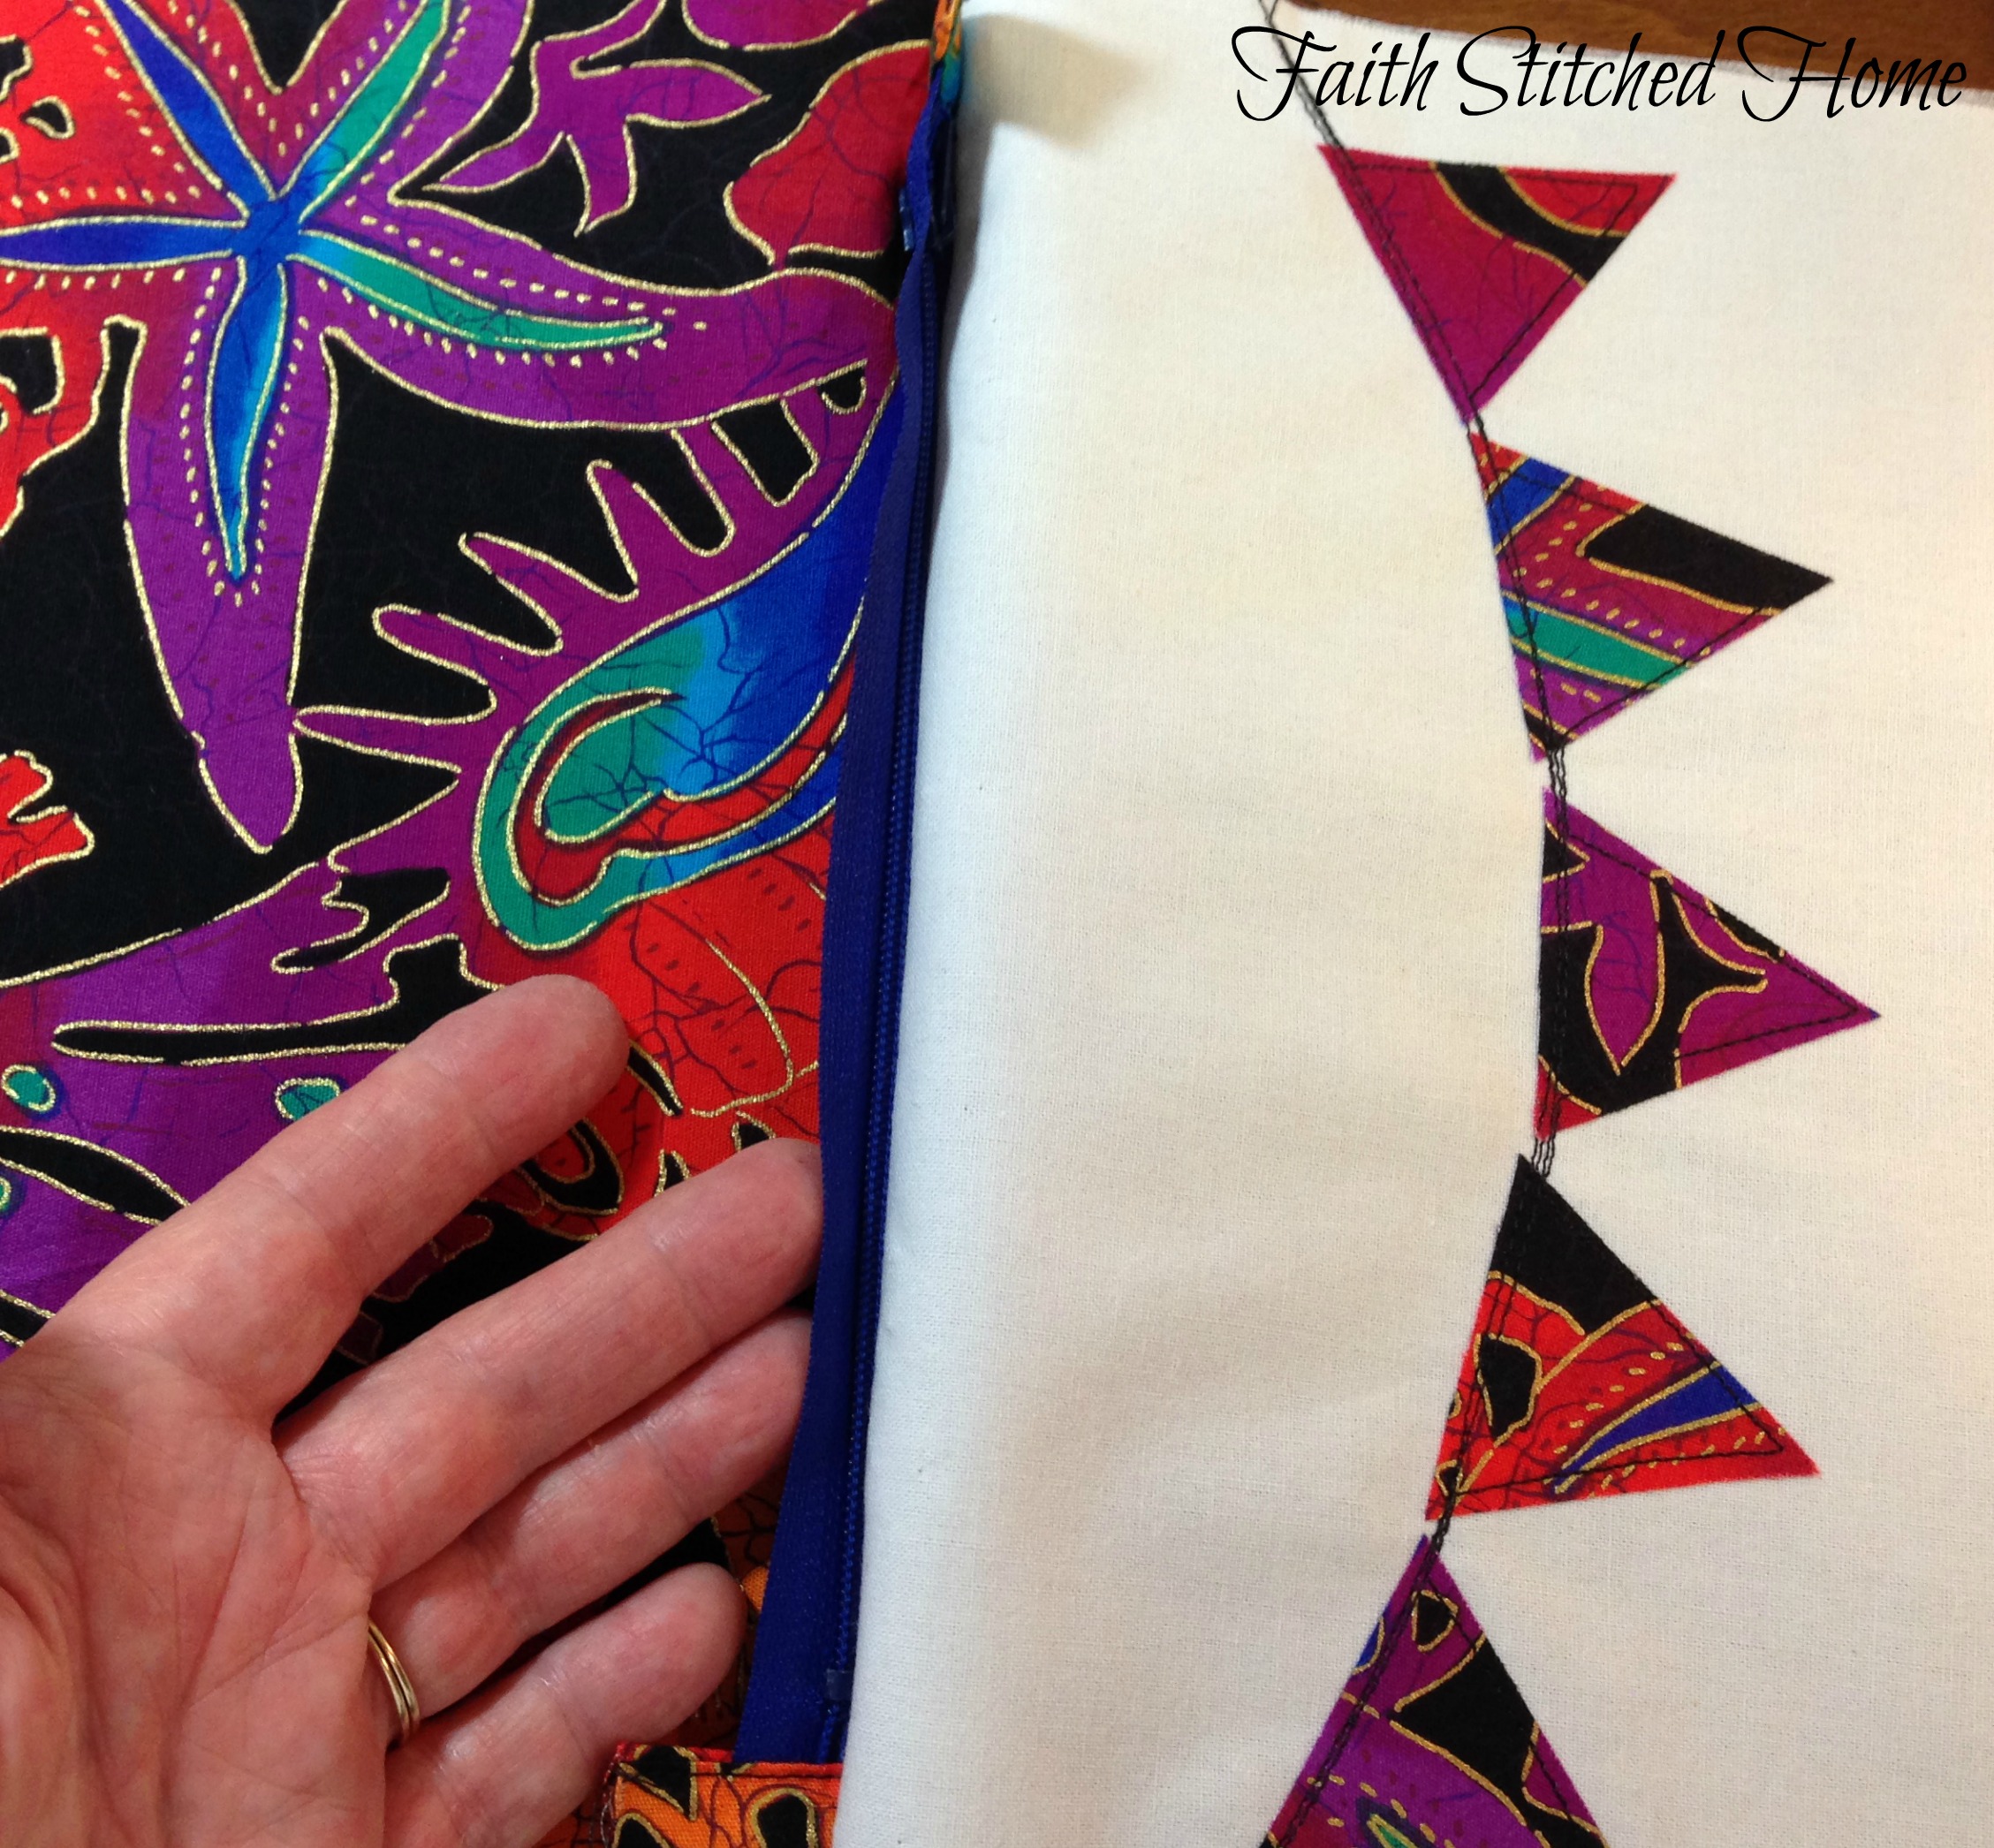
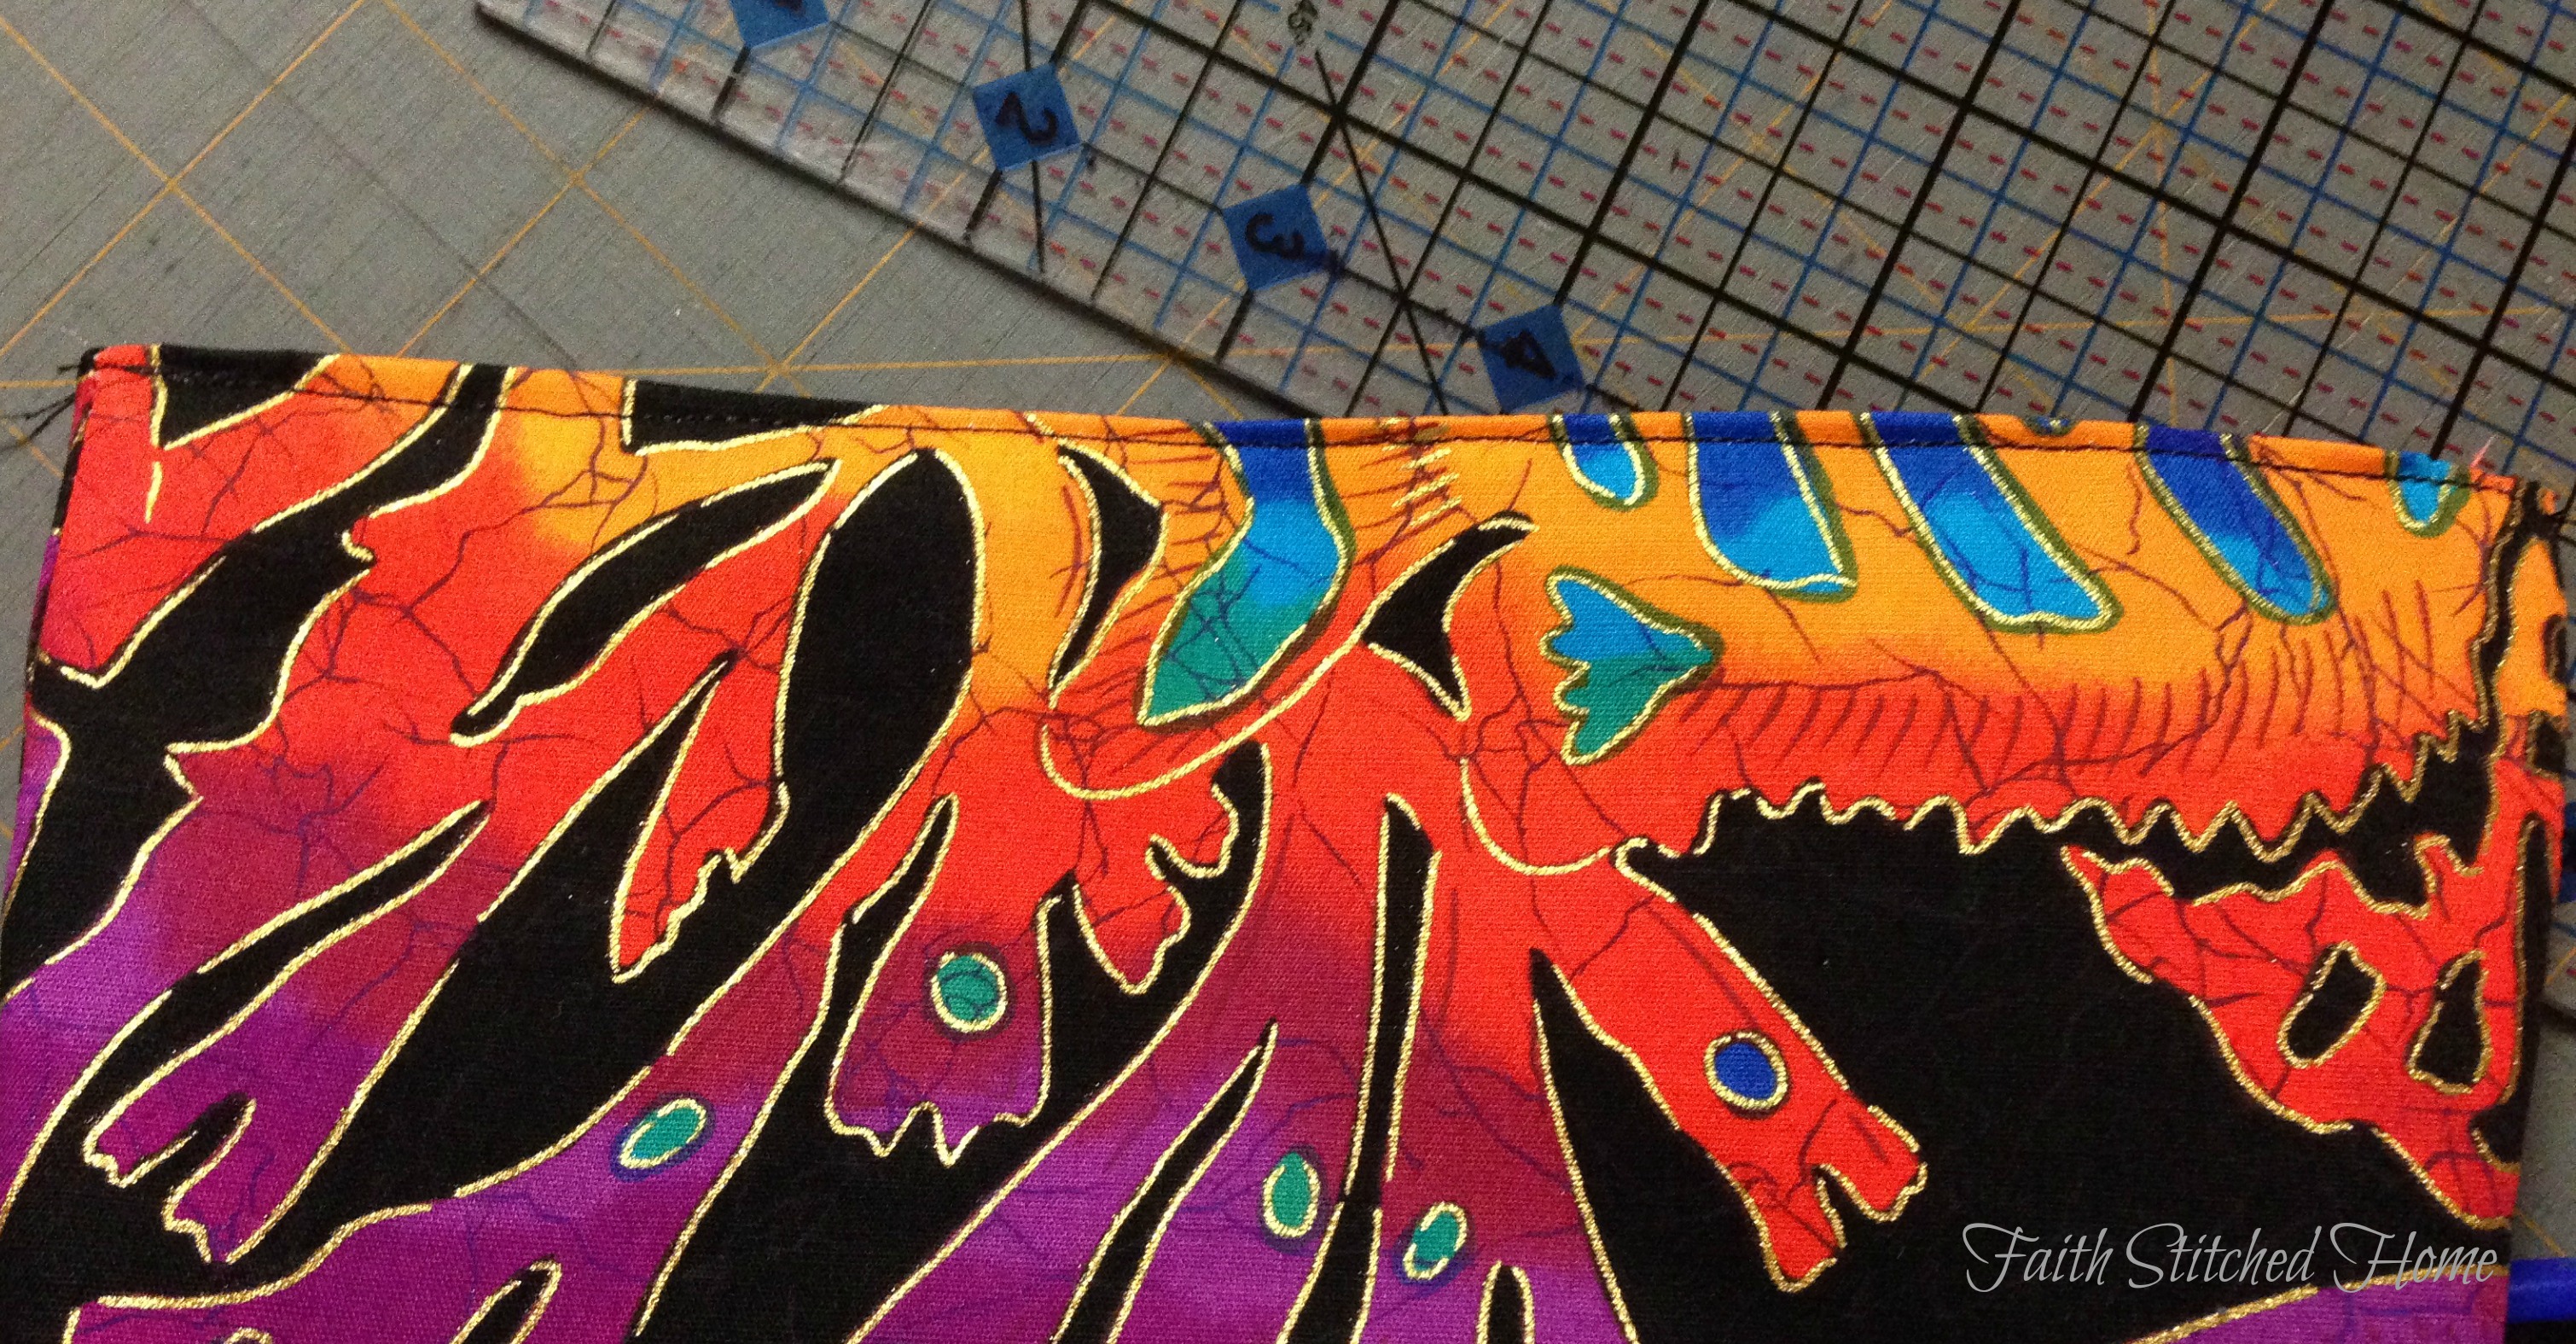
- On the outside of your bag front, using black thread stitch a swoop across the bag from side to side beginning about one third of the way down the side of the bag. This will be your pennant flag “rope” or guide for placing your flags for applique.
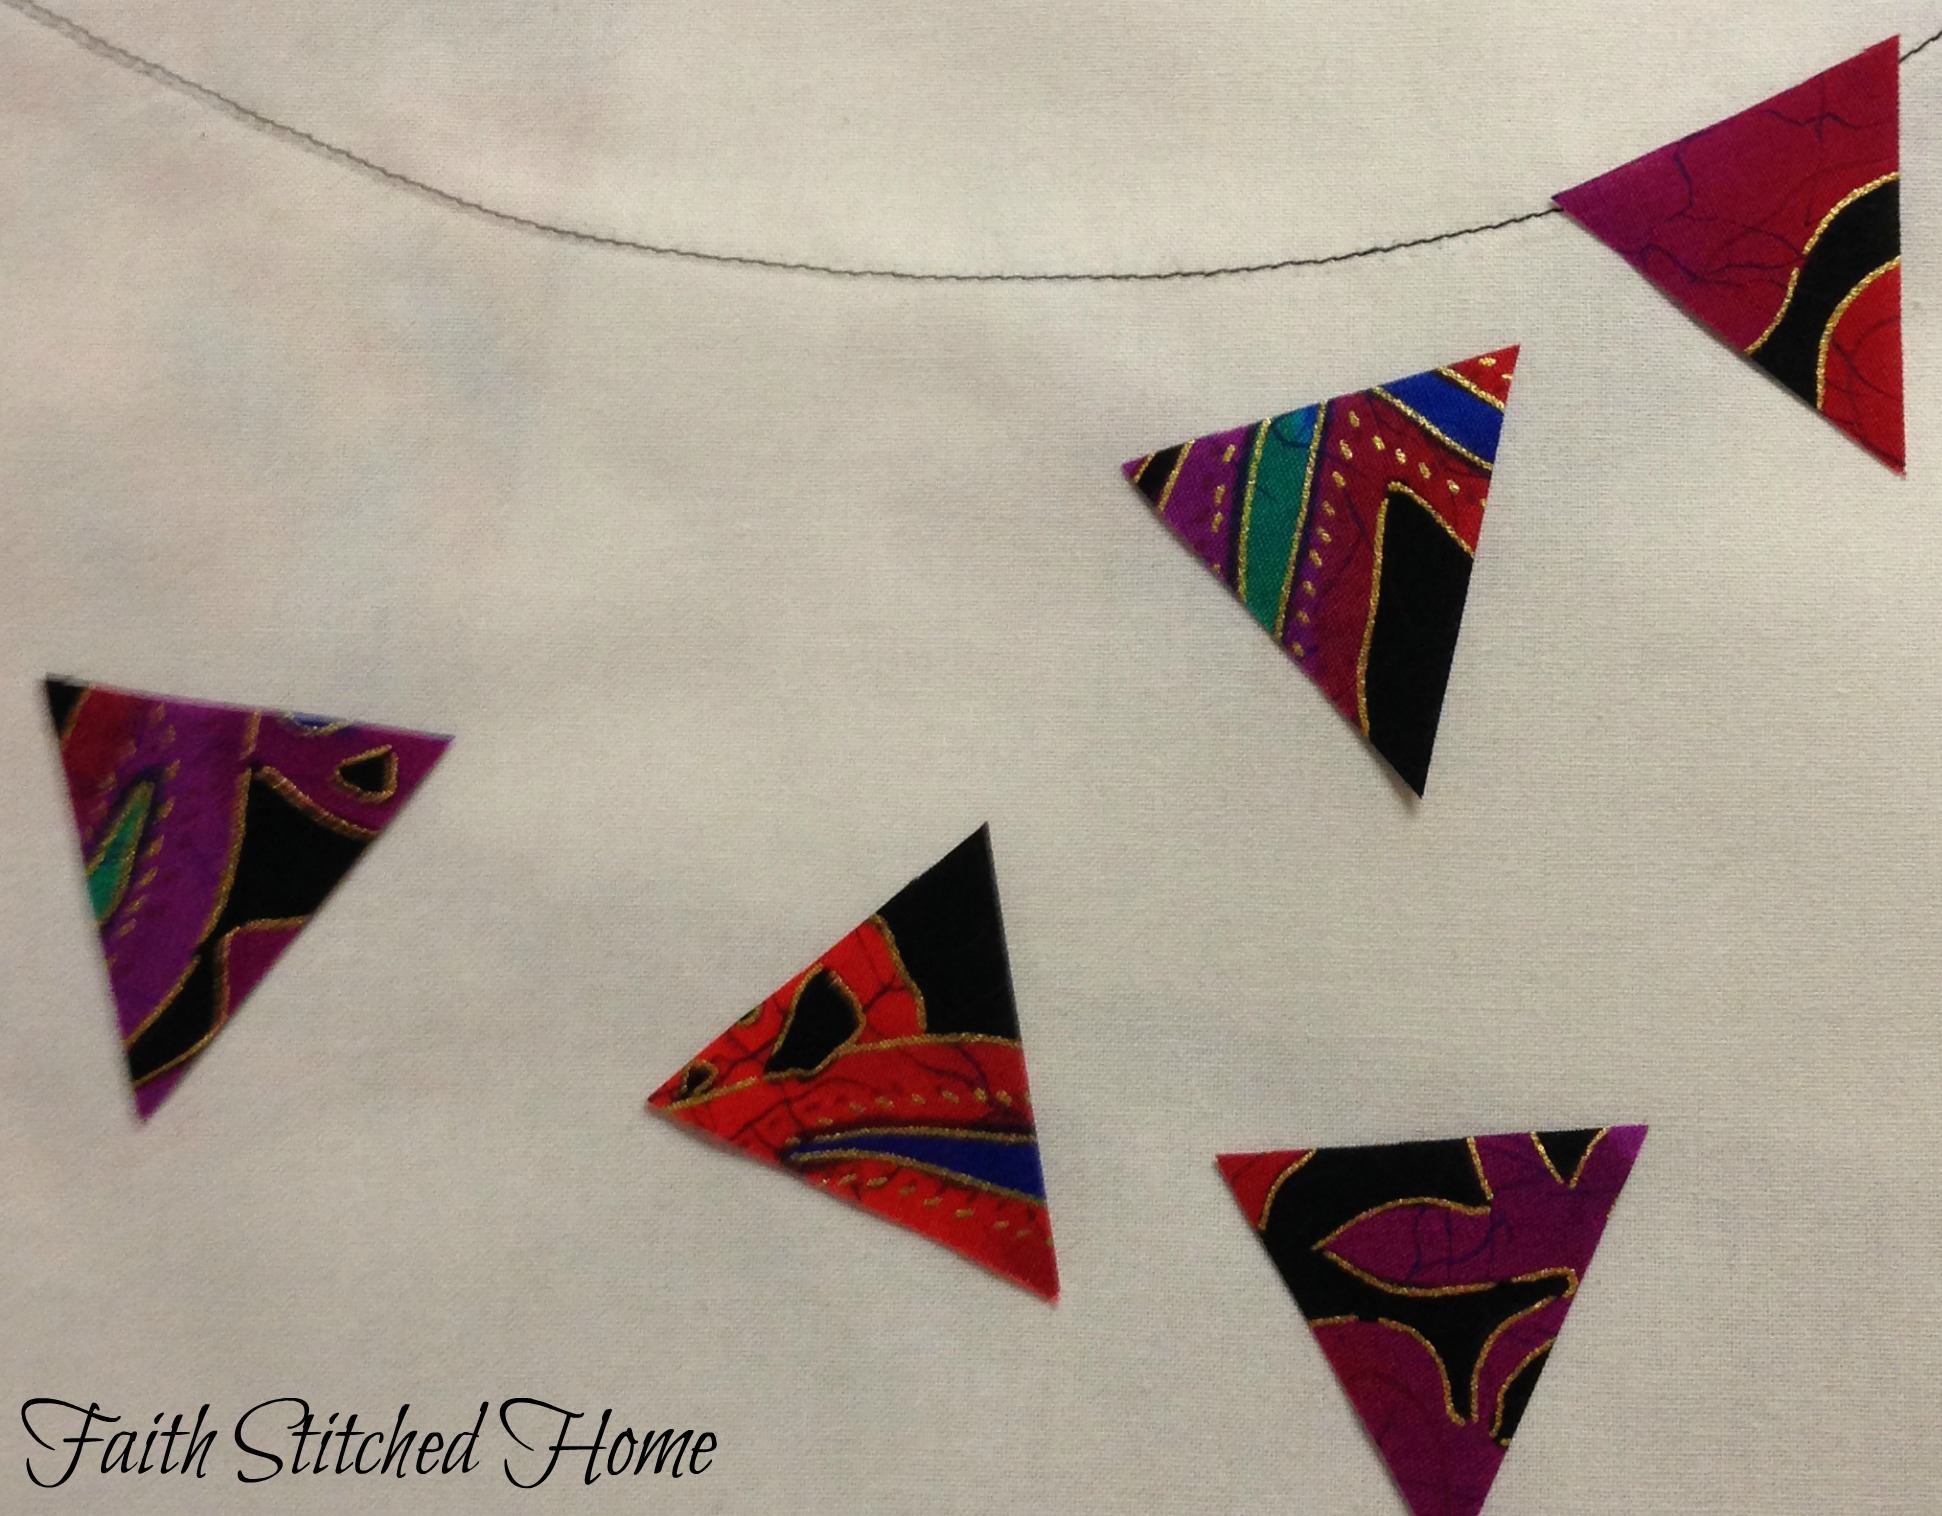
- Place your flags along the black stitched line and fuse into place with the top of the flags over the stitched line.
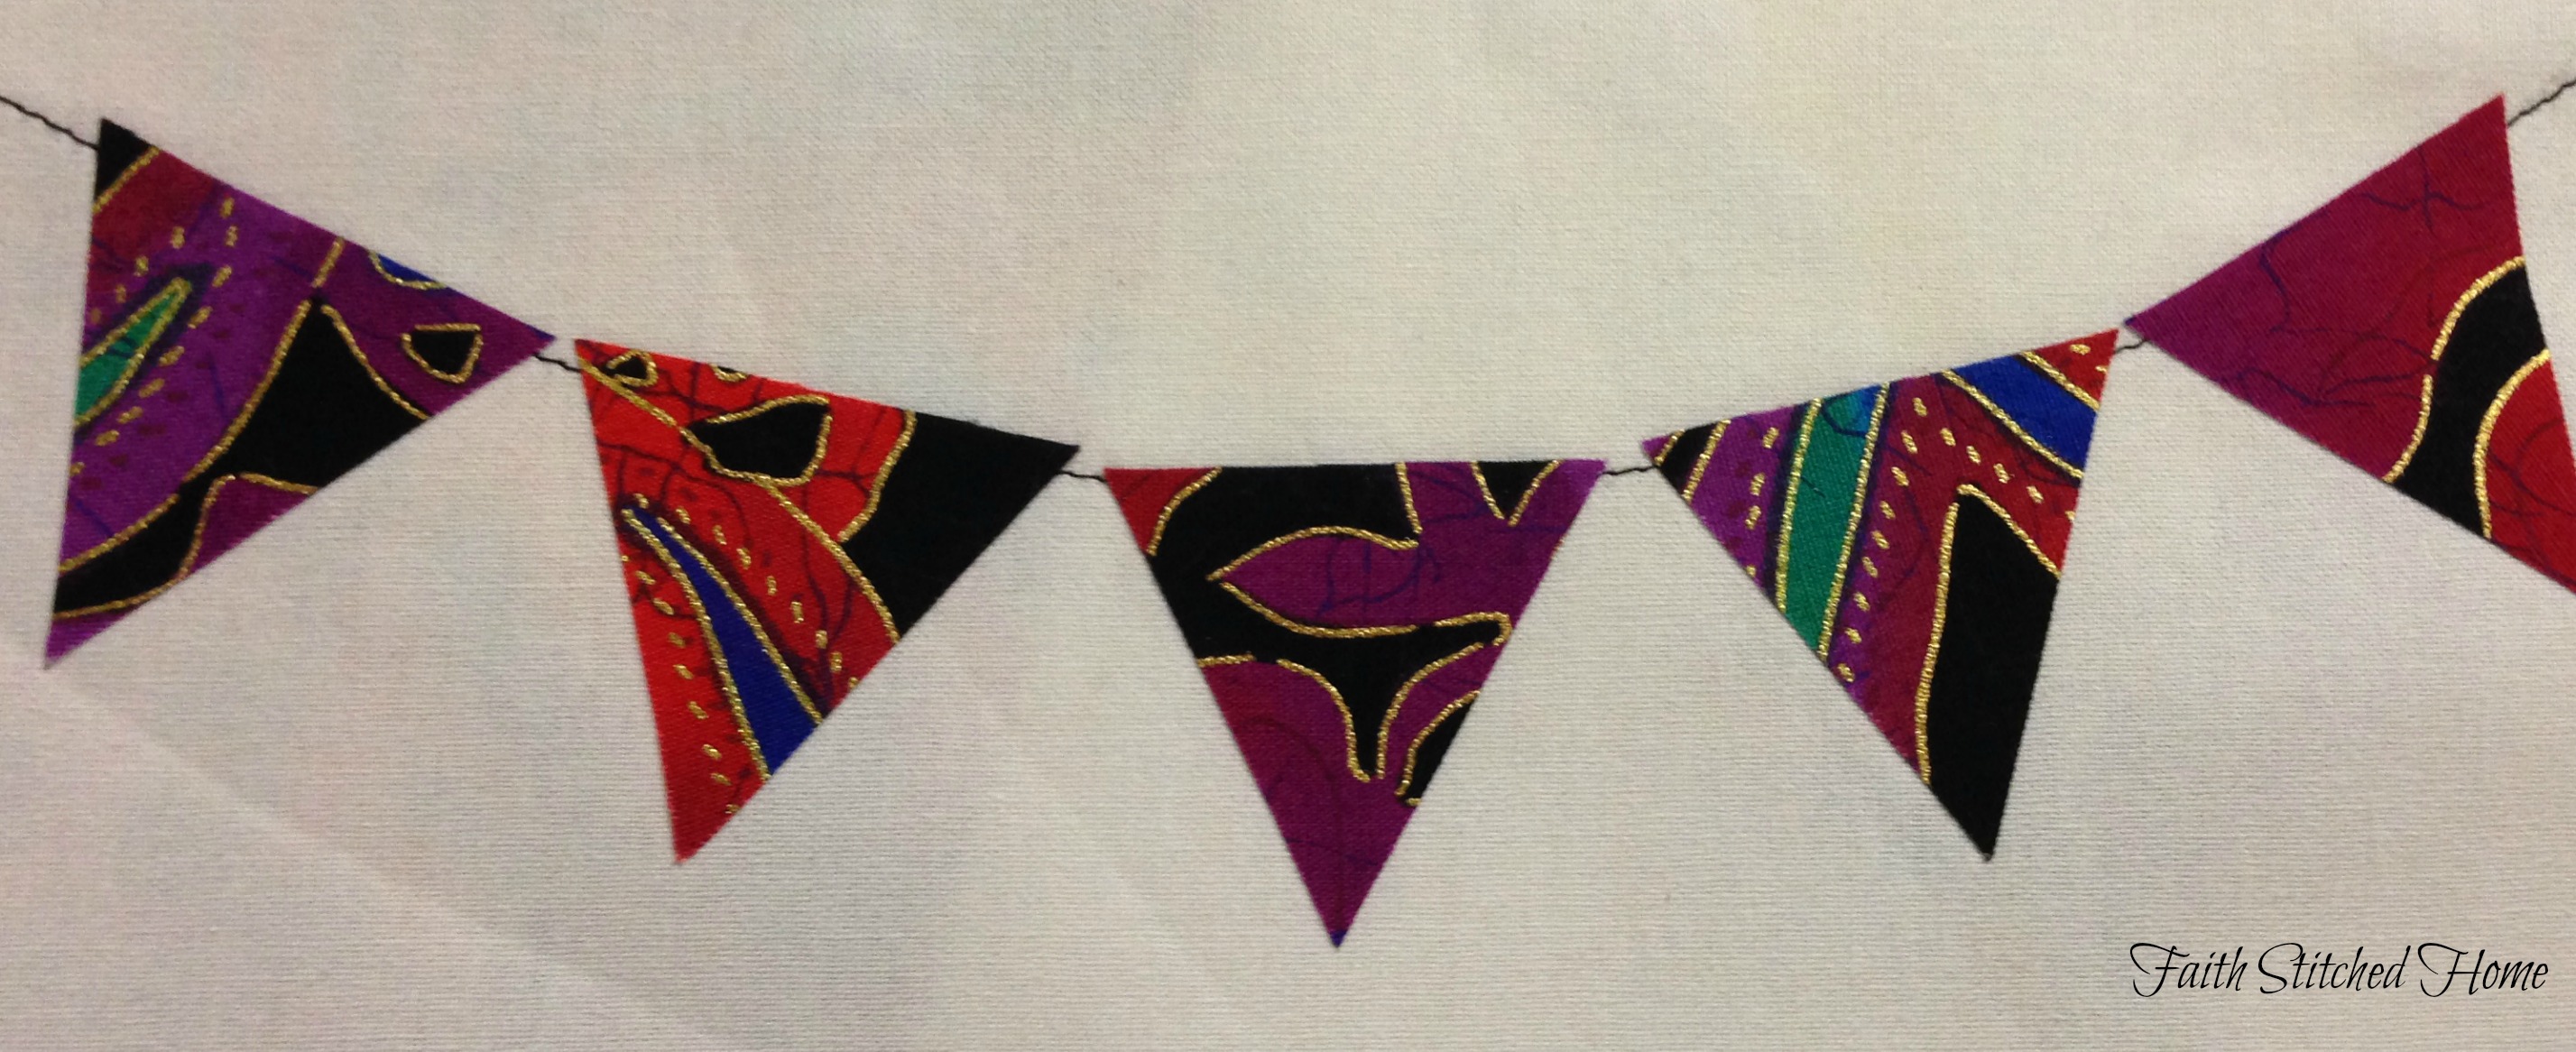
- Using black thread again, stitch over the original line and tops of flags. No need to be precise; part of the beauty of raw edge applique is the artistic or painterly flair. Stitch from one side to the other. I love raw edge applique for this very reason!

- Now go back over each flag stopping at the first corner, needle down, pivot, sew to the flag point, needle down, pivot, sew to the top opposite corner. Do this for every flag. If you like, go back over the “rope”.
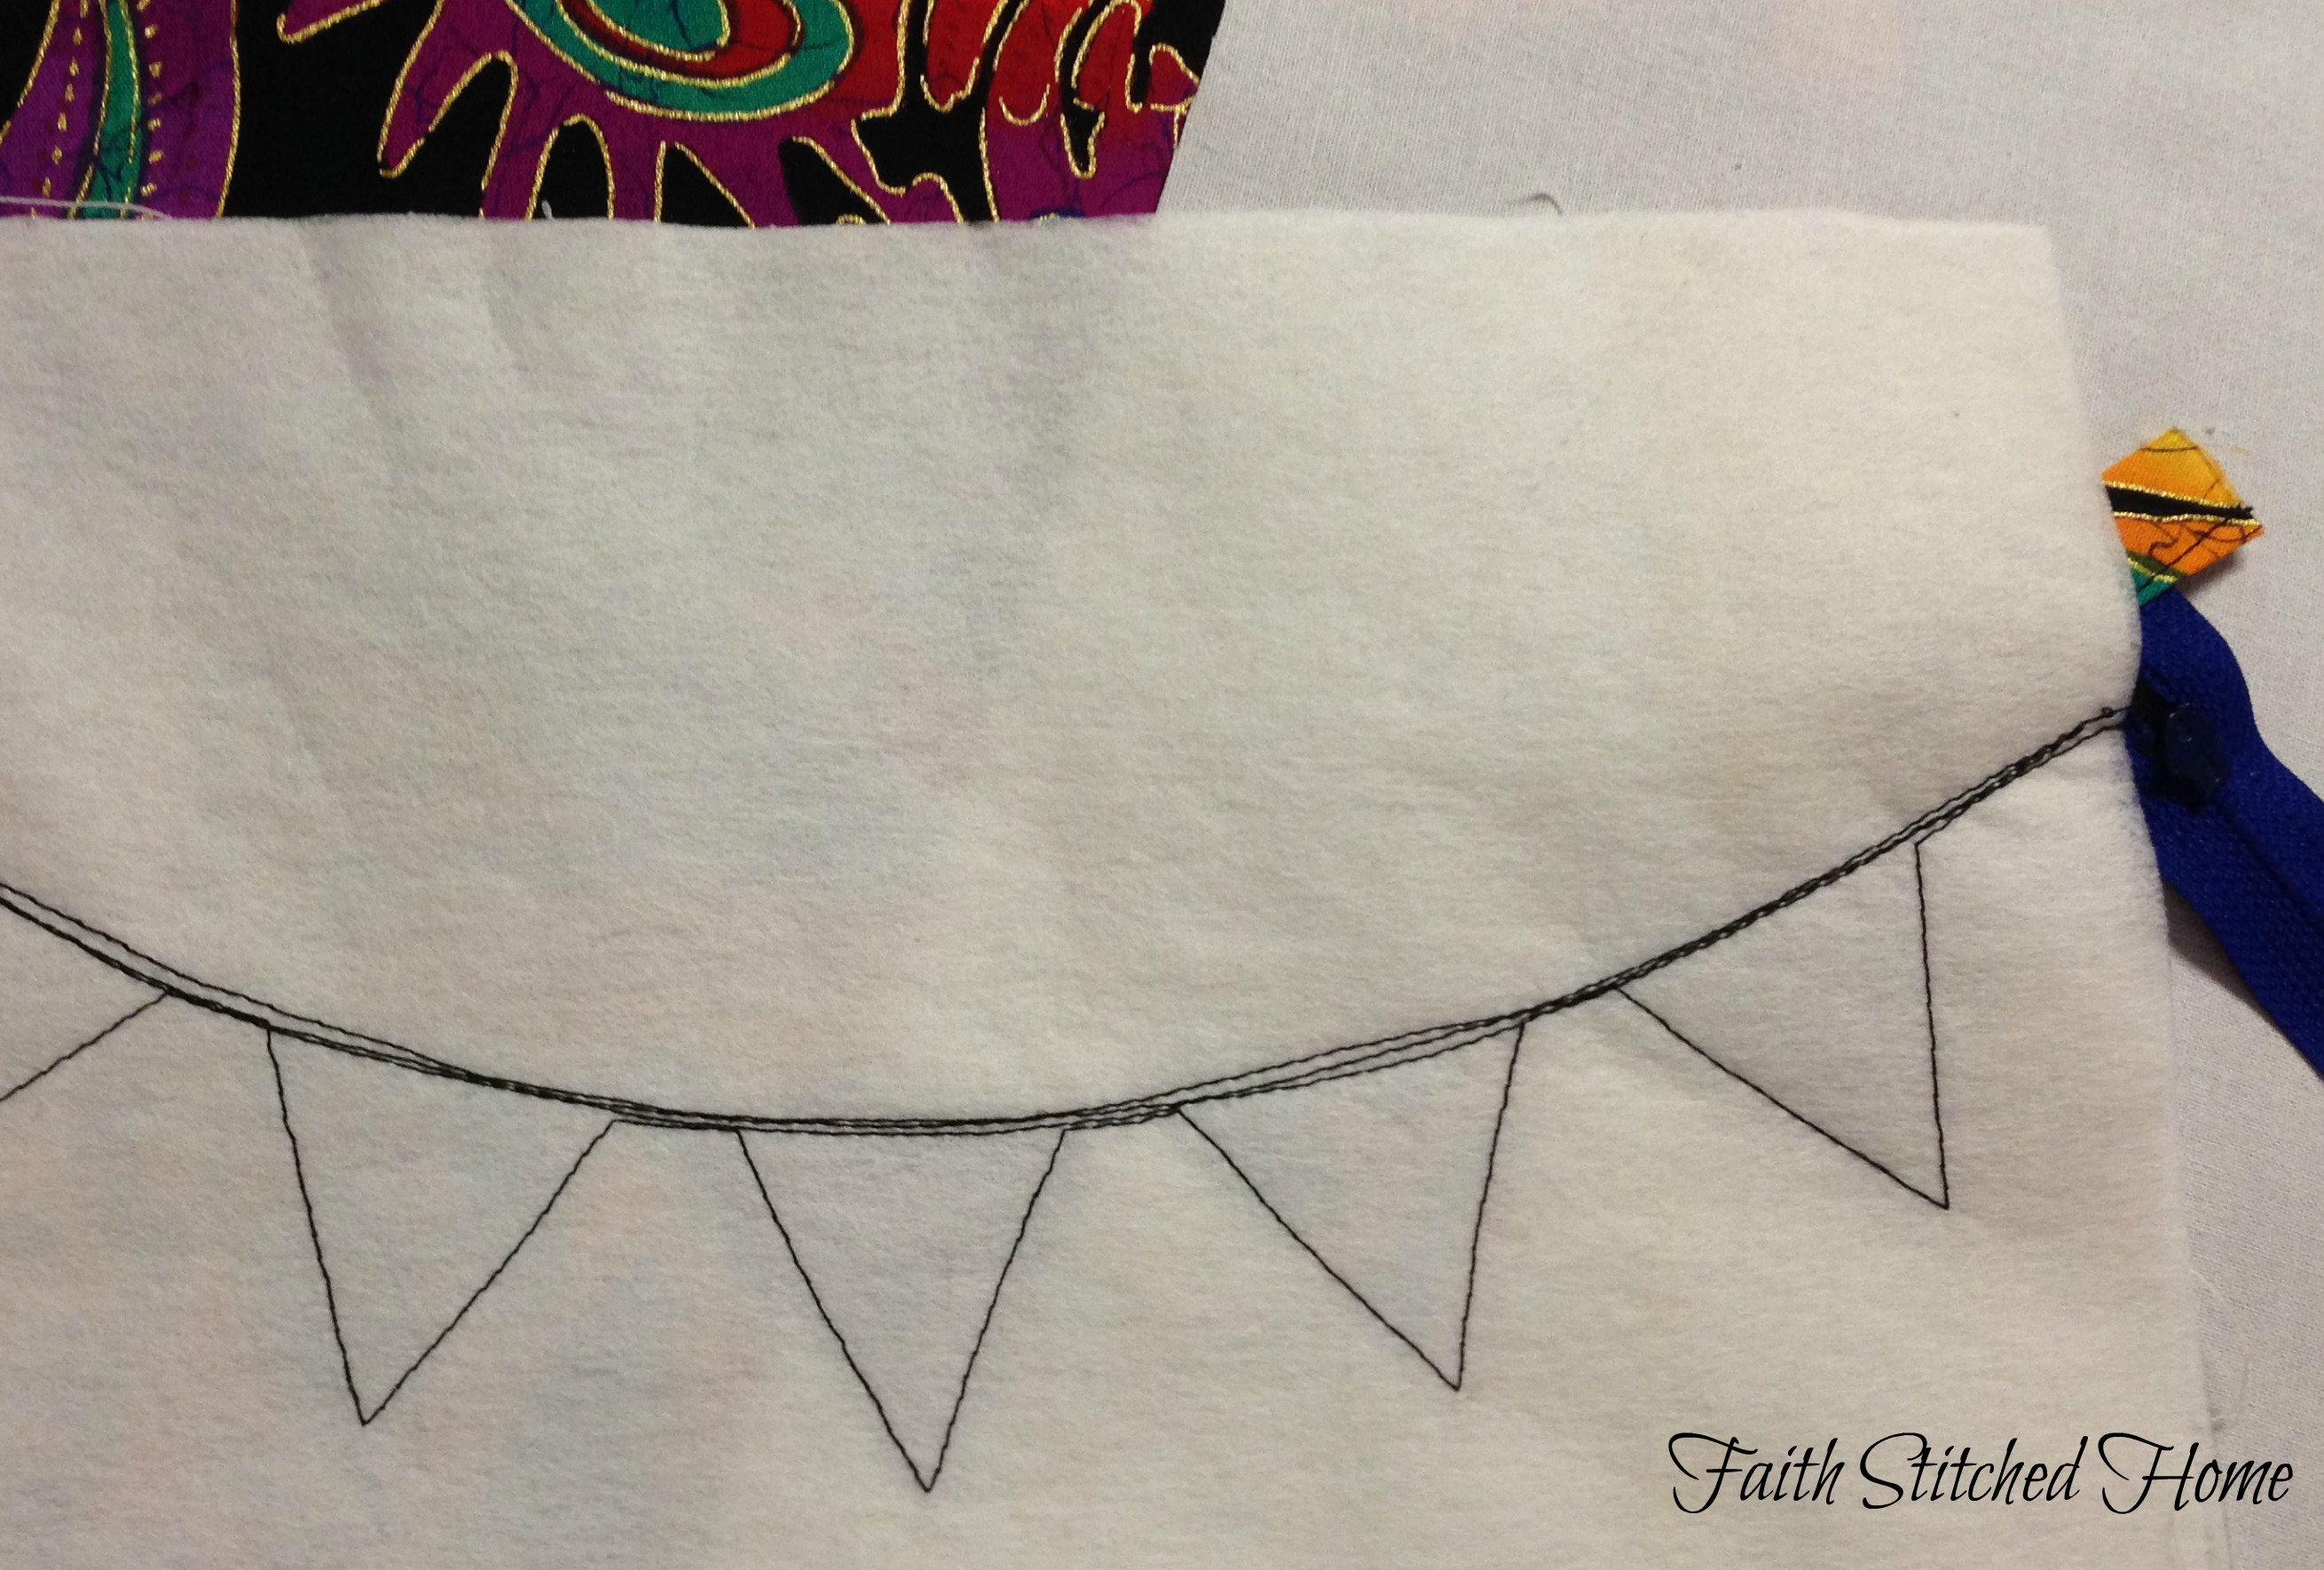
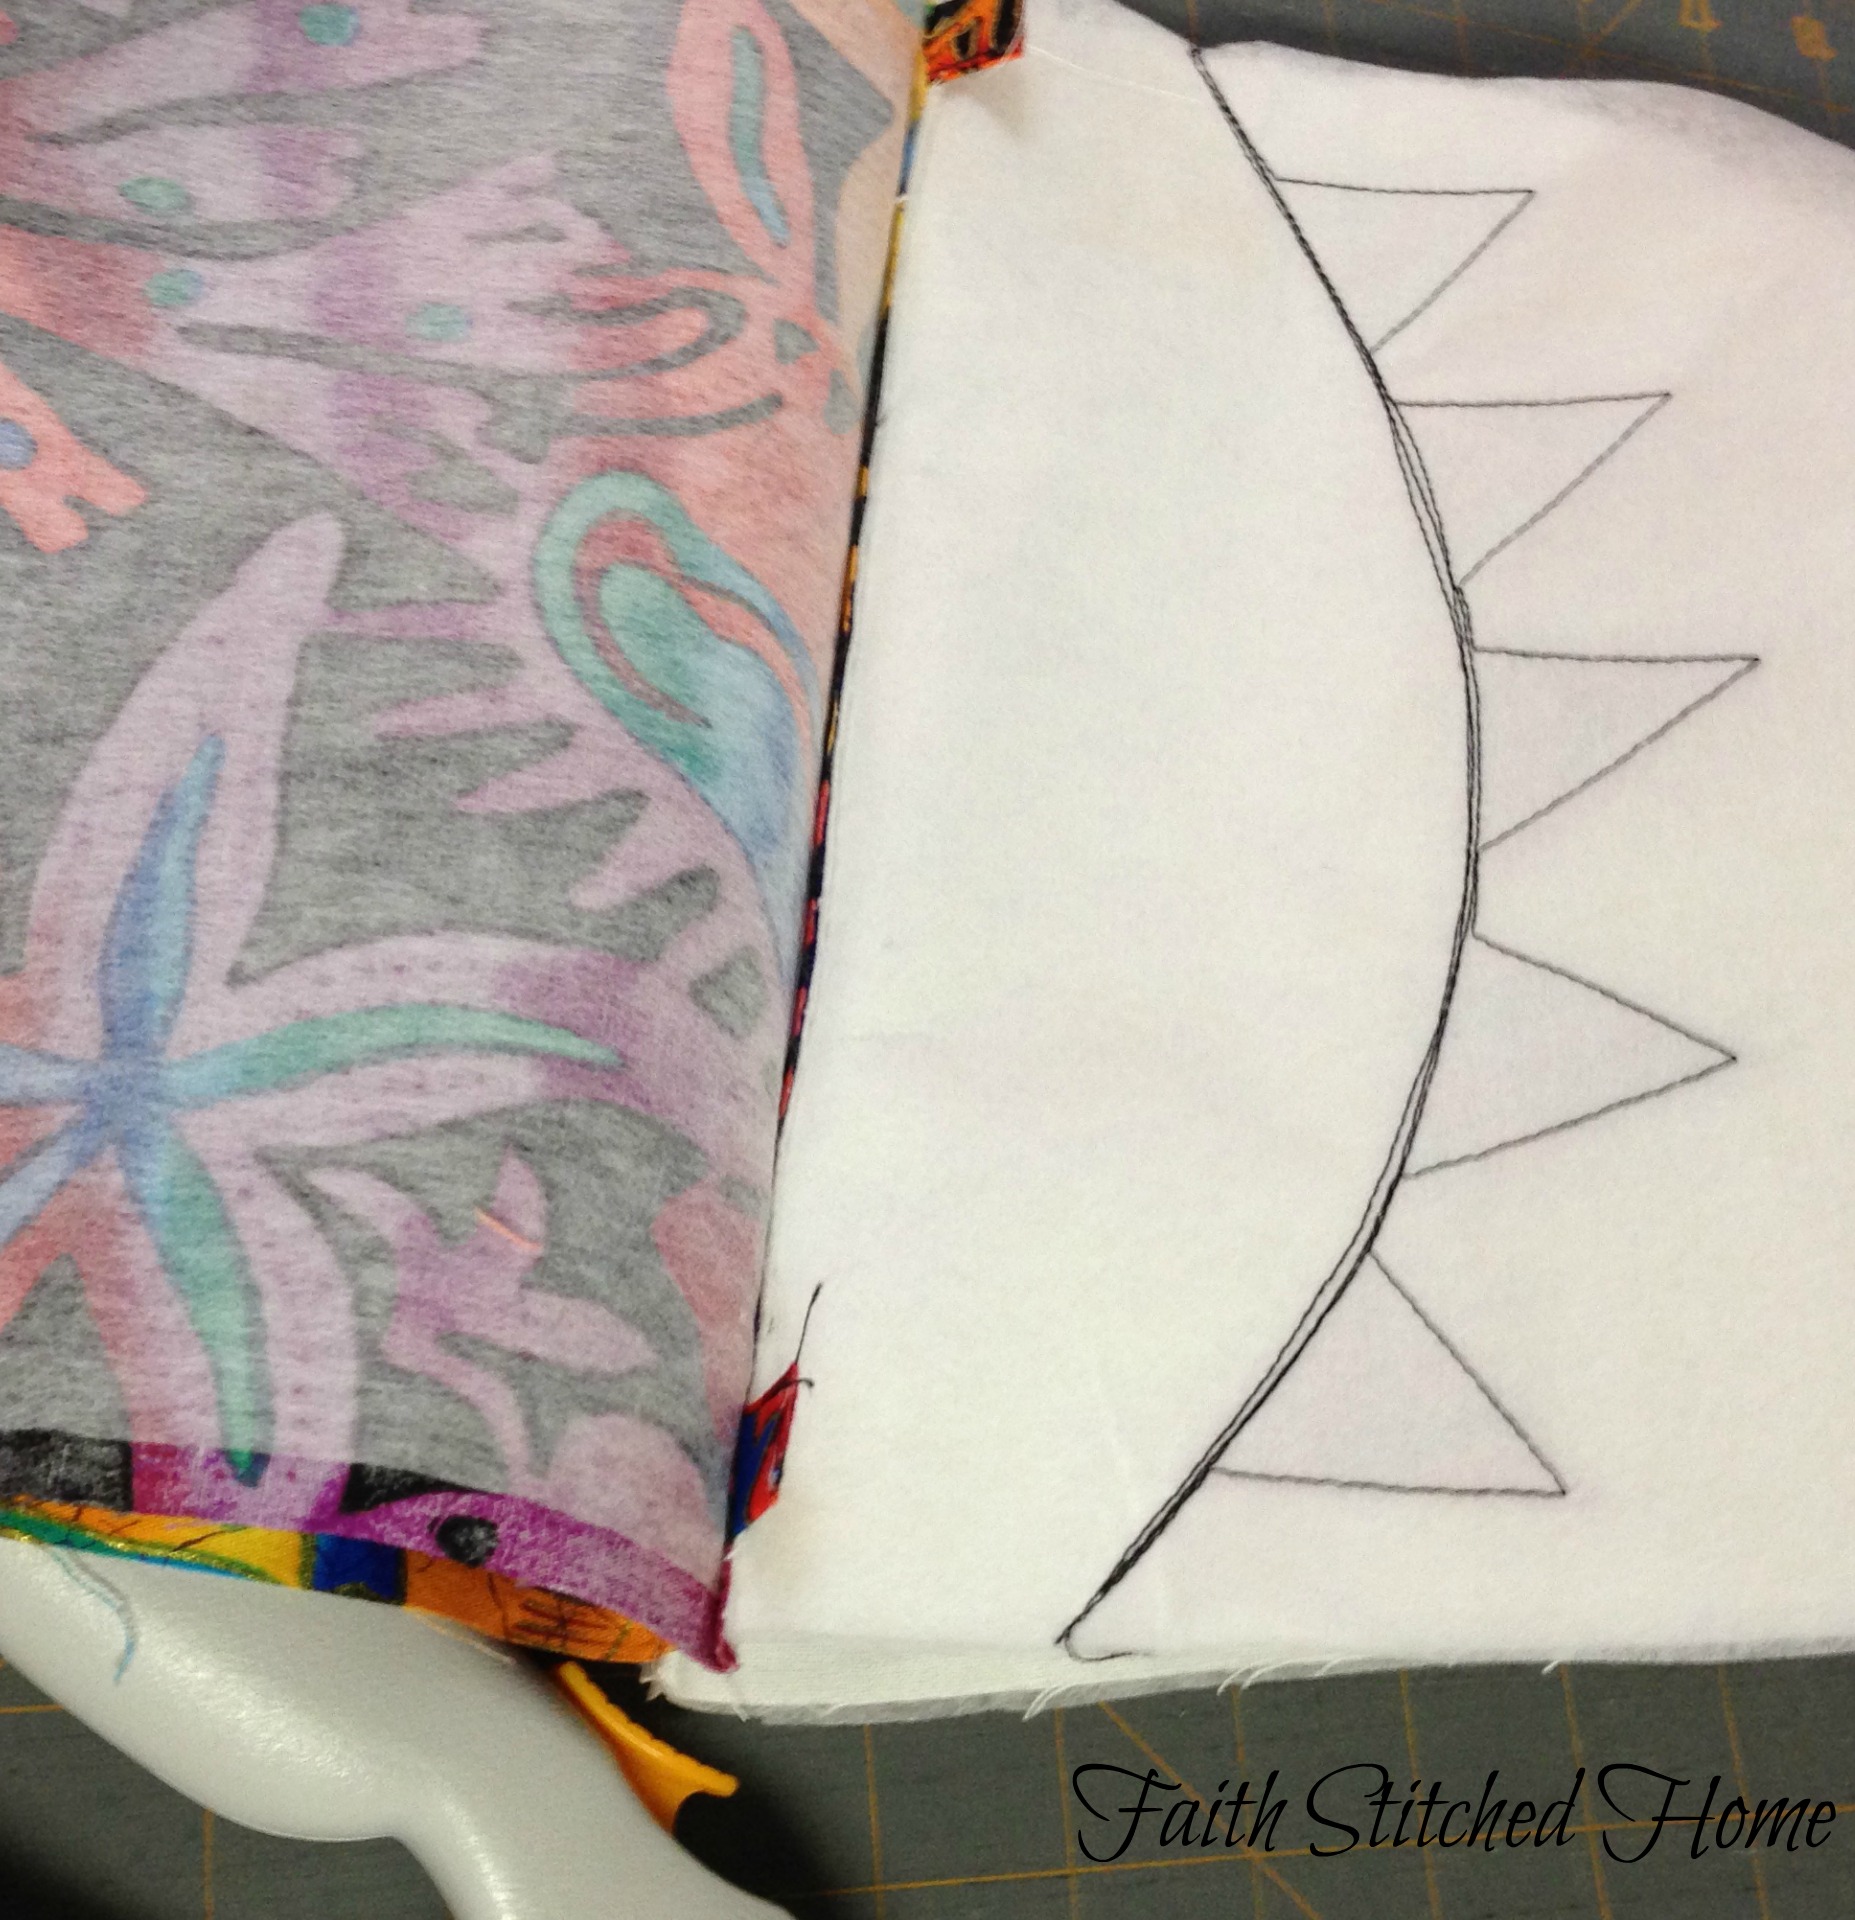
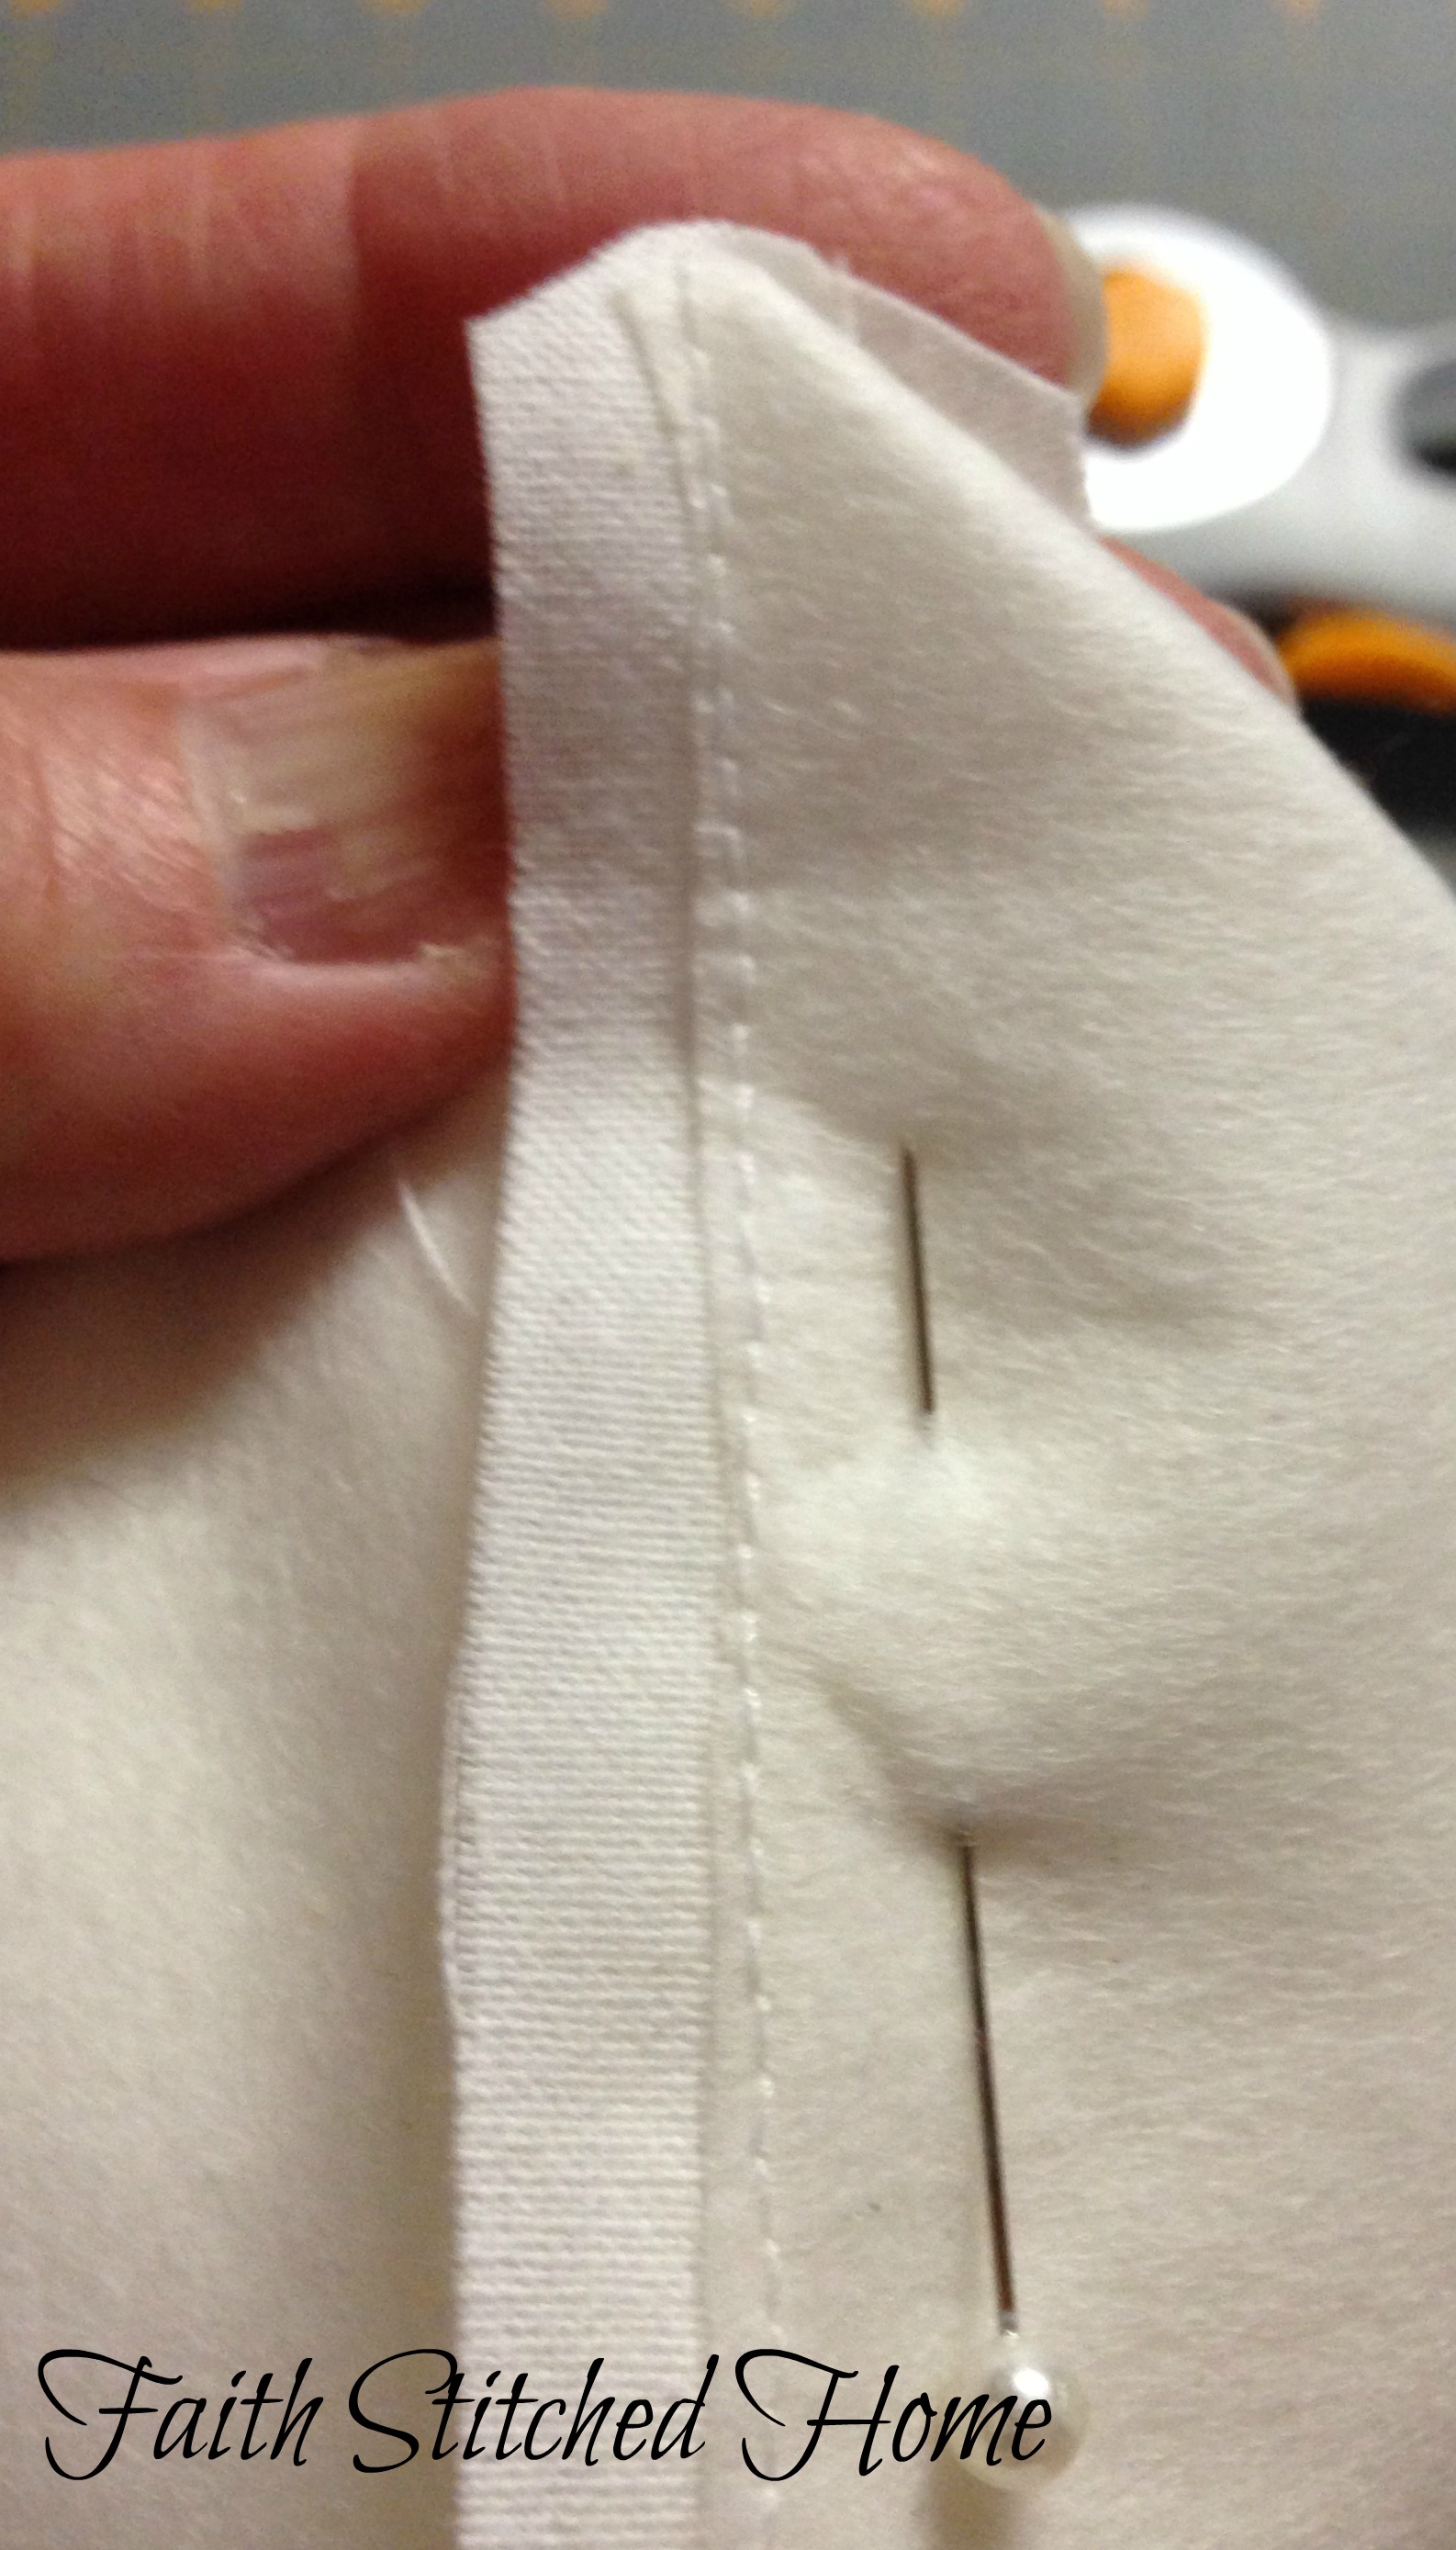
Here’s a view of my applique stitching from the backside.
Zipper tabs:
- With your 2 inch wide fabric cuts, fold in half and press.
- Fold ends of tabs in to meet center fold and press again.
- Place across ends of zipper tape below the zipper stop on one end and above the top of the zipper pull on the other end. Pin in place.
- Stitch across folded ends making tabs for each end of zipper. Be sure to not sew across zipper teeth or zipper stop. The tabs should be above and below them.
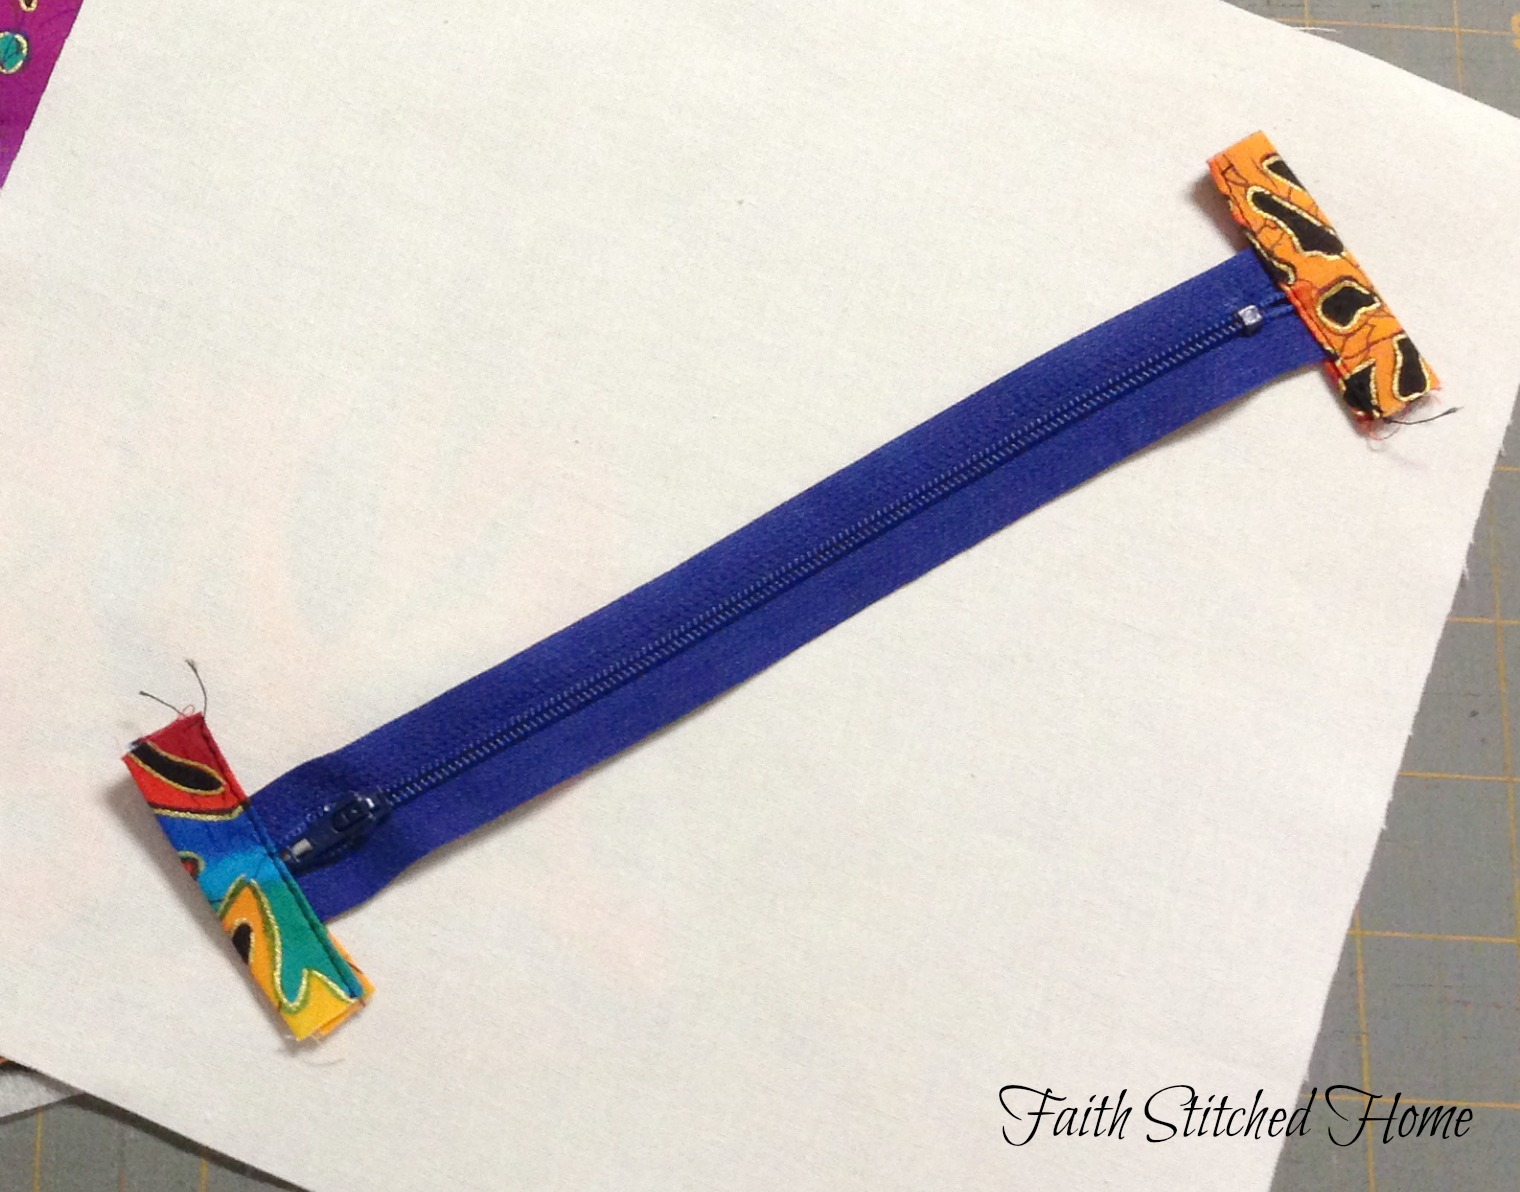
Sorry I forgot to take photos of this process. But it is oh sew easy!
Install the zipper:
- Place bag front face up on flat surface.
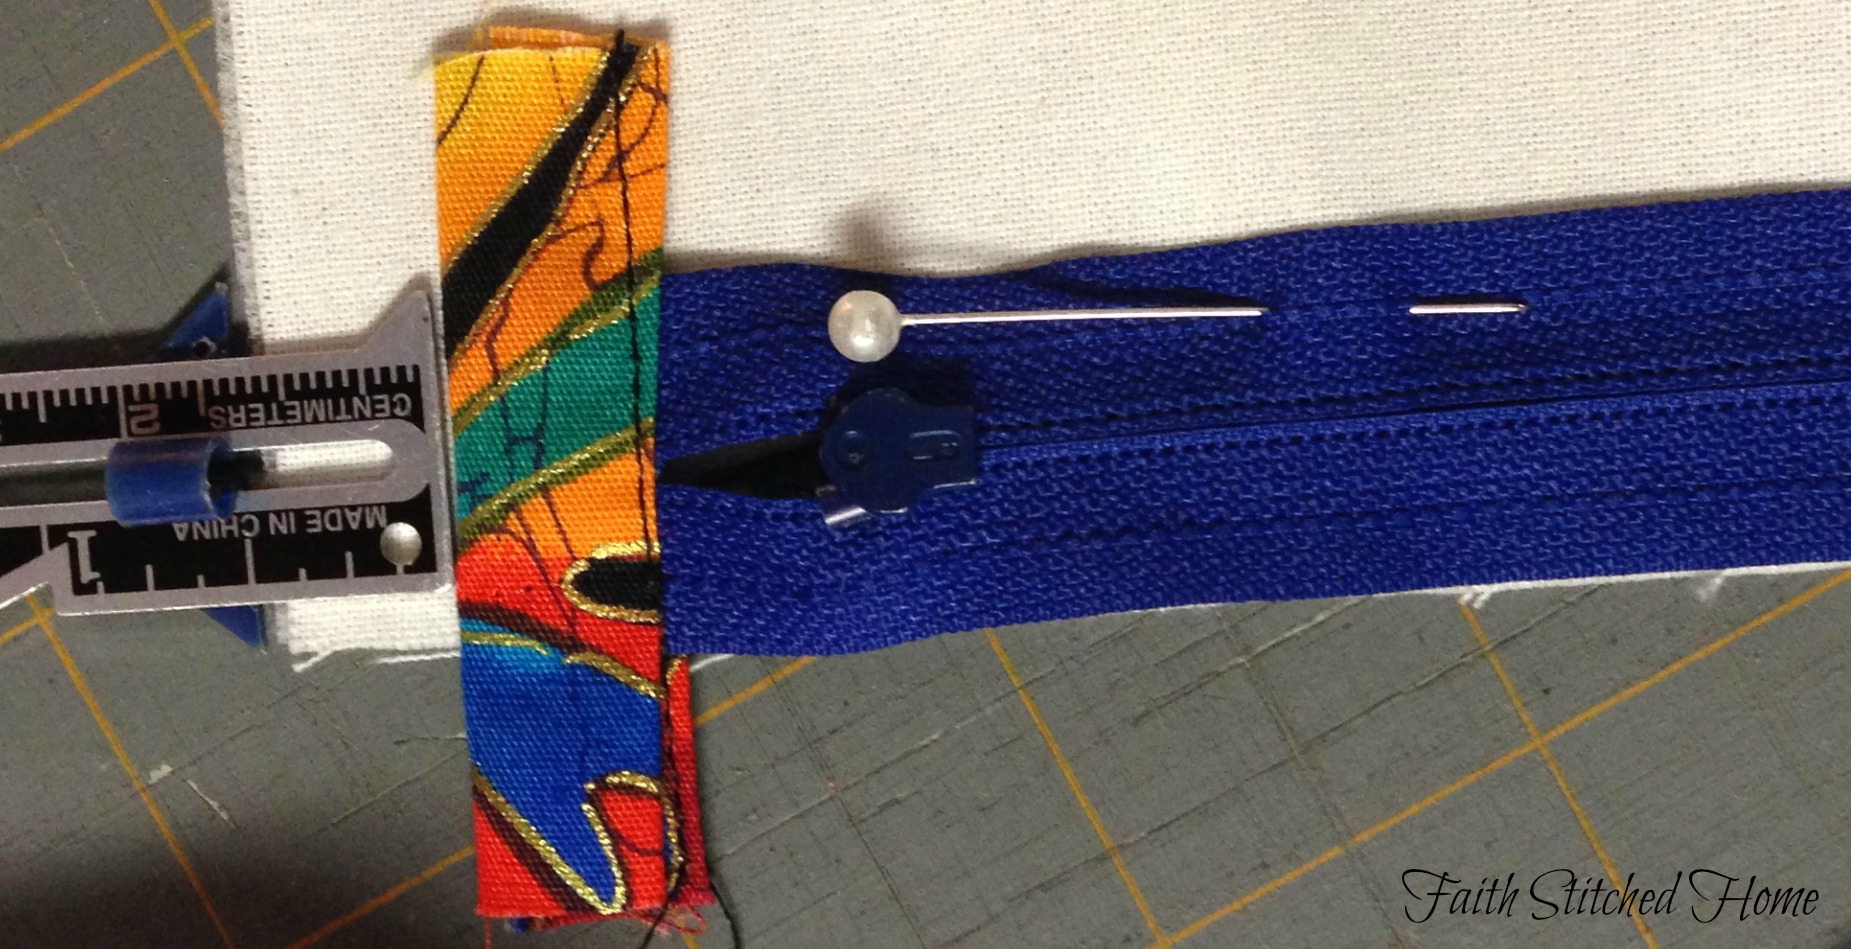
- Place zipper face down along edge of top of bag. Pin temporarily in place 1/2 inch from each side edge of bag. This allows for your 1/2 inch seam allowance on either side. Be sure zipper pull is pulled up toward edge of bag so your needle has less chance of hitting it.
- Place bag lining face down over zipper. Pin in place. Remove temporary pins from underneath.
- Carefully stitch using zipper foot down length of zipper tape. This should be about a 1/4 inch from the edge.
- Pull bag front and lining down so that wrong sides are now together. One edge of zipper tape will be exposed. Iron well so that fabric is flat and smooth away from zipper teeth. This is important so that the pull does not catch the fabric in it when opening and closing.
- Repeat steps 1 -5 for the other side.

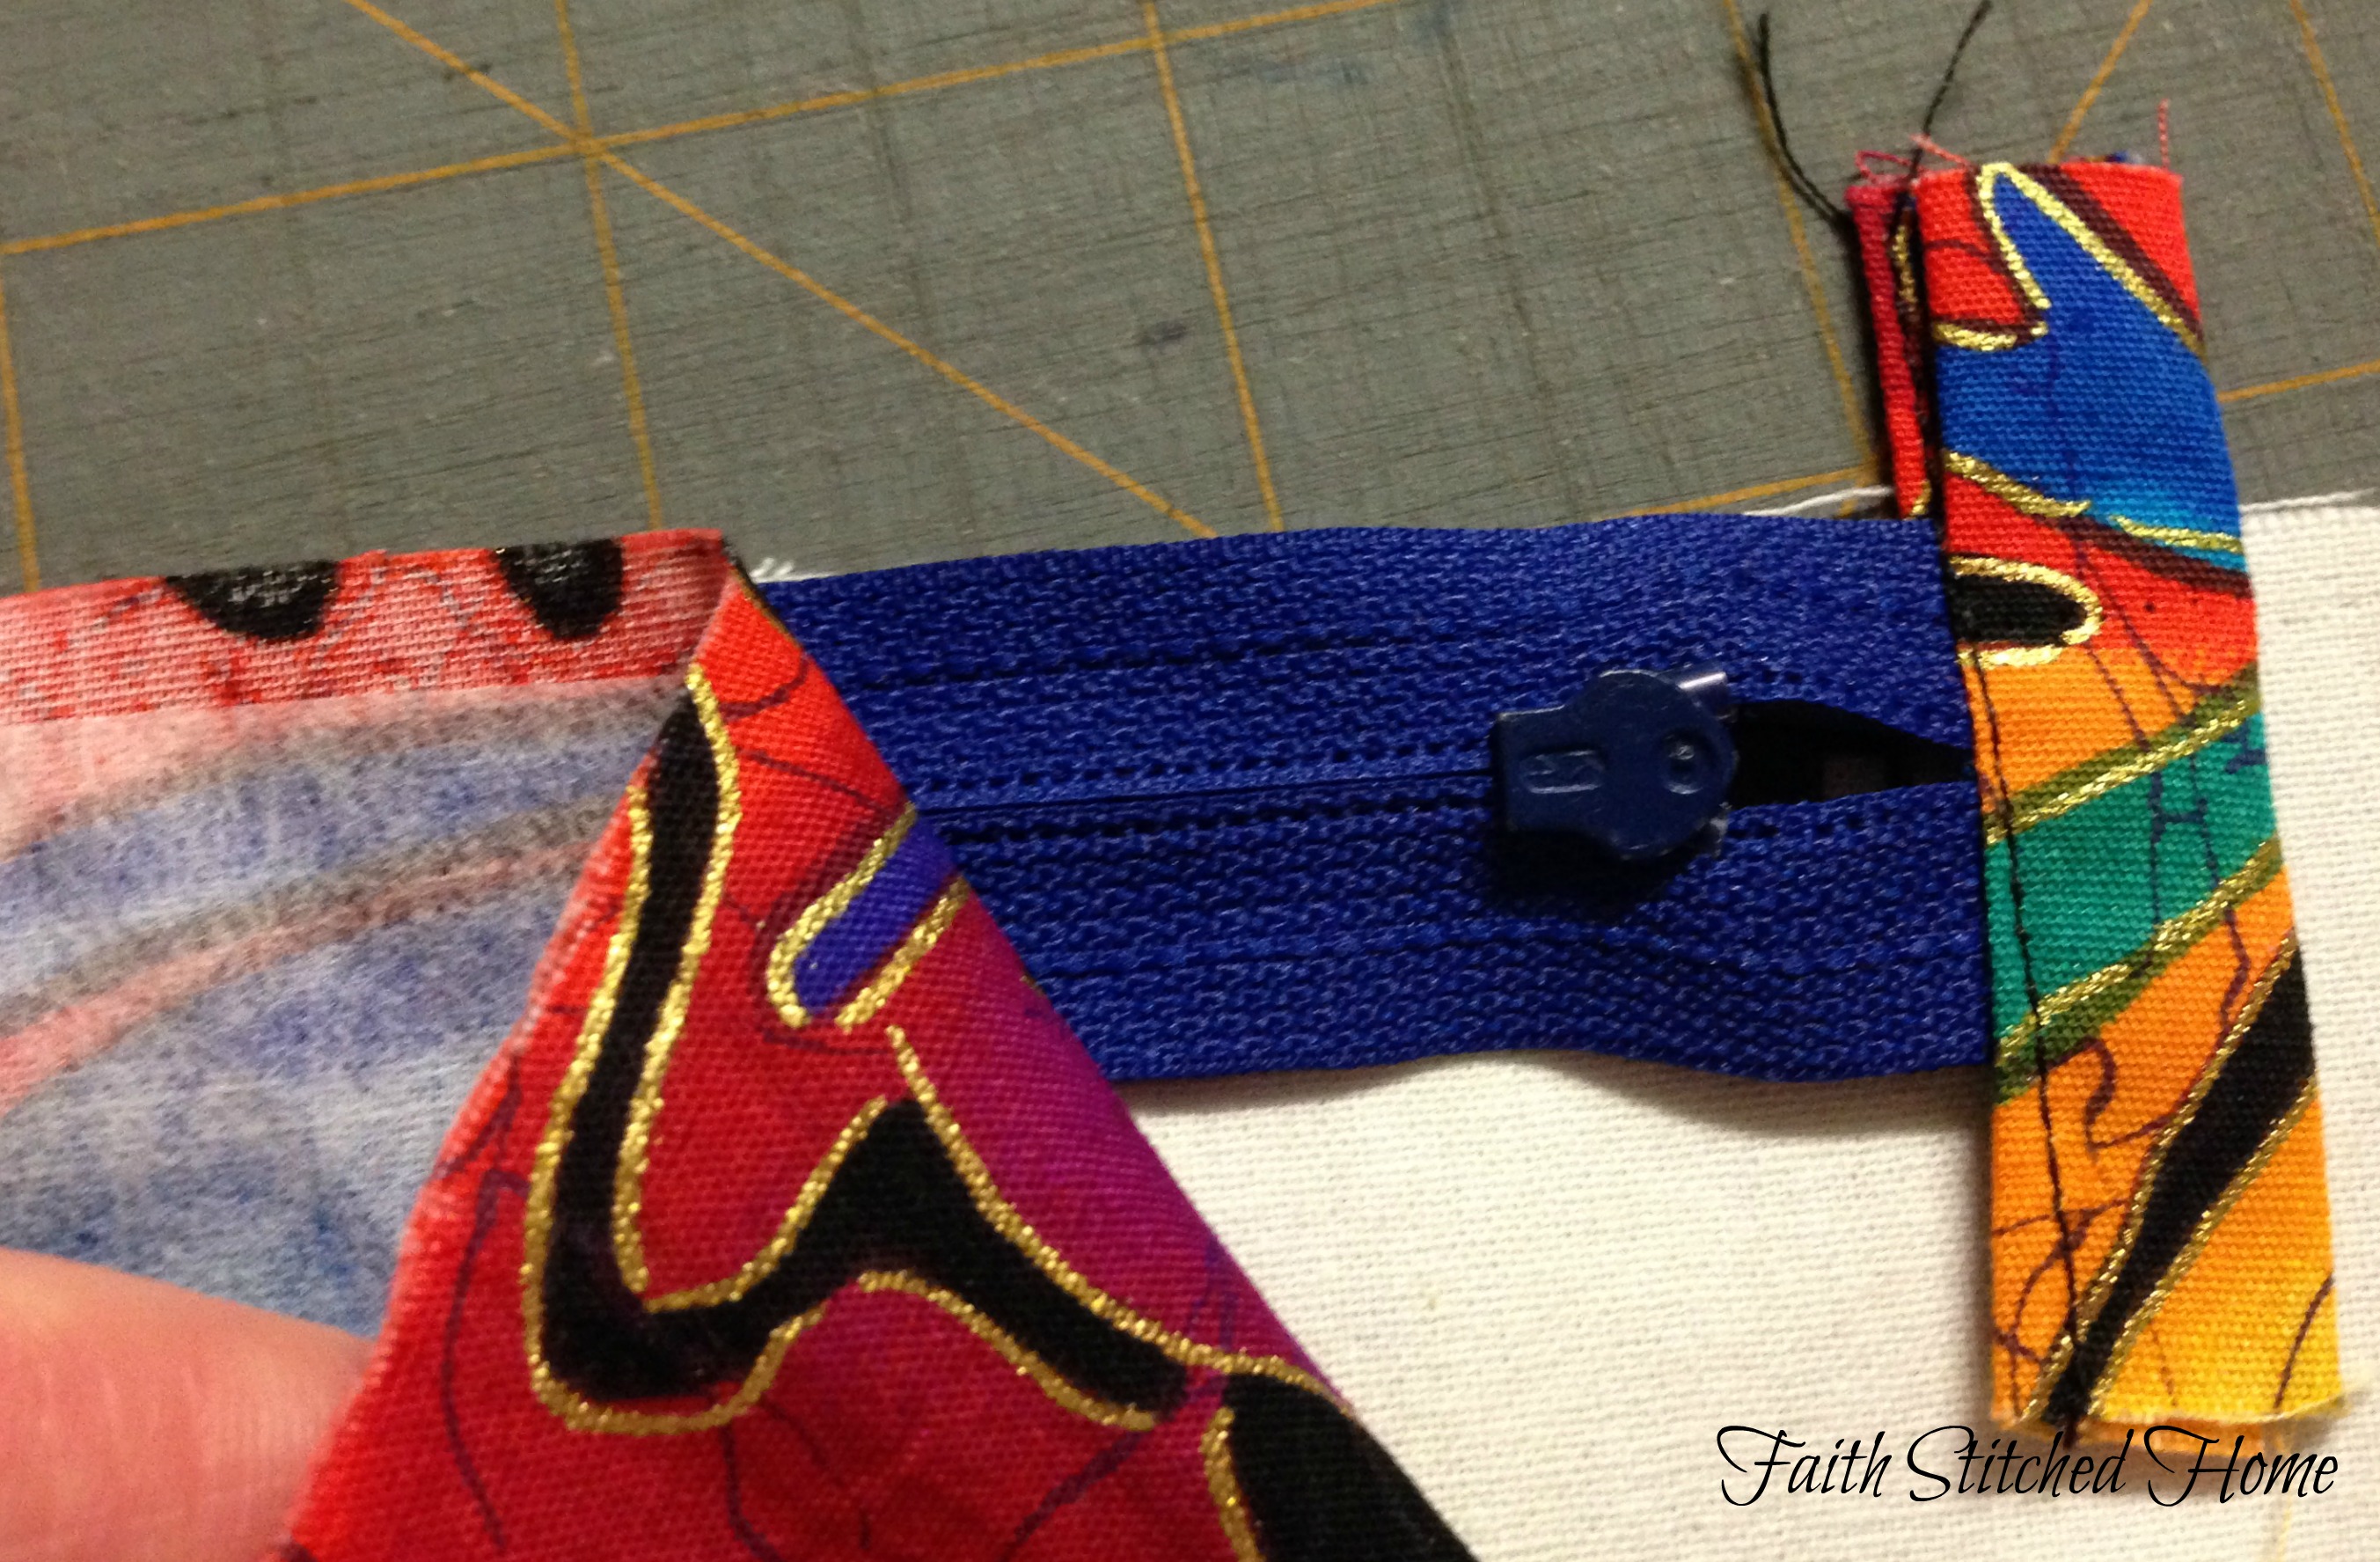
- At this point you can trim the extra sides of your tabs.


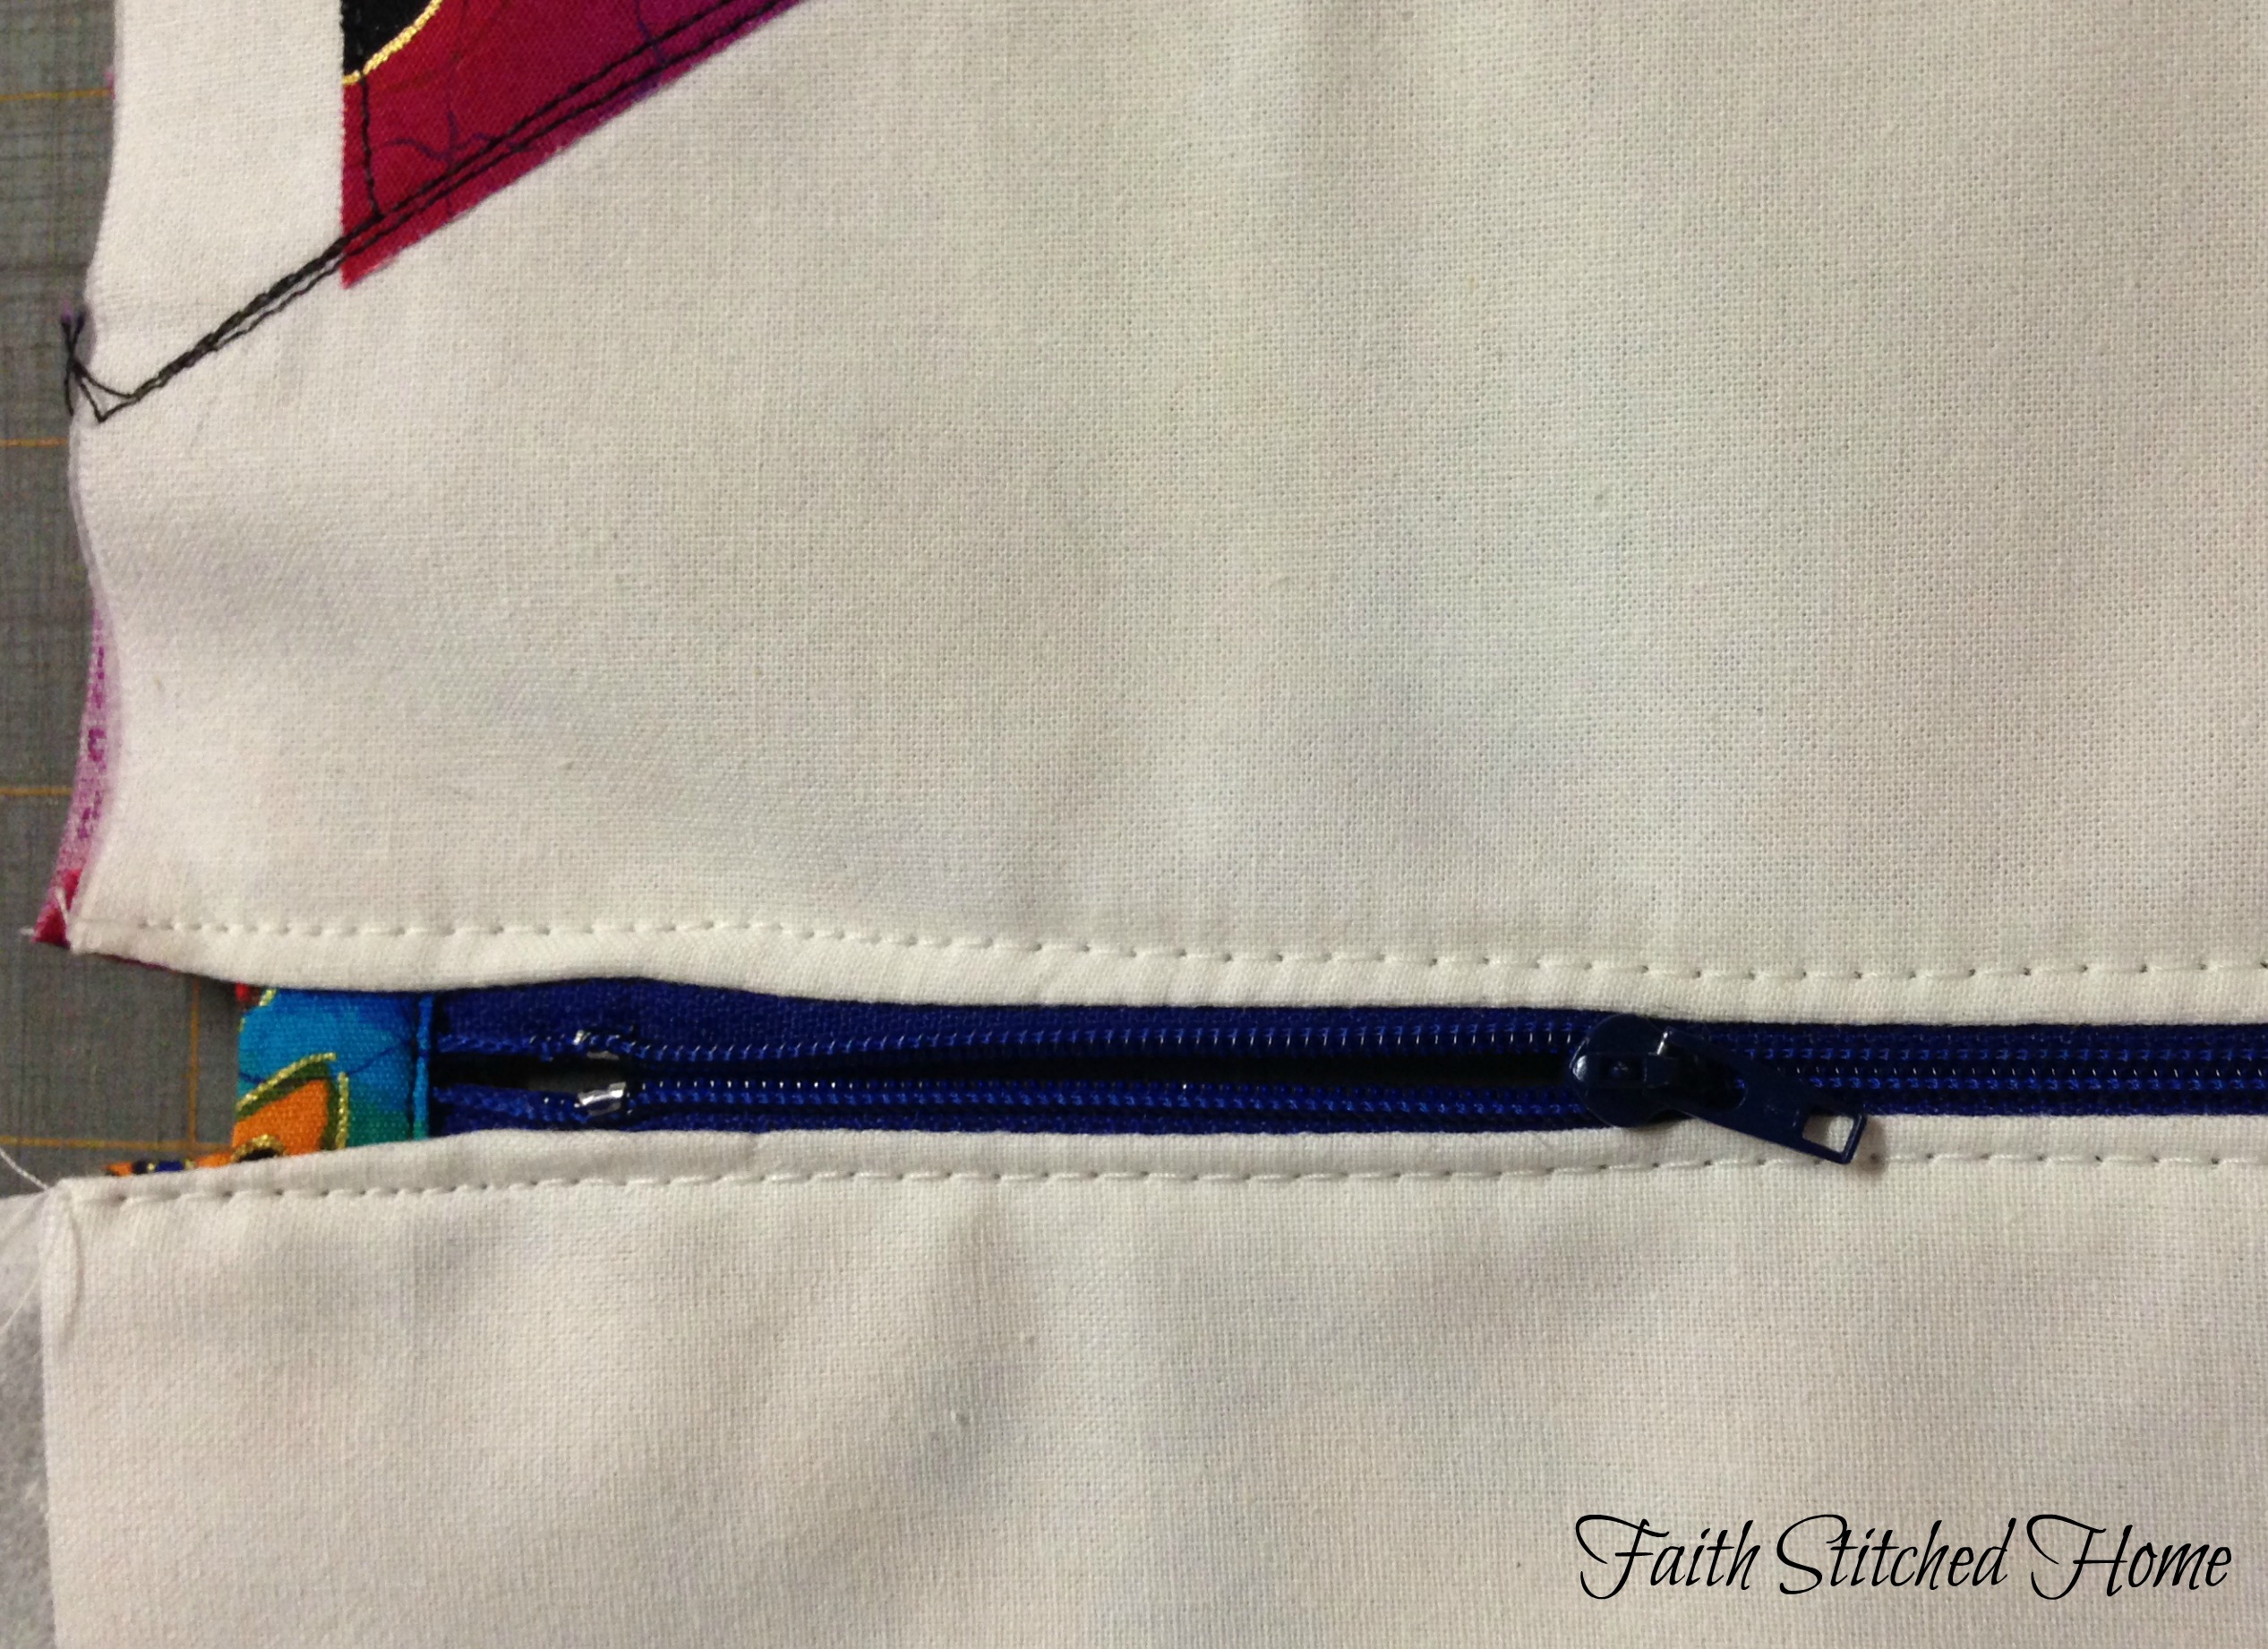
View of the zipper from the lining side
- Top stitch down length of zipper to secure fabric from being caught in zipper pull. Also makes a nice finishing touch.
- Unzip your zipper. Very important because if you don’t you will completely sew your bag closed and will be unable to turn your work. Listen to the voice of experience. Um-hmm, I’ve done it!
Sewing the sides of your bag:
- Bring your bag front and back together right sides facing each other.
- Be absolutely certain that the tops of the bag front and back are matched. If your sides or bottoms are not exactly matched, that’s okay; we can make our adjustments there.
- Pin around the edges trimming to match sides and bottom.
- Beginning at the bottom side of the lining with a 1/2 inch seam, stitch up lining side continuing your stitching down the front side. Be careful here not to catch your zipper tab in your stitches.
- Continue stitching down the front, across the bottom, up the other side to the bottom of the bag lining. The bottom of your bag lining will be open.
If you use sew-in interfacing as I have, you can trim the edges of the interfacing to reduce the bulk in your seams.
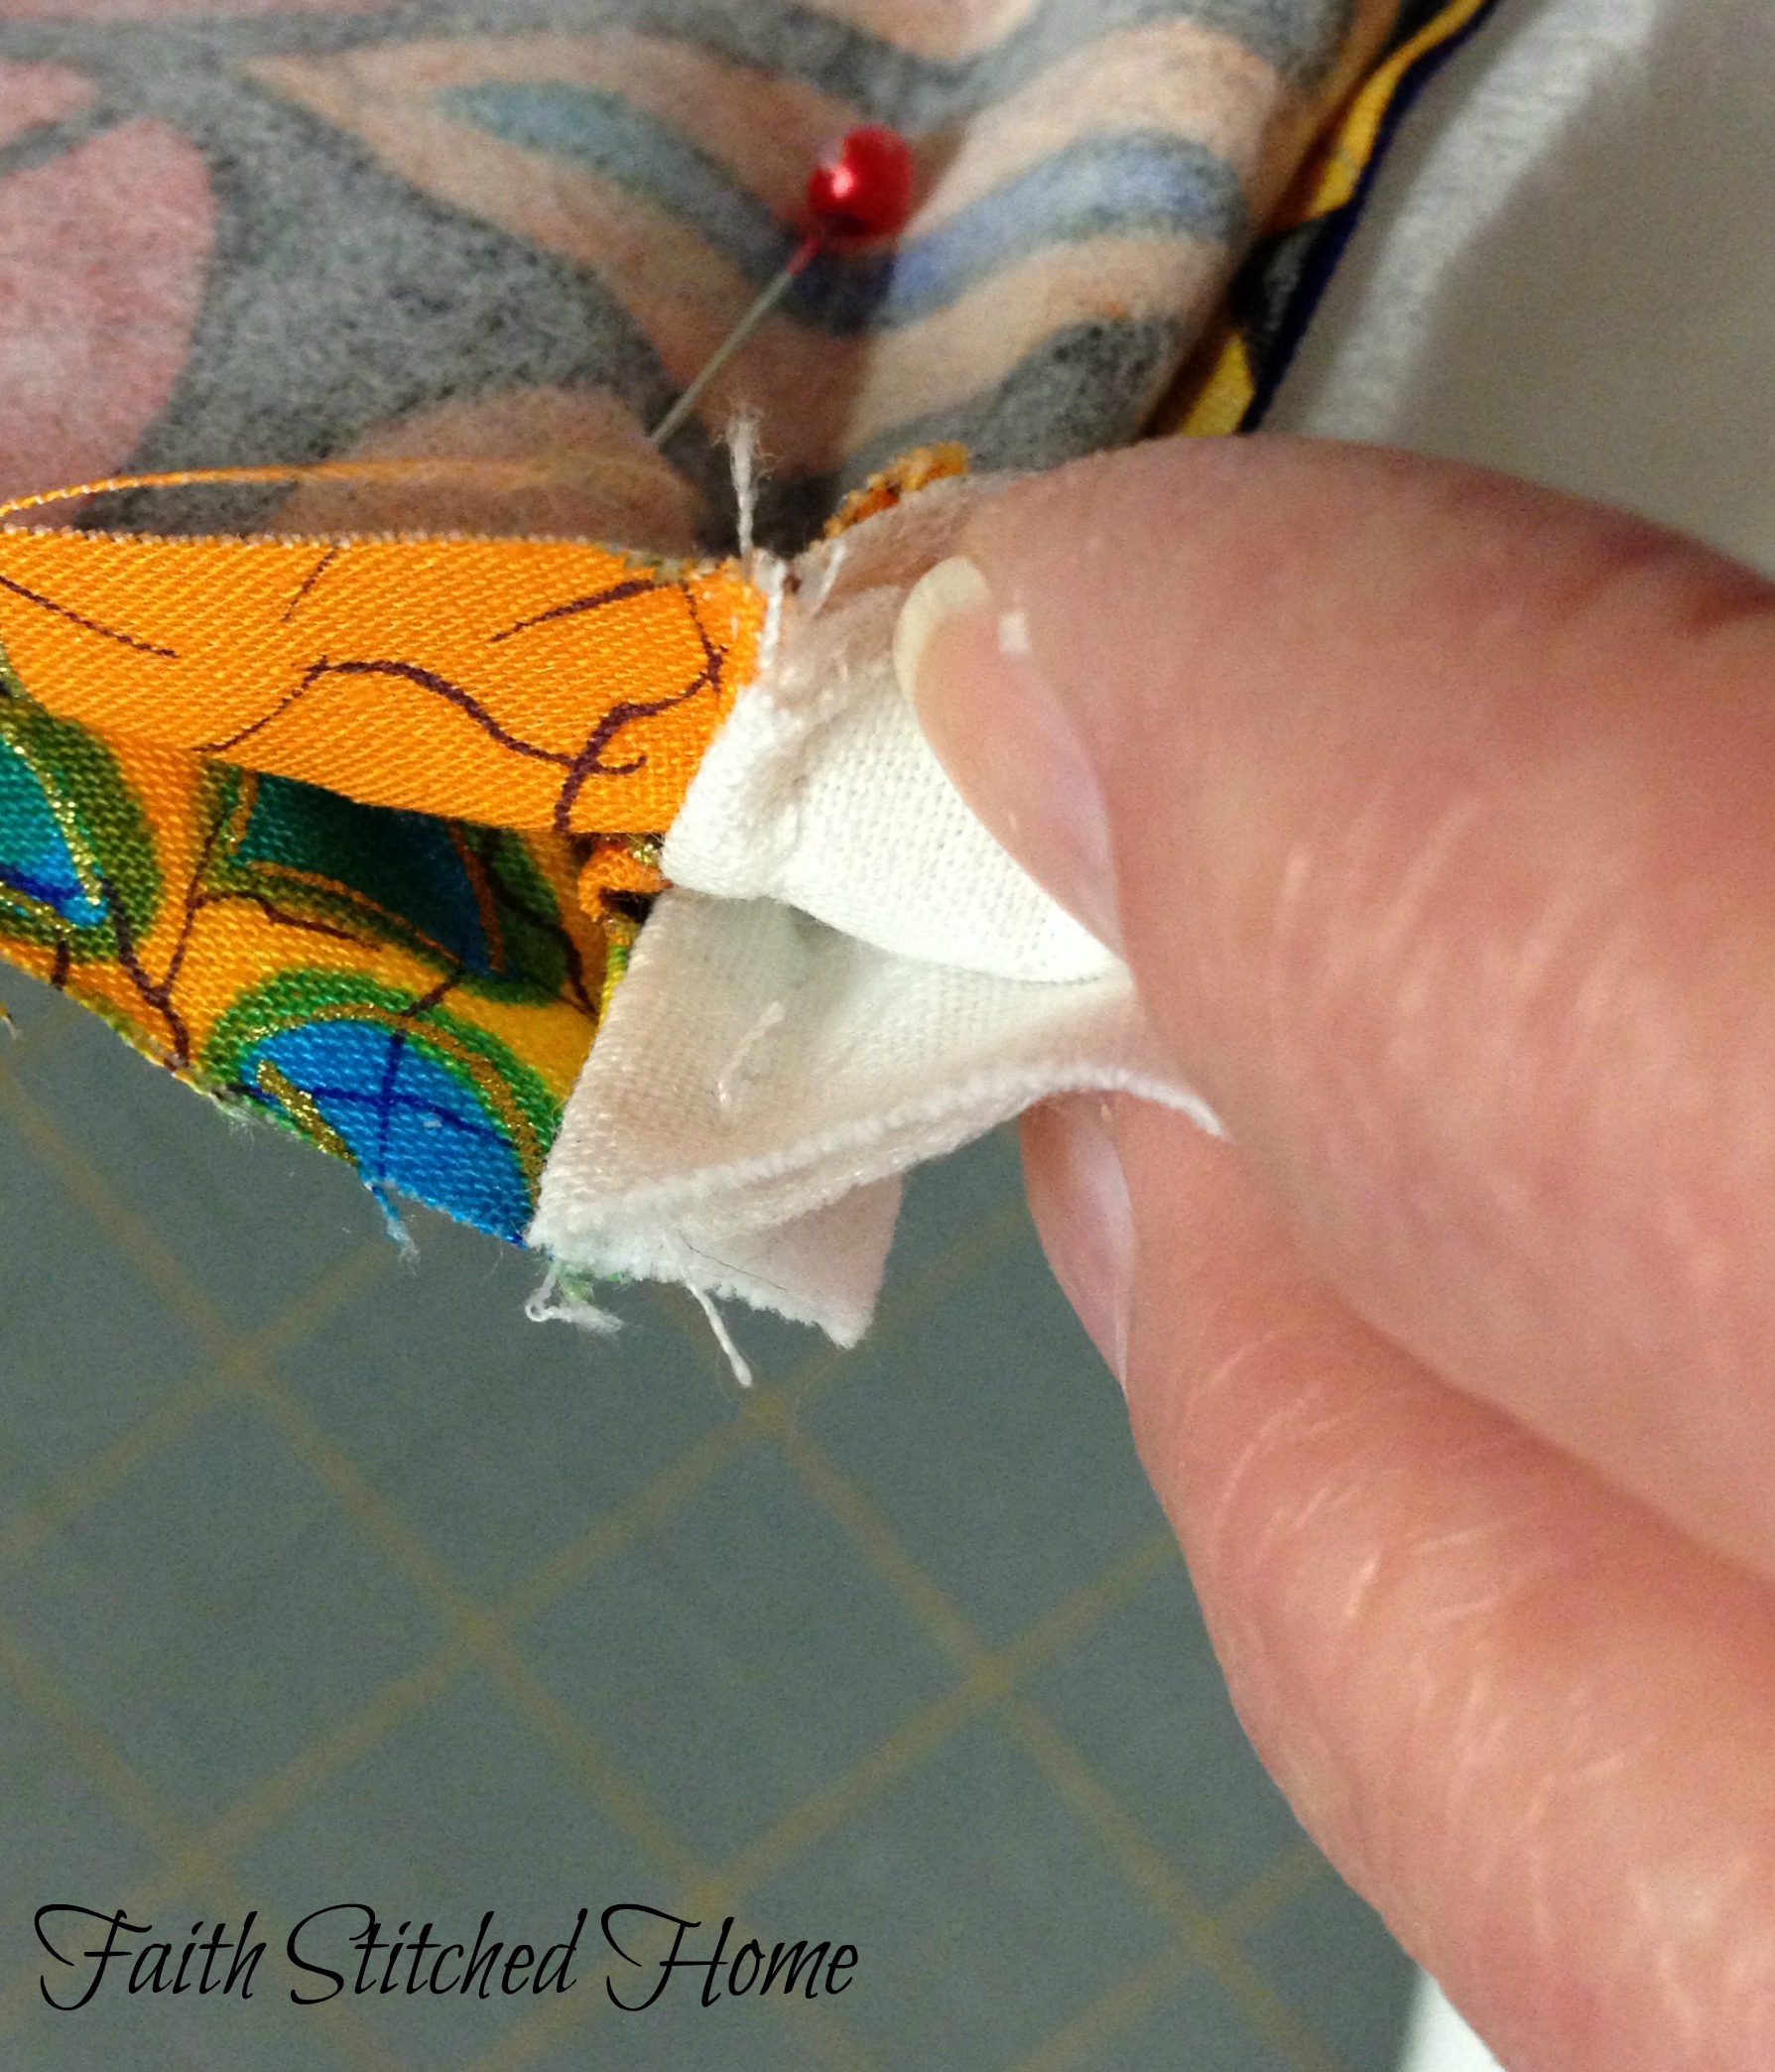
Boxing your corners:
- Stick your hand in the bag front pouffing it open especially at the corners of the bag front.
- Pinch the corners together so that the side seam meet the bottom seam. You can match them together by feel. Lay side seam one way and bottom seam the other way. Temporarily secure with a pin.
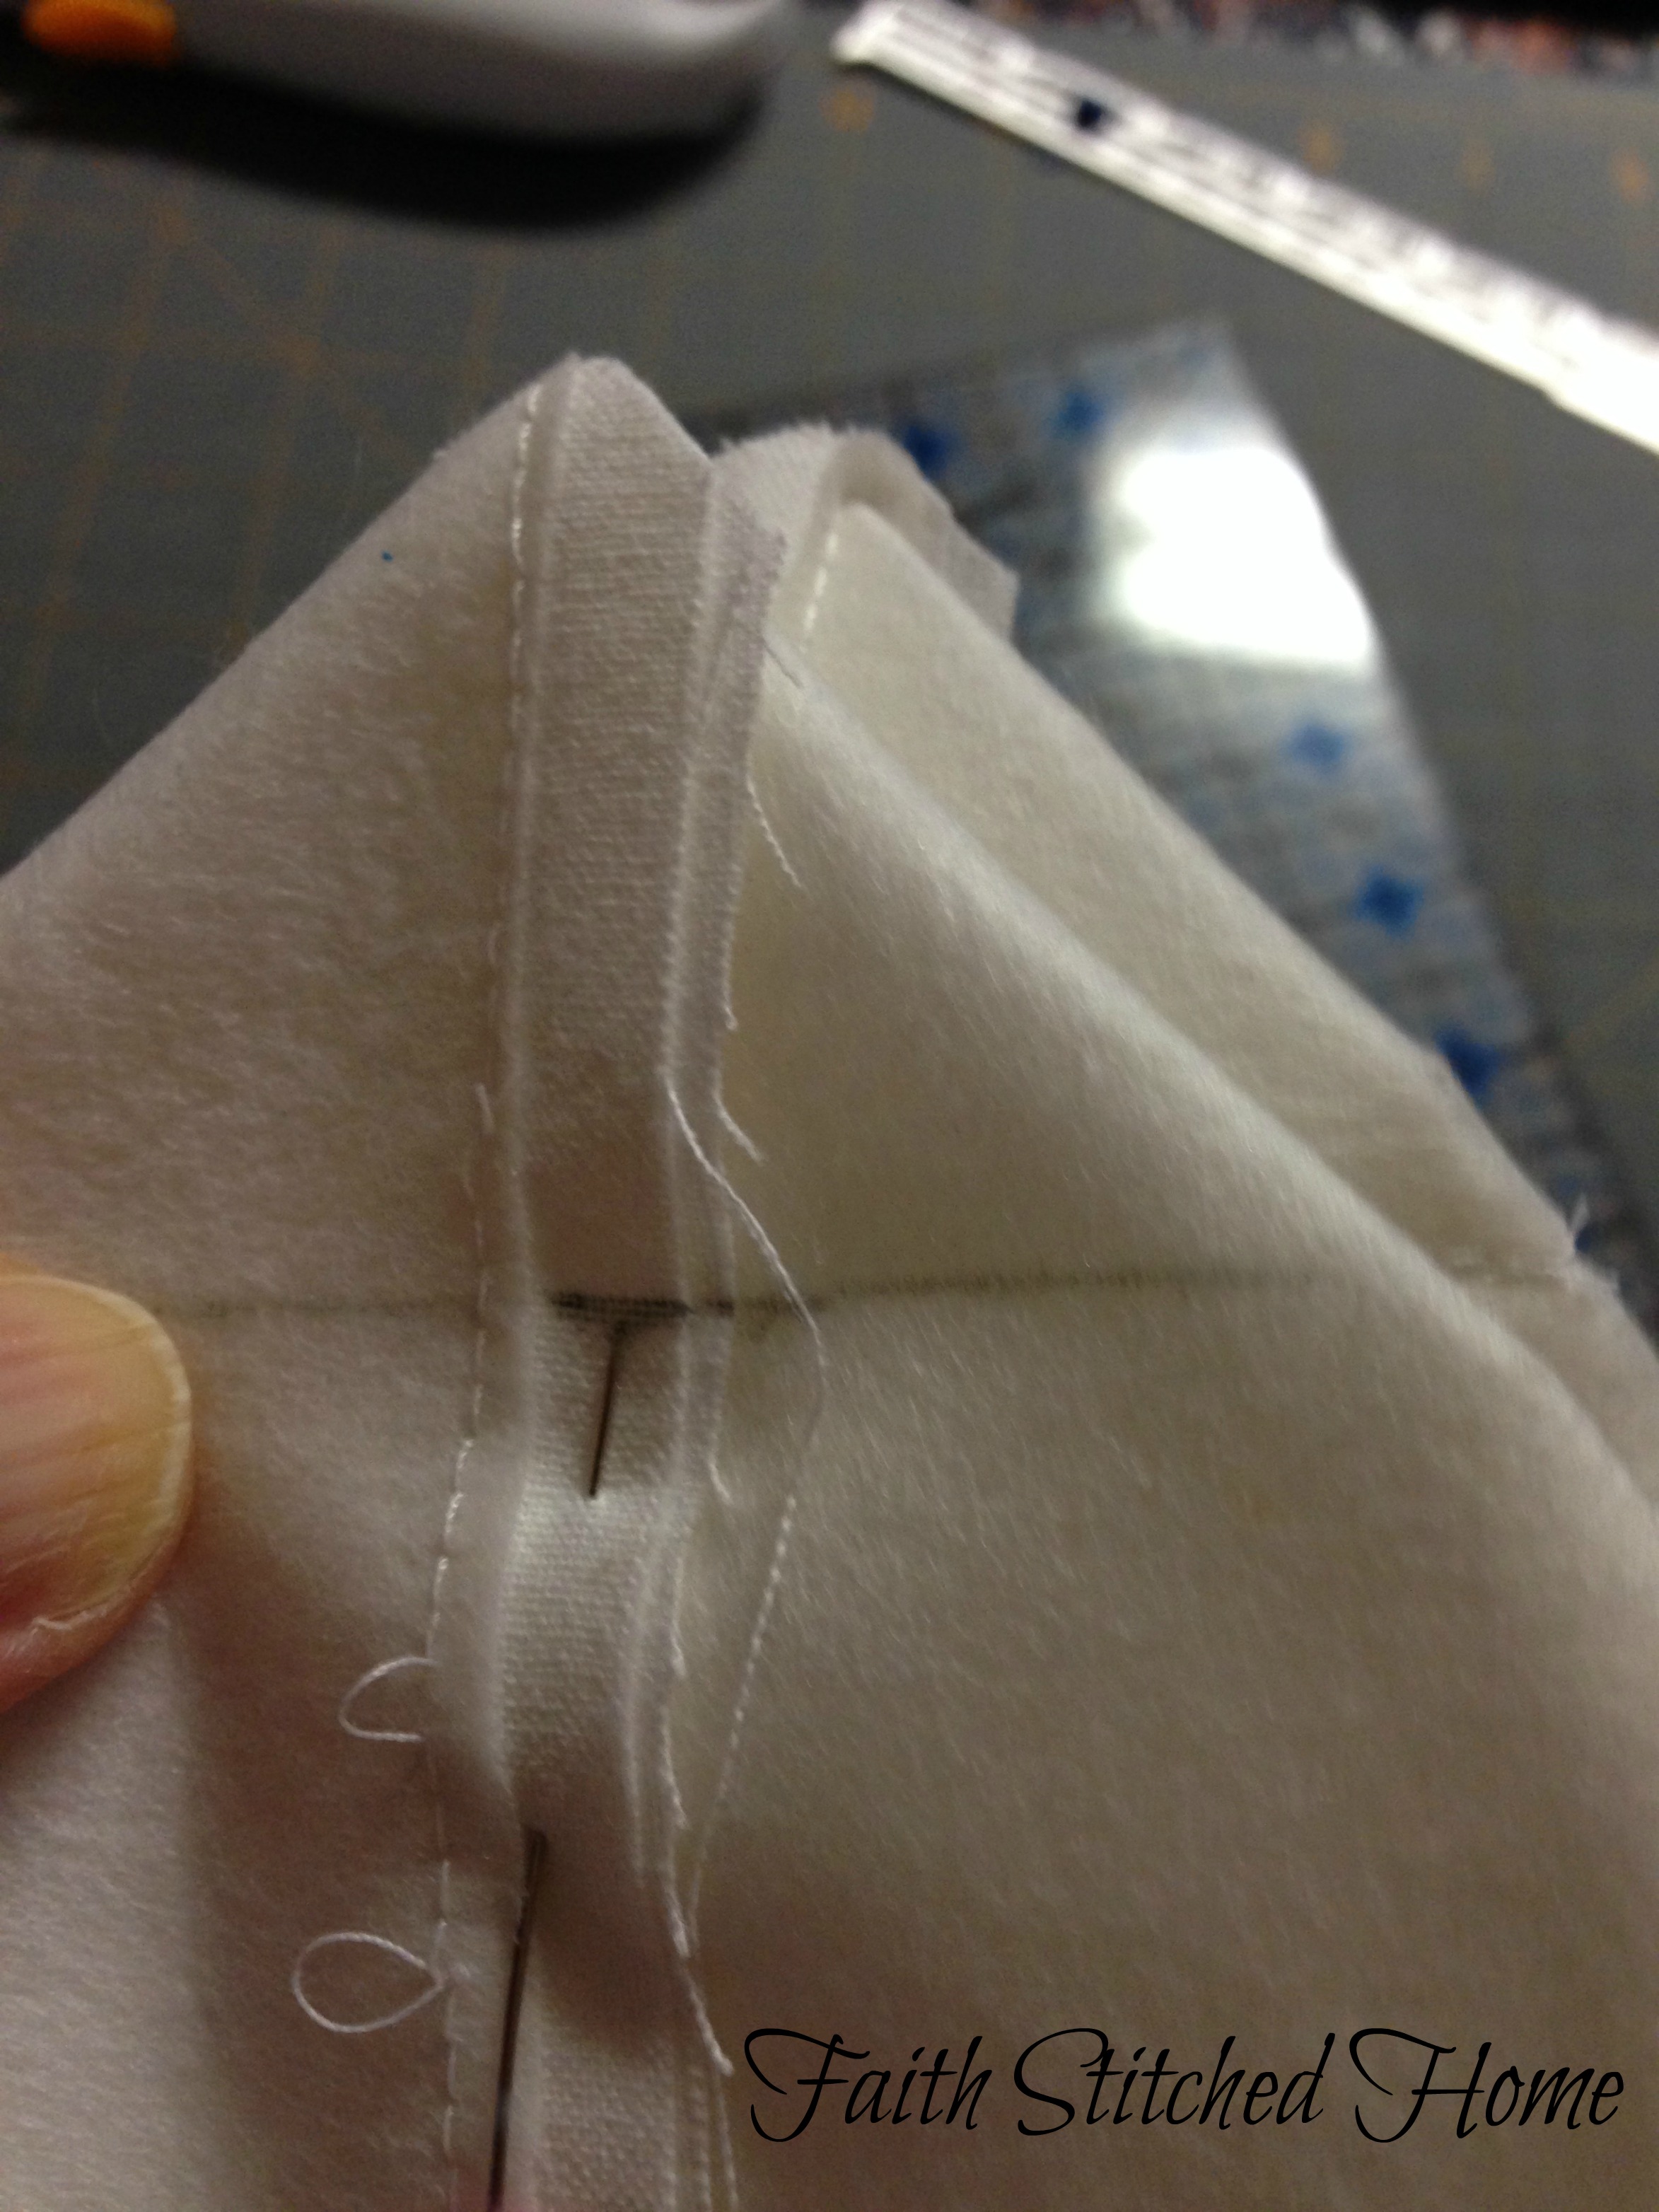
- Using your seam guide from the point following the stitches to be sure you are straight, make a small mark for your stitching line. I wanted my bag bottom to be 3 inches wide, so I made my mark at 1.5 inches. Marking from point at 2 inches would give you a four inch bottom, and sew on and sew forth. (Hee hee. I couldn’t resist a little sewing humor!)
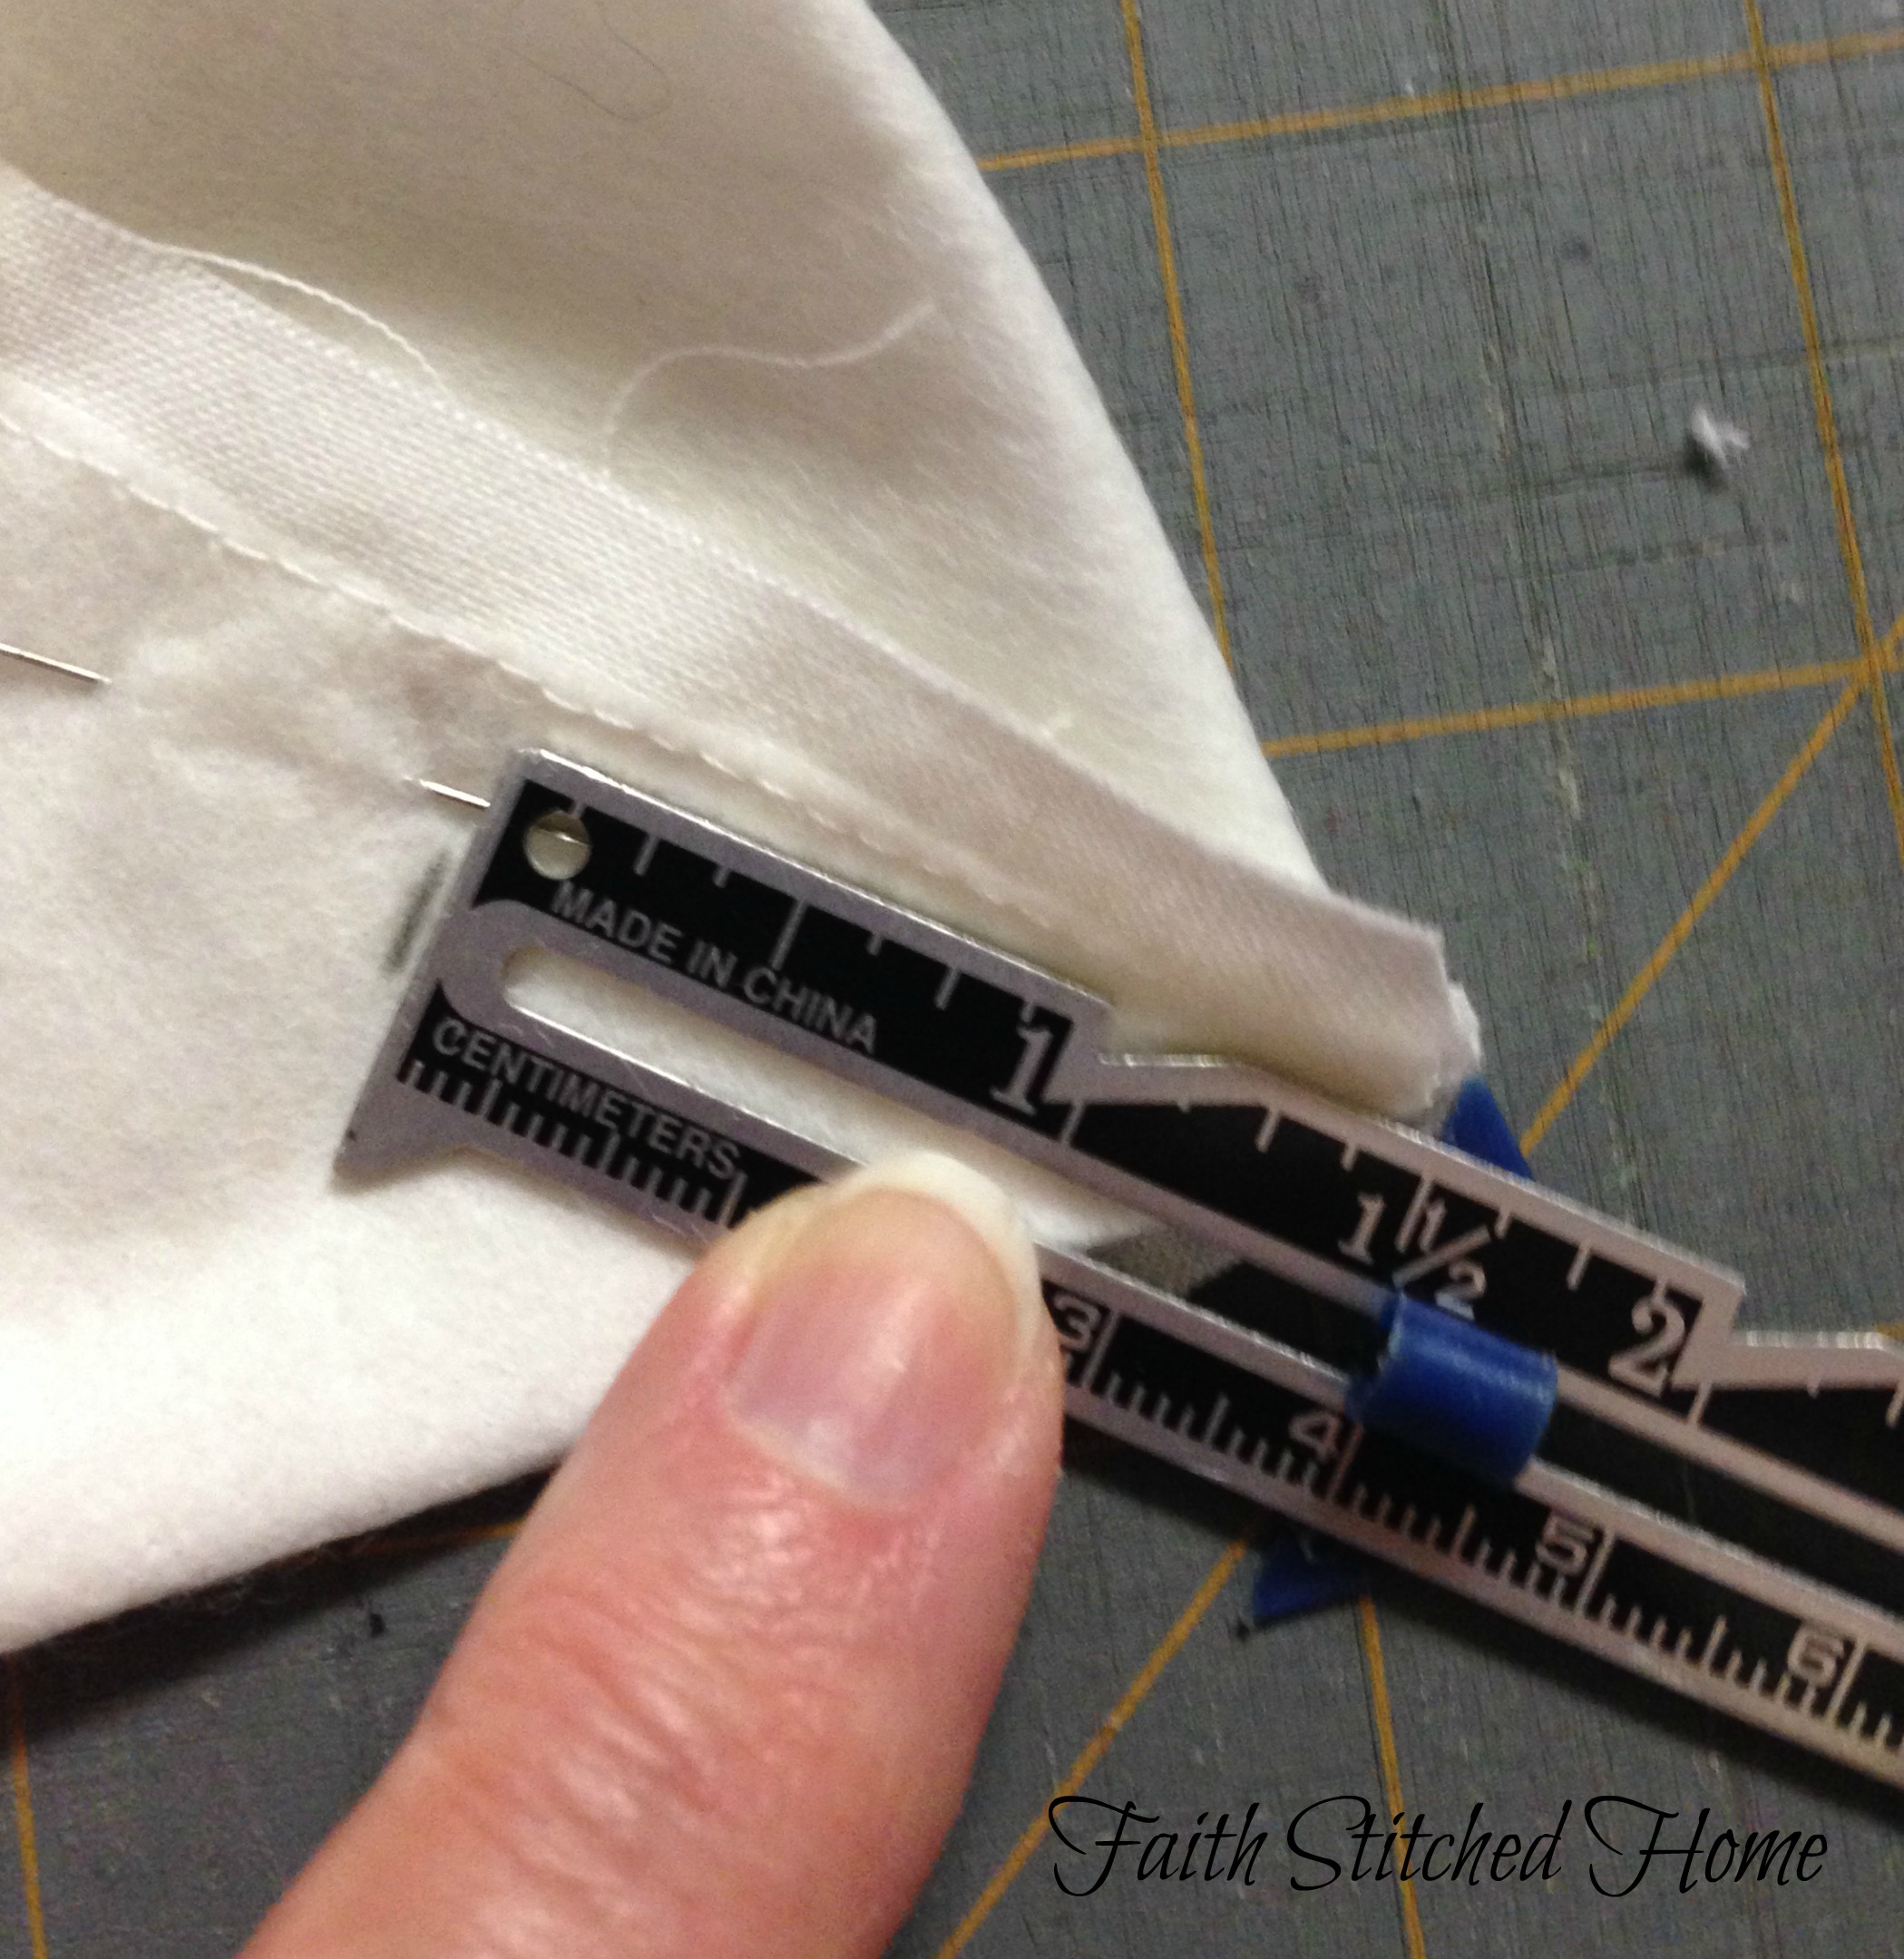
- Using your marked see through quilting ruler aligned with your mark on one side and the seam perpendicularly, mark across the end.

Not sure if you can tell, but I have the seam stitching lined up with the line on the ruler. This helps with being sure the marking is straight.
- Stitch across this mark back-stitching at beginning and end.

- Mark the other corner and compare to the one you just made. If they don’t match, mark again. Otherwise your bag will sit crooked. Again, listen to the voice of experience. I’ve done it! Oops!
Looks like my machine skipped a couple of stitches.
- Trim point off.

I love when things come together as planned; look at how well those seams match. Happy dance!

A 3 inch bottom will help my bag sit up well and hold lots of goodies!
Finishing your bag:
- Turn your bag and poke out your corners well.

- Turn the open end of your lining in toward the wrong side. Turn in as many inches as you allowed for boxing. In my case, 1.5 inches on each side. Press in place. Pin if you like.
- Topstitch across bottom.
- Stuff your lining into your bag.
- One last finishing touch is to fold your narrow ribbon in half poking the fold through the little opening in the zipper pull and make a lark’s head knot. Not necessary but makes a really nice finishing touch.
- Now bask in the glory of your lovely finished project!

See, it’s really not hard.
Now go make another one and you’ll “zip” right through it.
Sew punny!!!
Please share if you make your own zipper bag. I’d love to see it.
xo,
Faith
Leave a Reply