Recently I realized there are some basic sewing techniques that are unknown to some. It dawned on me when a sewing friend mentioned that she did not really know how to sew in a zipper and she is an advanced seamstress/quilter and has been for many years. It seems there is always something new to learn even when you are very familiar with a subject.
So I was inspired to put together an ongoing series of basic sewing hints, tips, information, and easy sewing projects. Like my friend, I don’t know everything but am happy to share what I do know.
For starters, I am going to show you how to sew on a button. This is a task that everyone needs to know how to do – yes, everyone – even the guys. Today I will be working on reattaching a button to the waistband of my husband’s pants.
Here are the necessary supplies. You will need scissors, a needle, and thread.

I am using buttonhole thread – a heavy duty thread especially for sewing on buttons. I keep buttonhole thread on hand in beige, white, and black since my guys all primarily wear khakis, jeans, or dark slacks. It is a very durable thread especially for buttons that get a lot of stress on them like the waistband. If you don’t have buttonhole thread, use a double strand of regular sewing thread. Buttonhole thread is strong enough to use a single strand.
Sometimes a seam ripper will come in handy too, as will a scrap of interfacing.
If any of the old thread is left in the area where the button has come off, remove the old threads using the seam ripper if necessary.
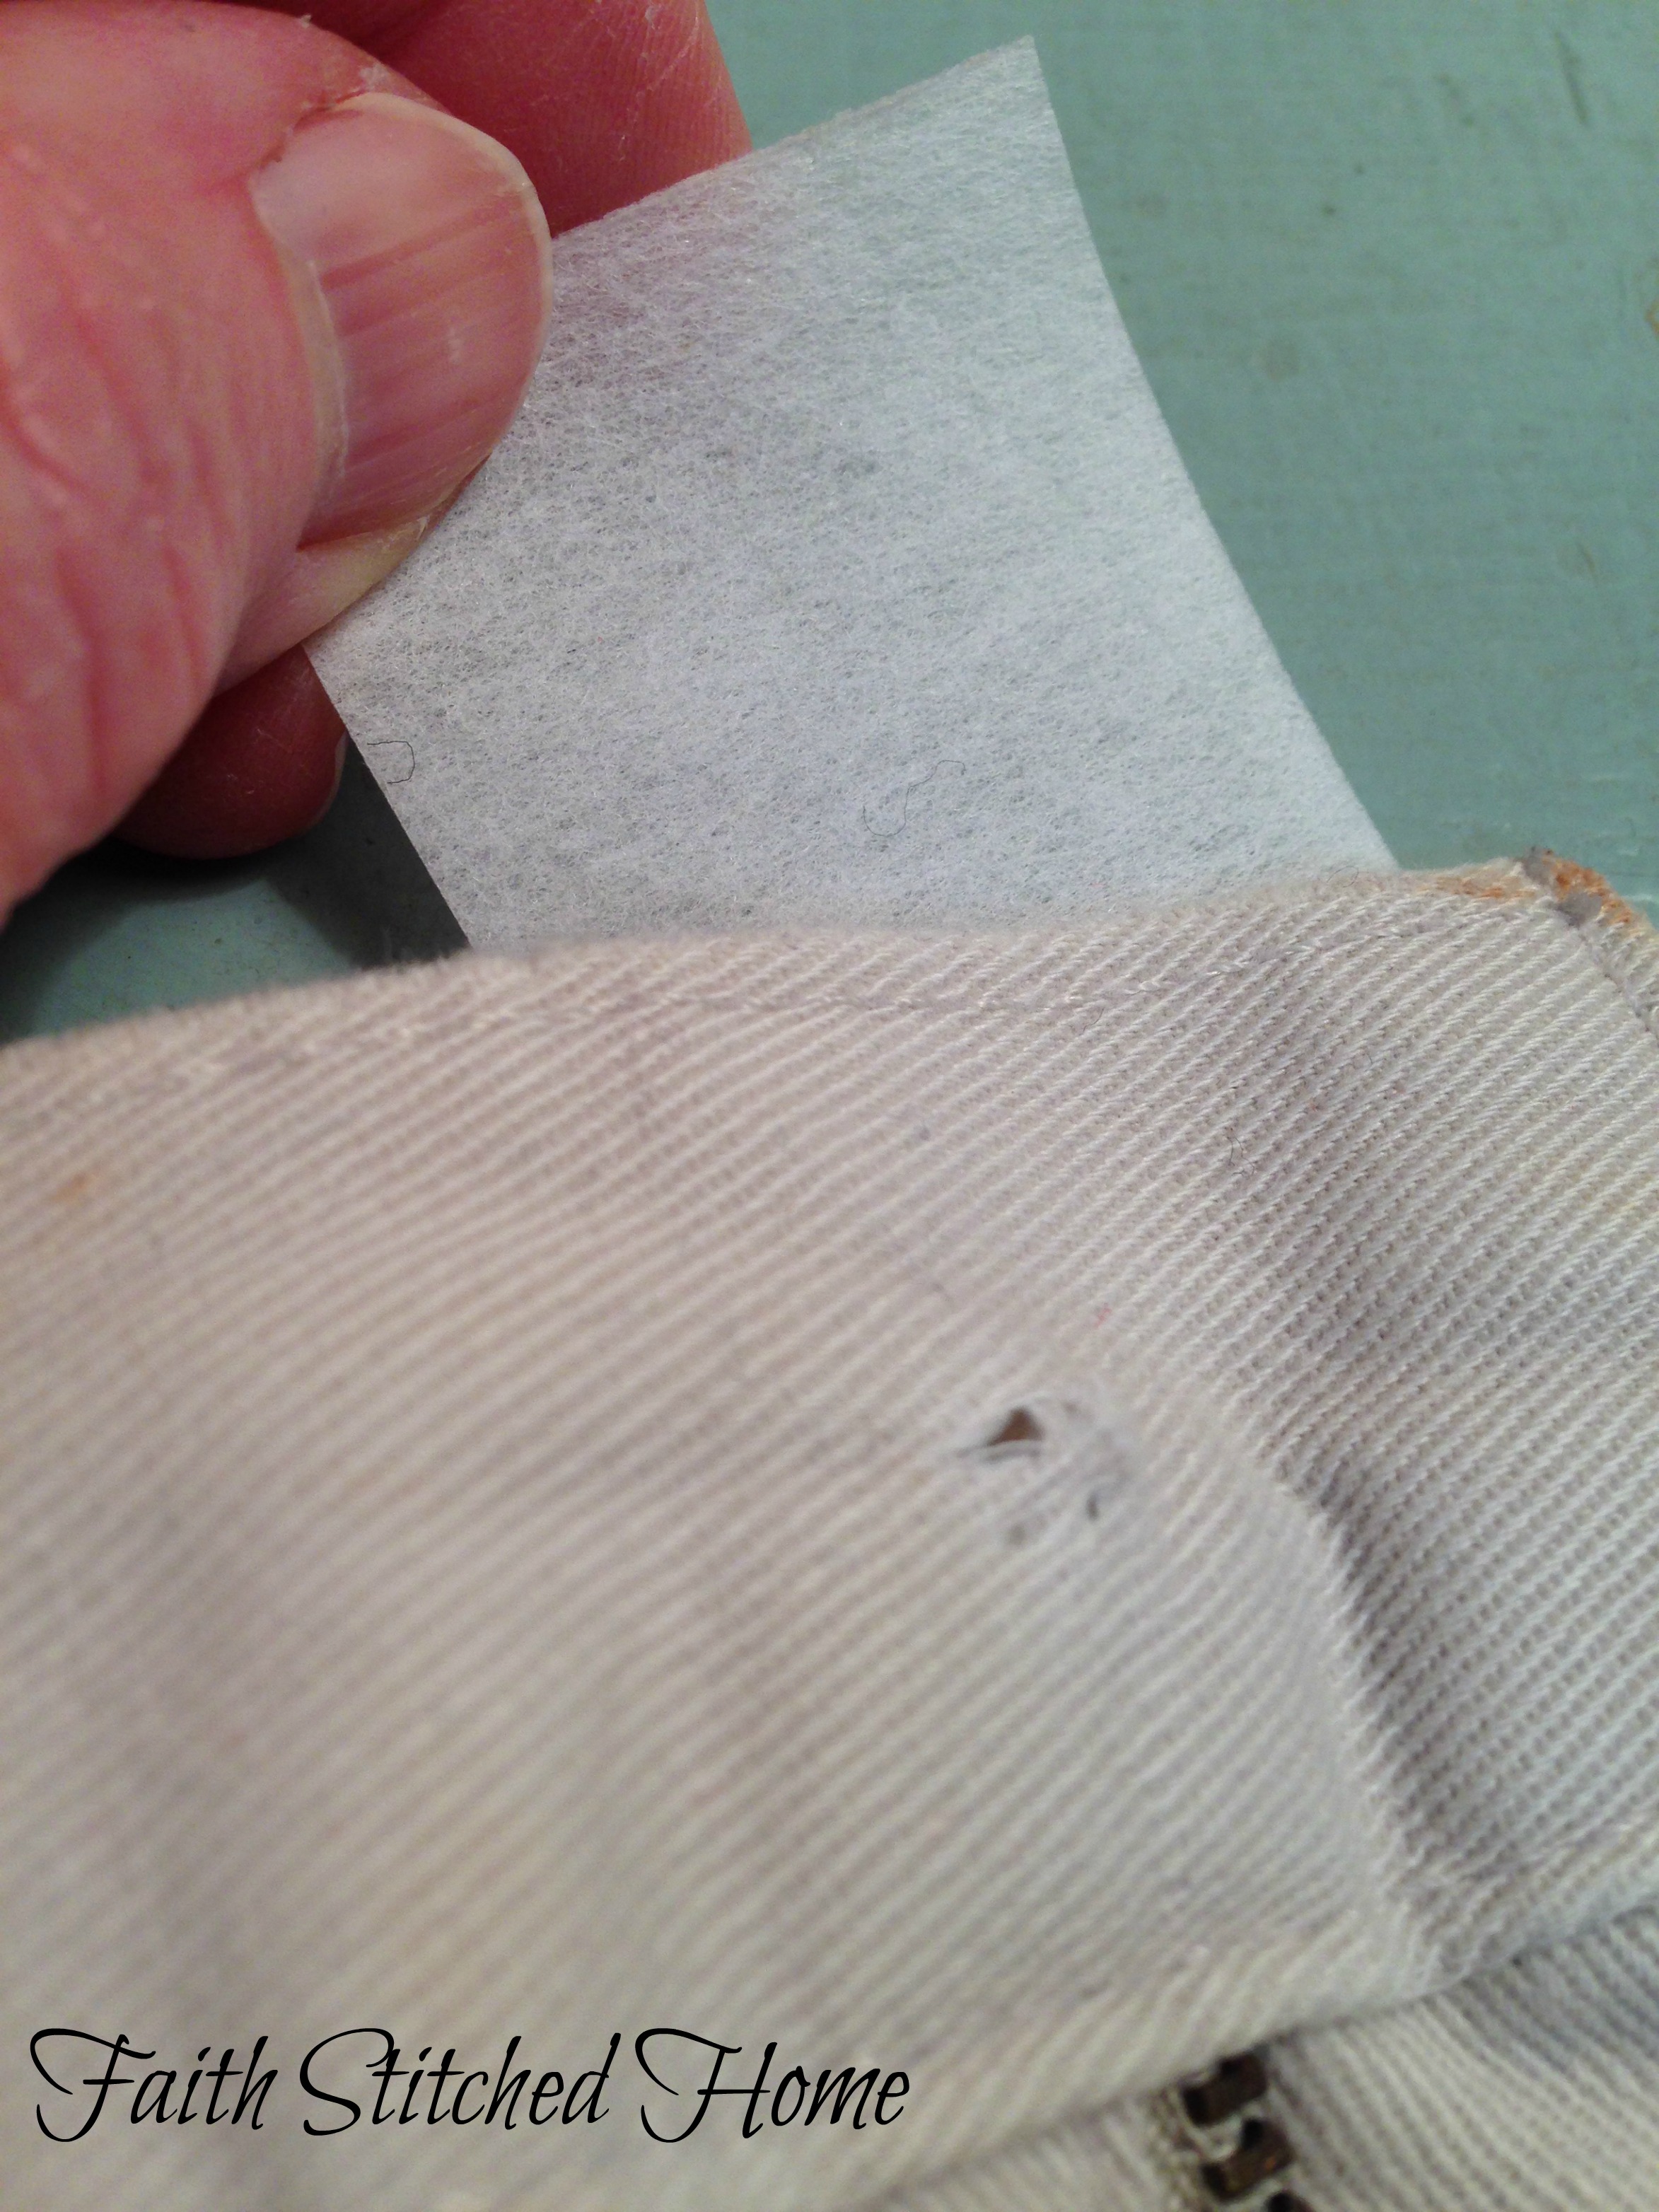
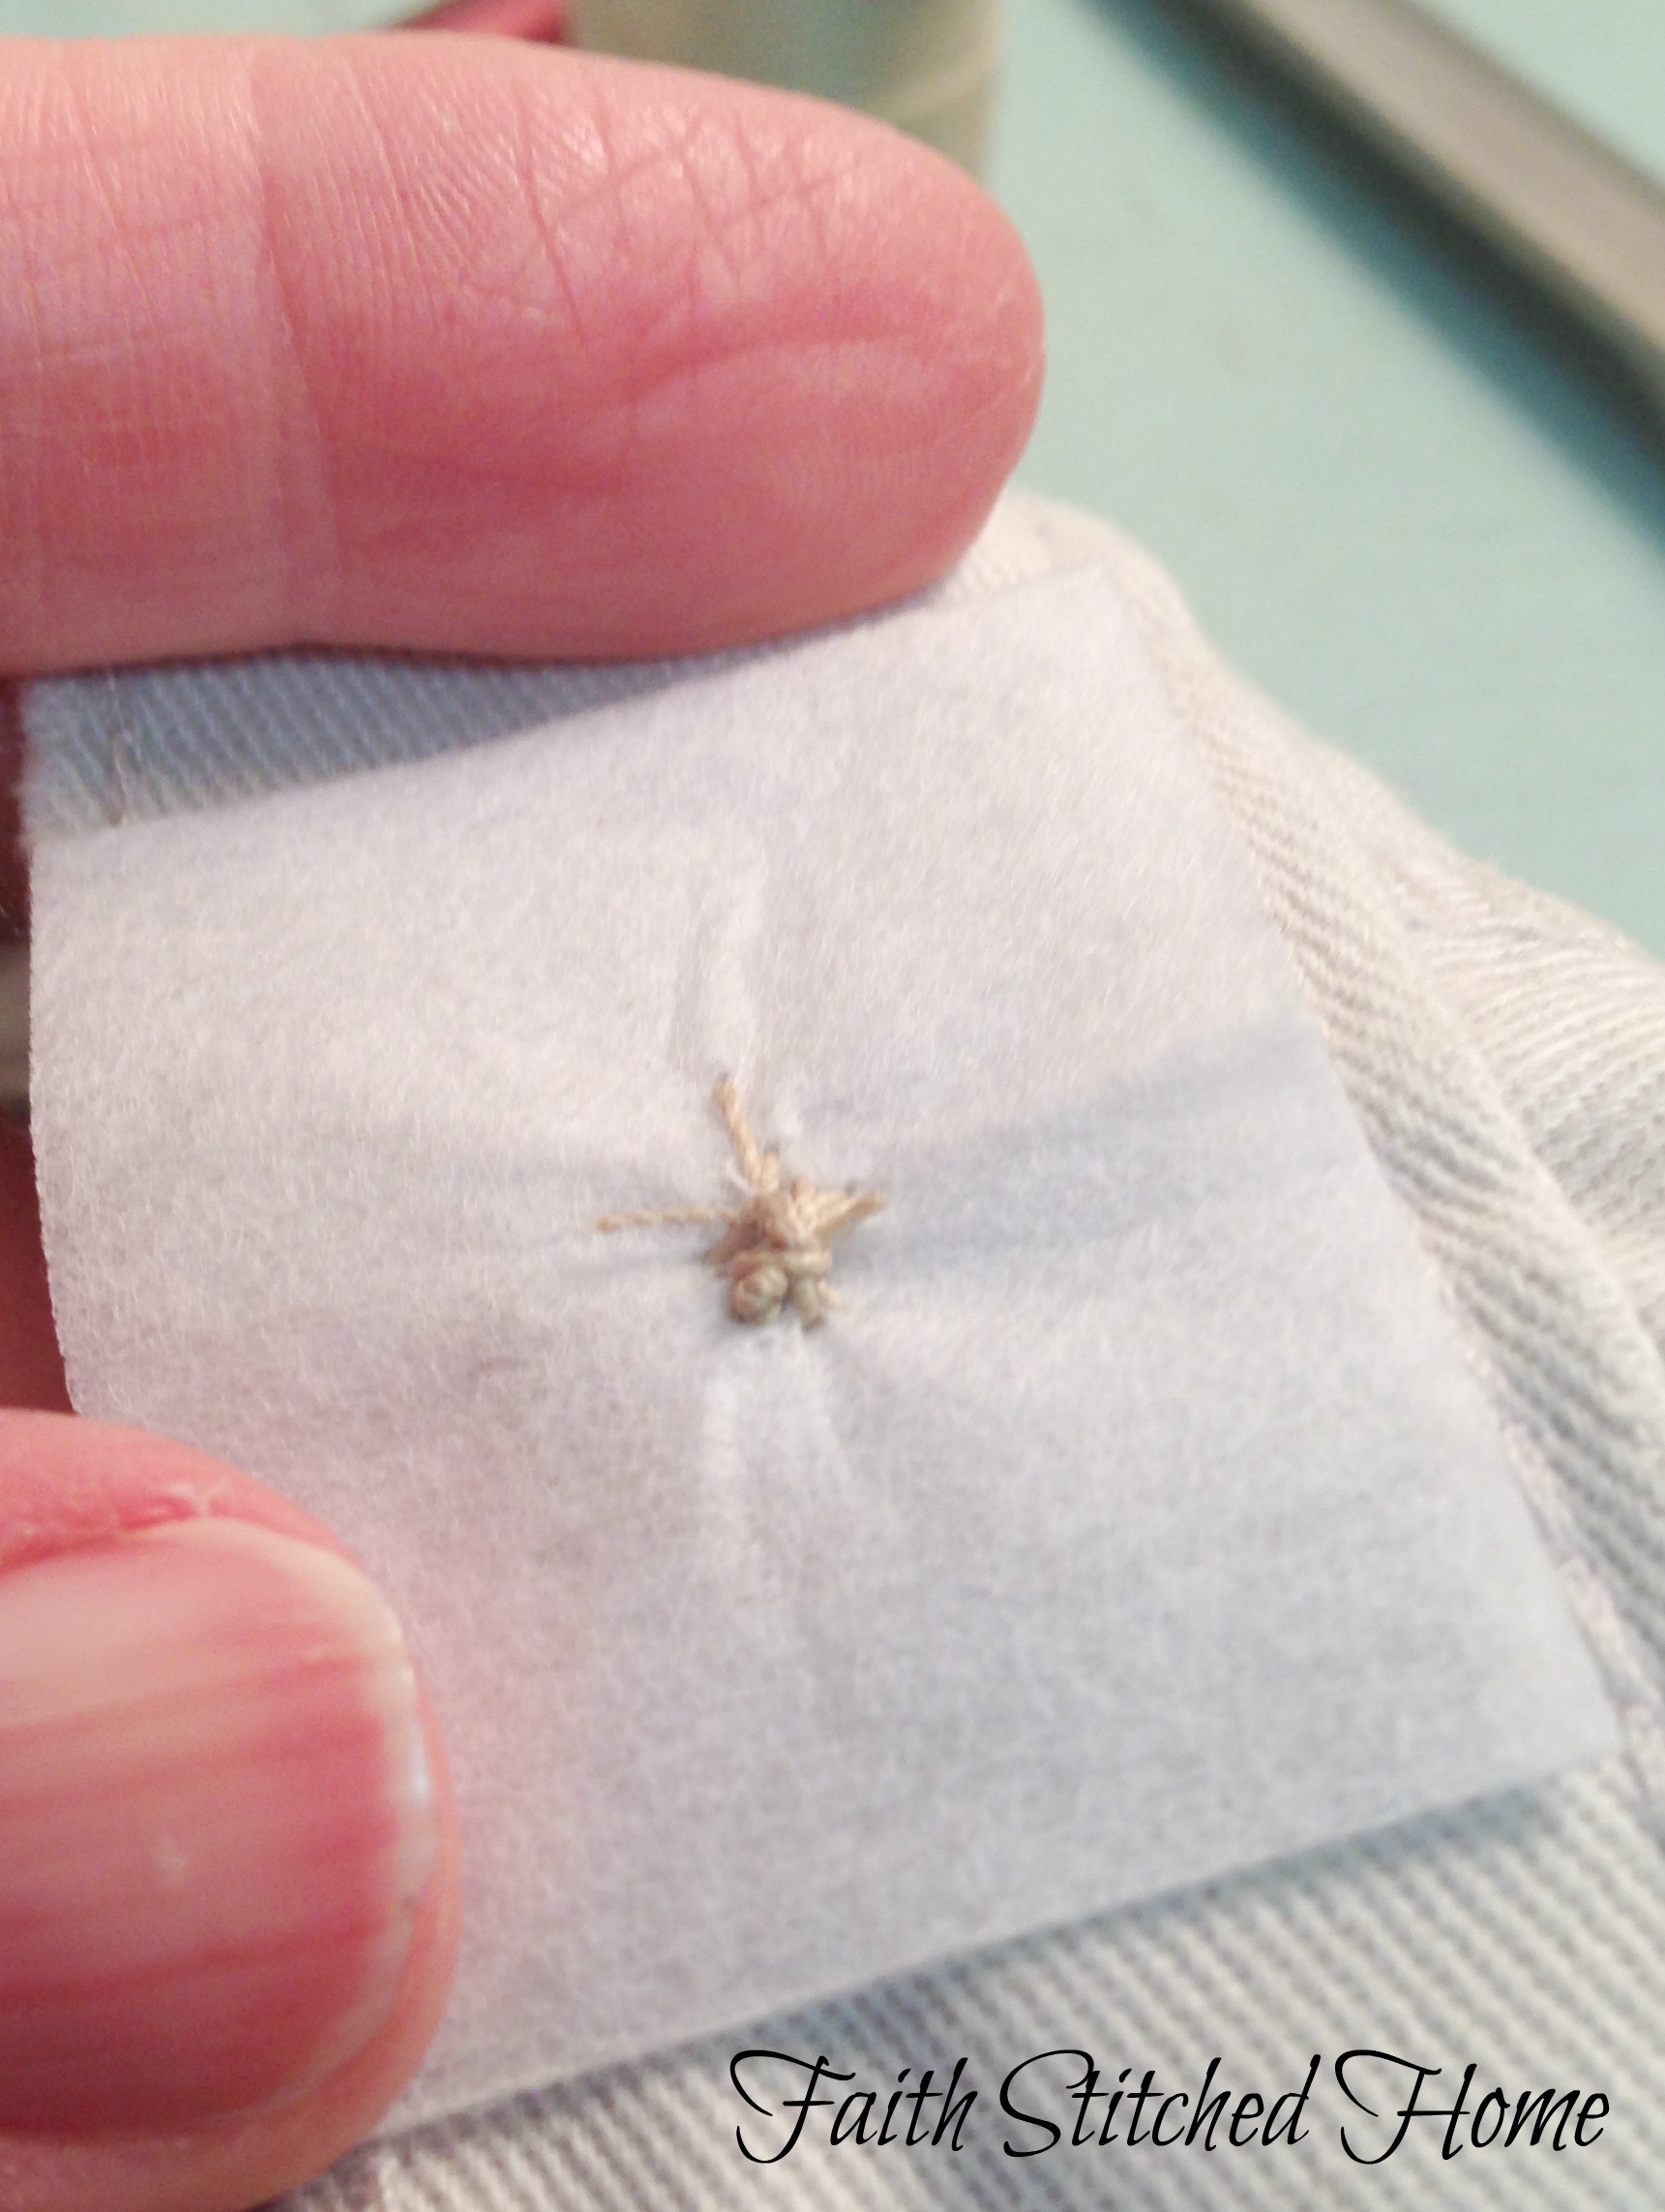
Here you can see that the original place where the button was sewn on has some gaping holes in the fabric. I will reinforce the area with a scrap of interfacing since I need to stitch the button in its original location. Be sure to save even small bits of interfacing for such jobs. You know I can’t let anything go to waste! Cut a piece of interfacing larger than you need. We will trim it down later.
Let’s start with threading the needle and making a knot. Because buttonhole thread is heavy duty, I need a needle with an eye large enough to accommodate the thread.
Since I am explaining a basic task, I pictured one of my sons attempting to sew on a button and thought they may not know how to knot sewing thread so here you go – a quick video tutorial on just that!
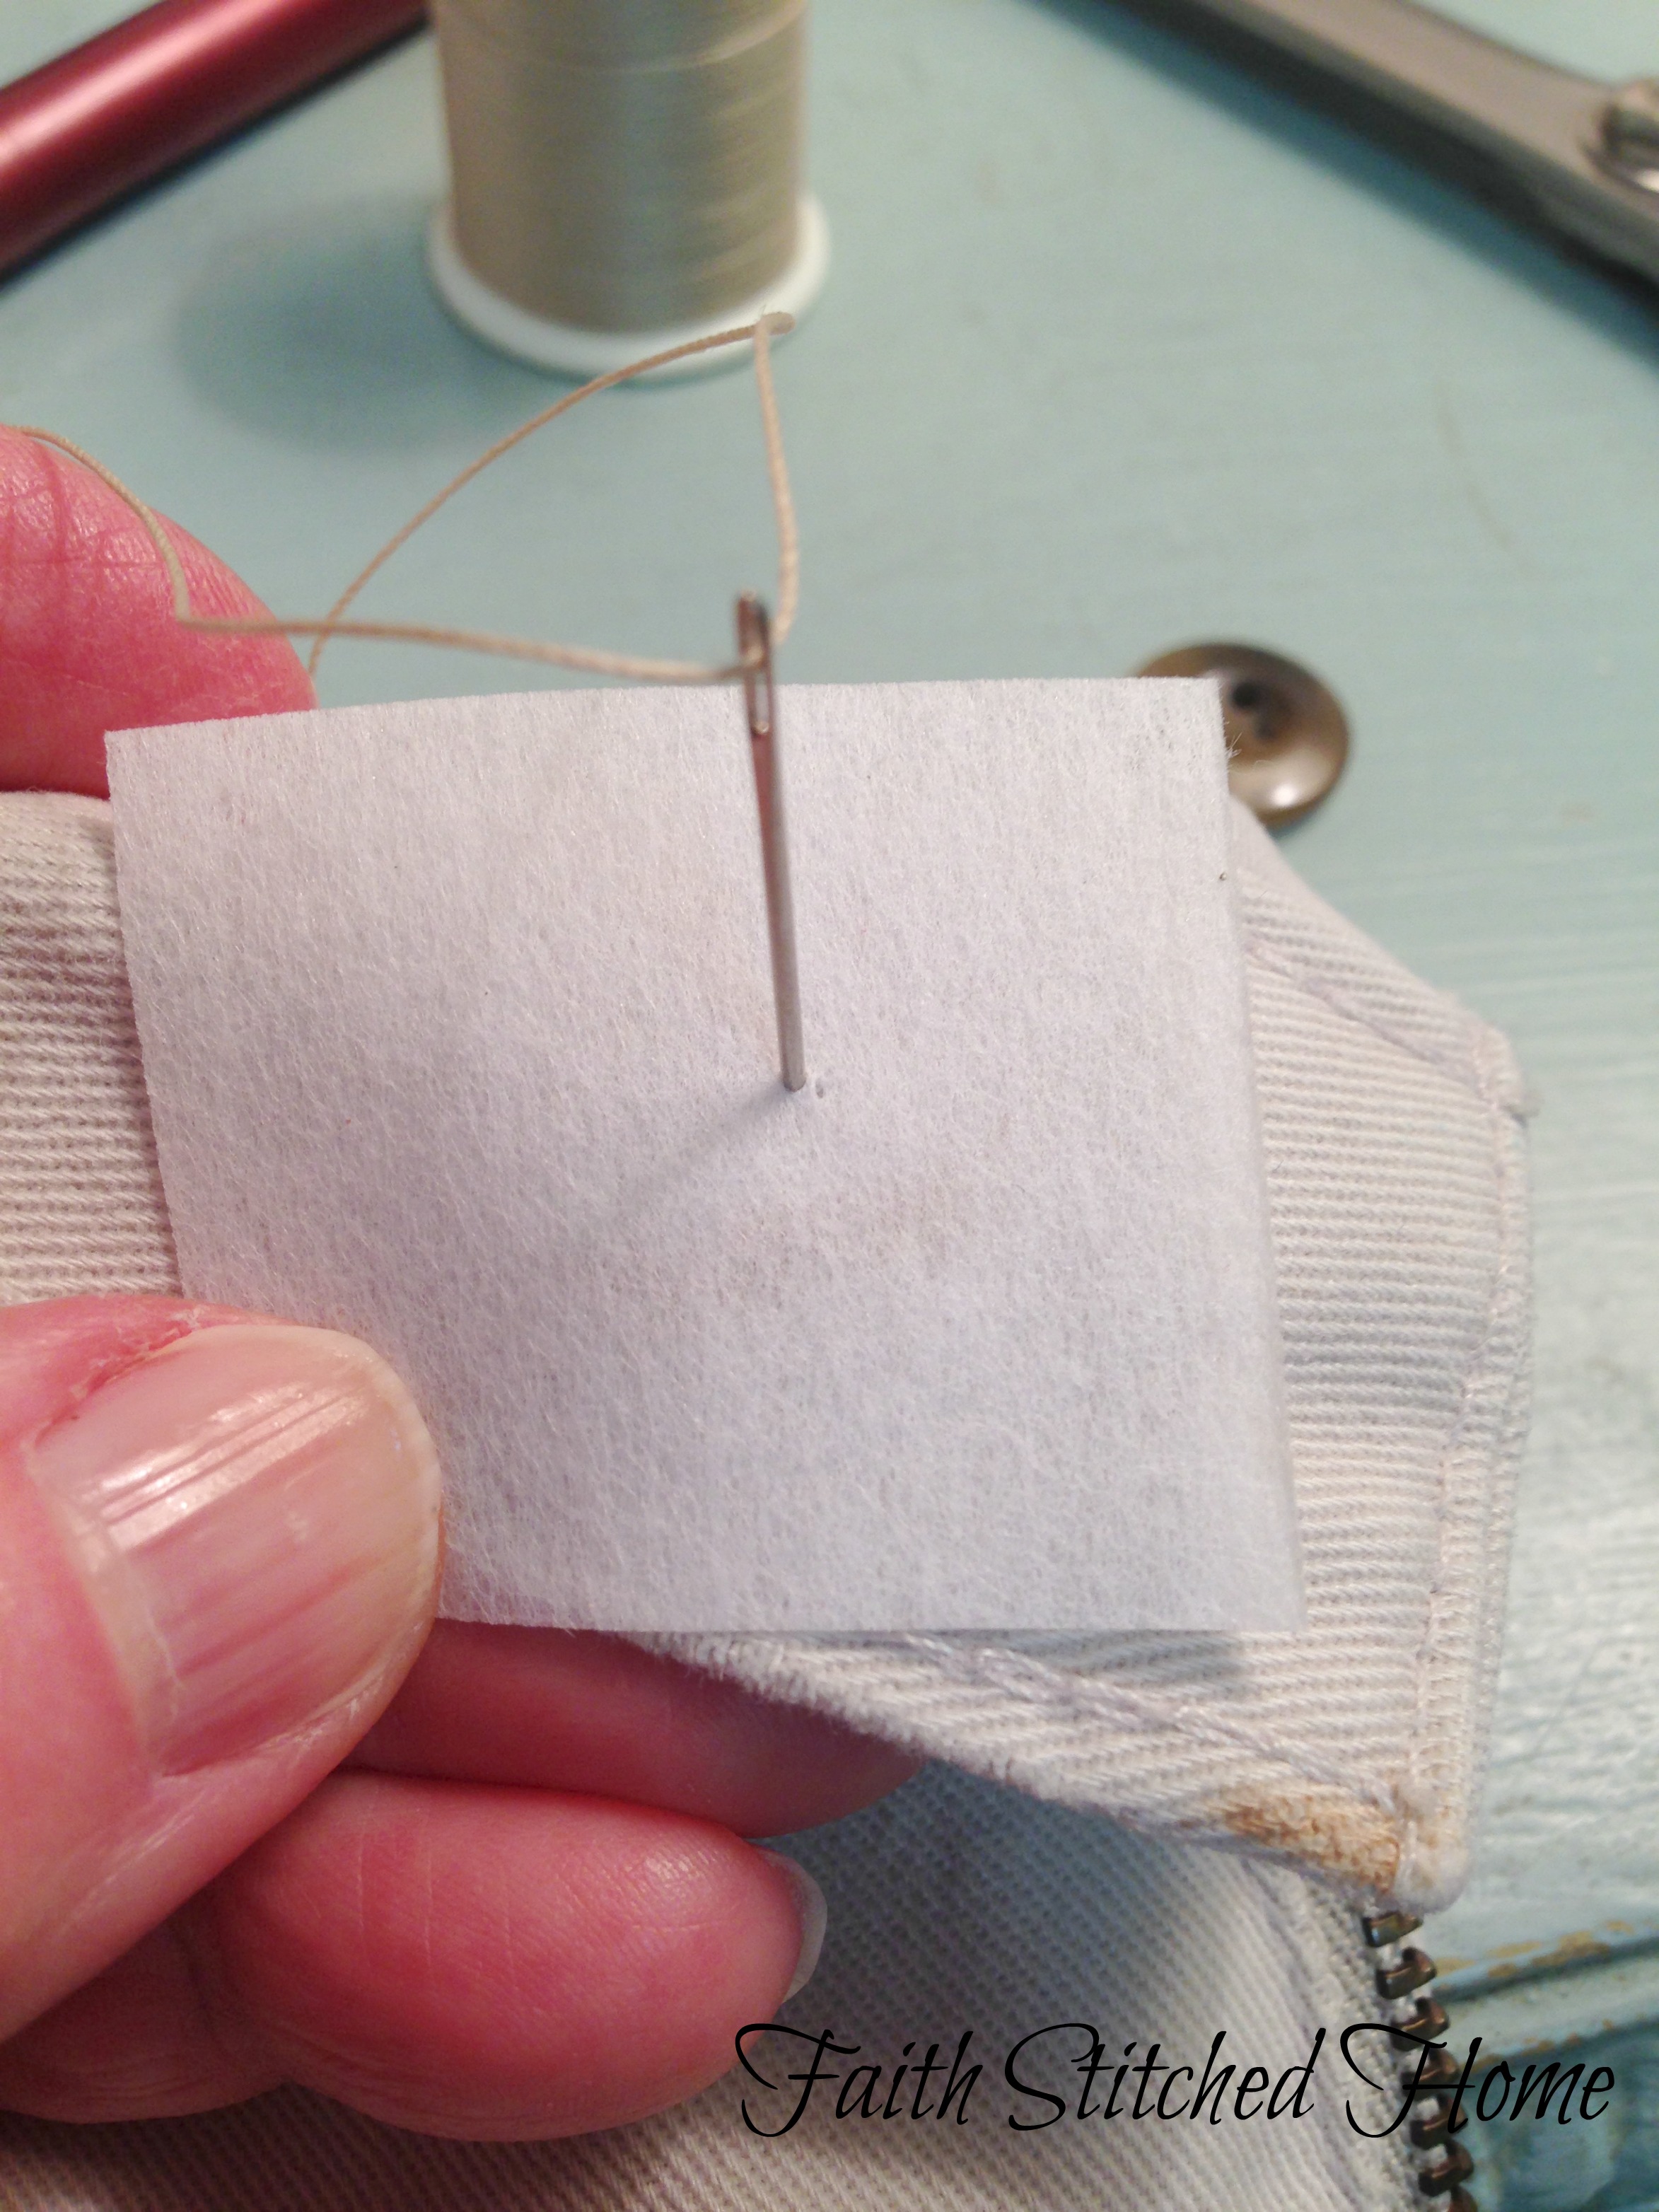
Now that your thread is knotted, place your piece of interfacing on the back of the waistband. No interfacing? In a pinch, use a scrap of any fabric to give strength to the stitching. Pull your thread through the area where the original button was located.
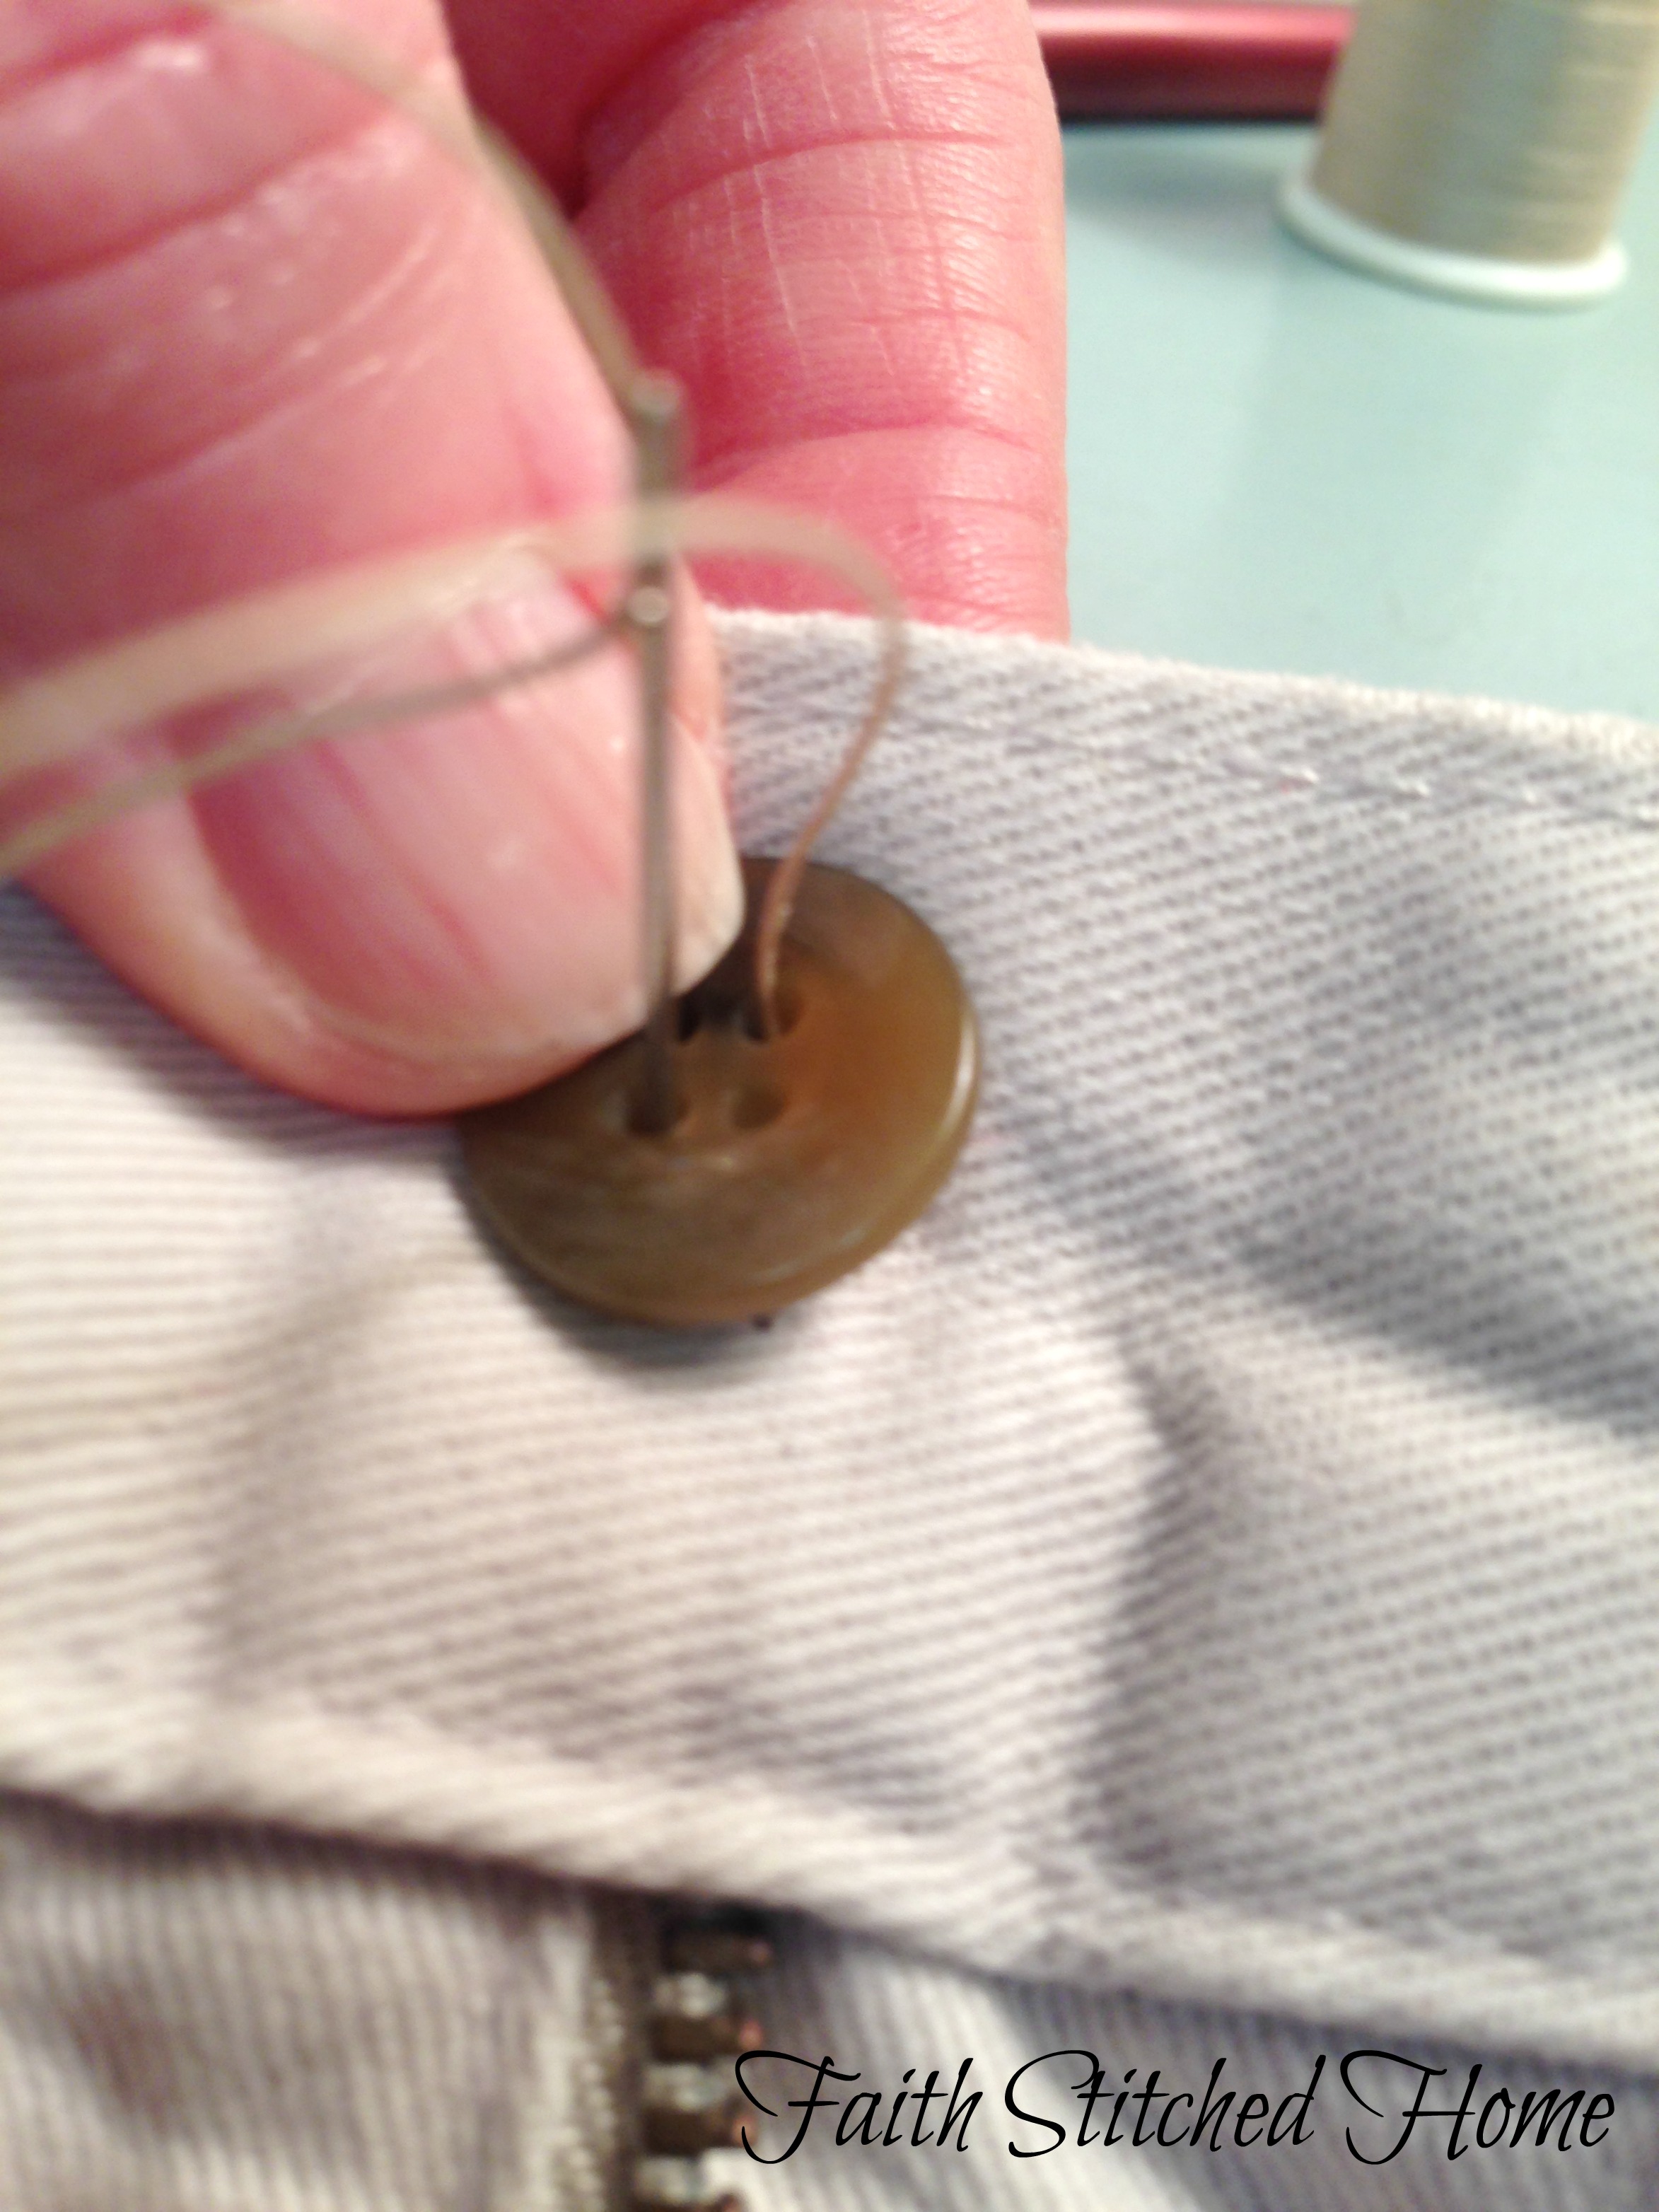
Come up through one hole of the button and down through the other.
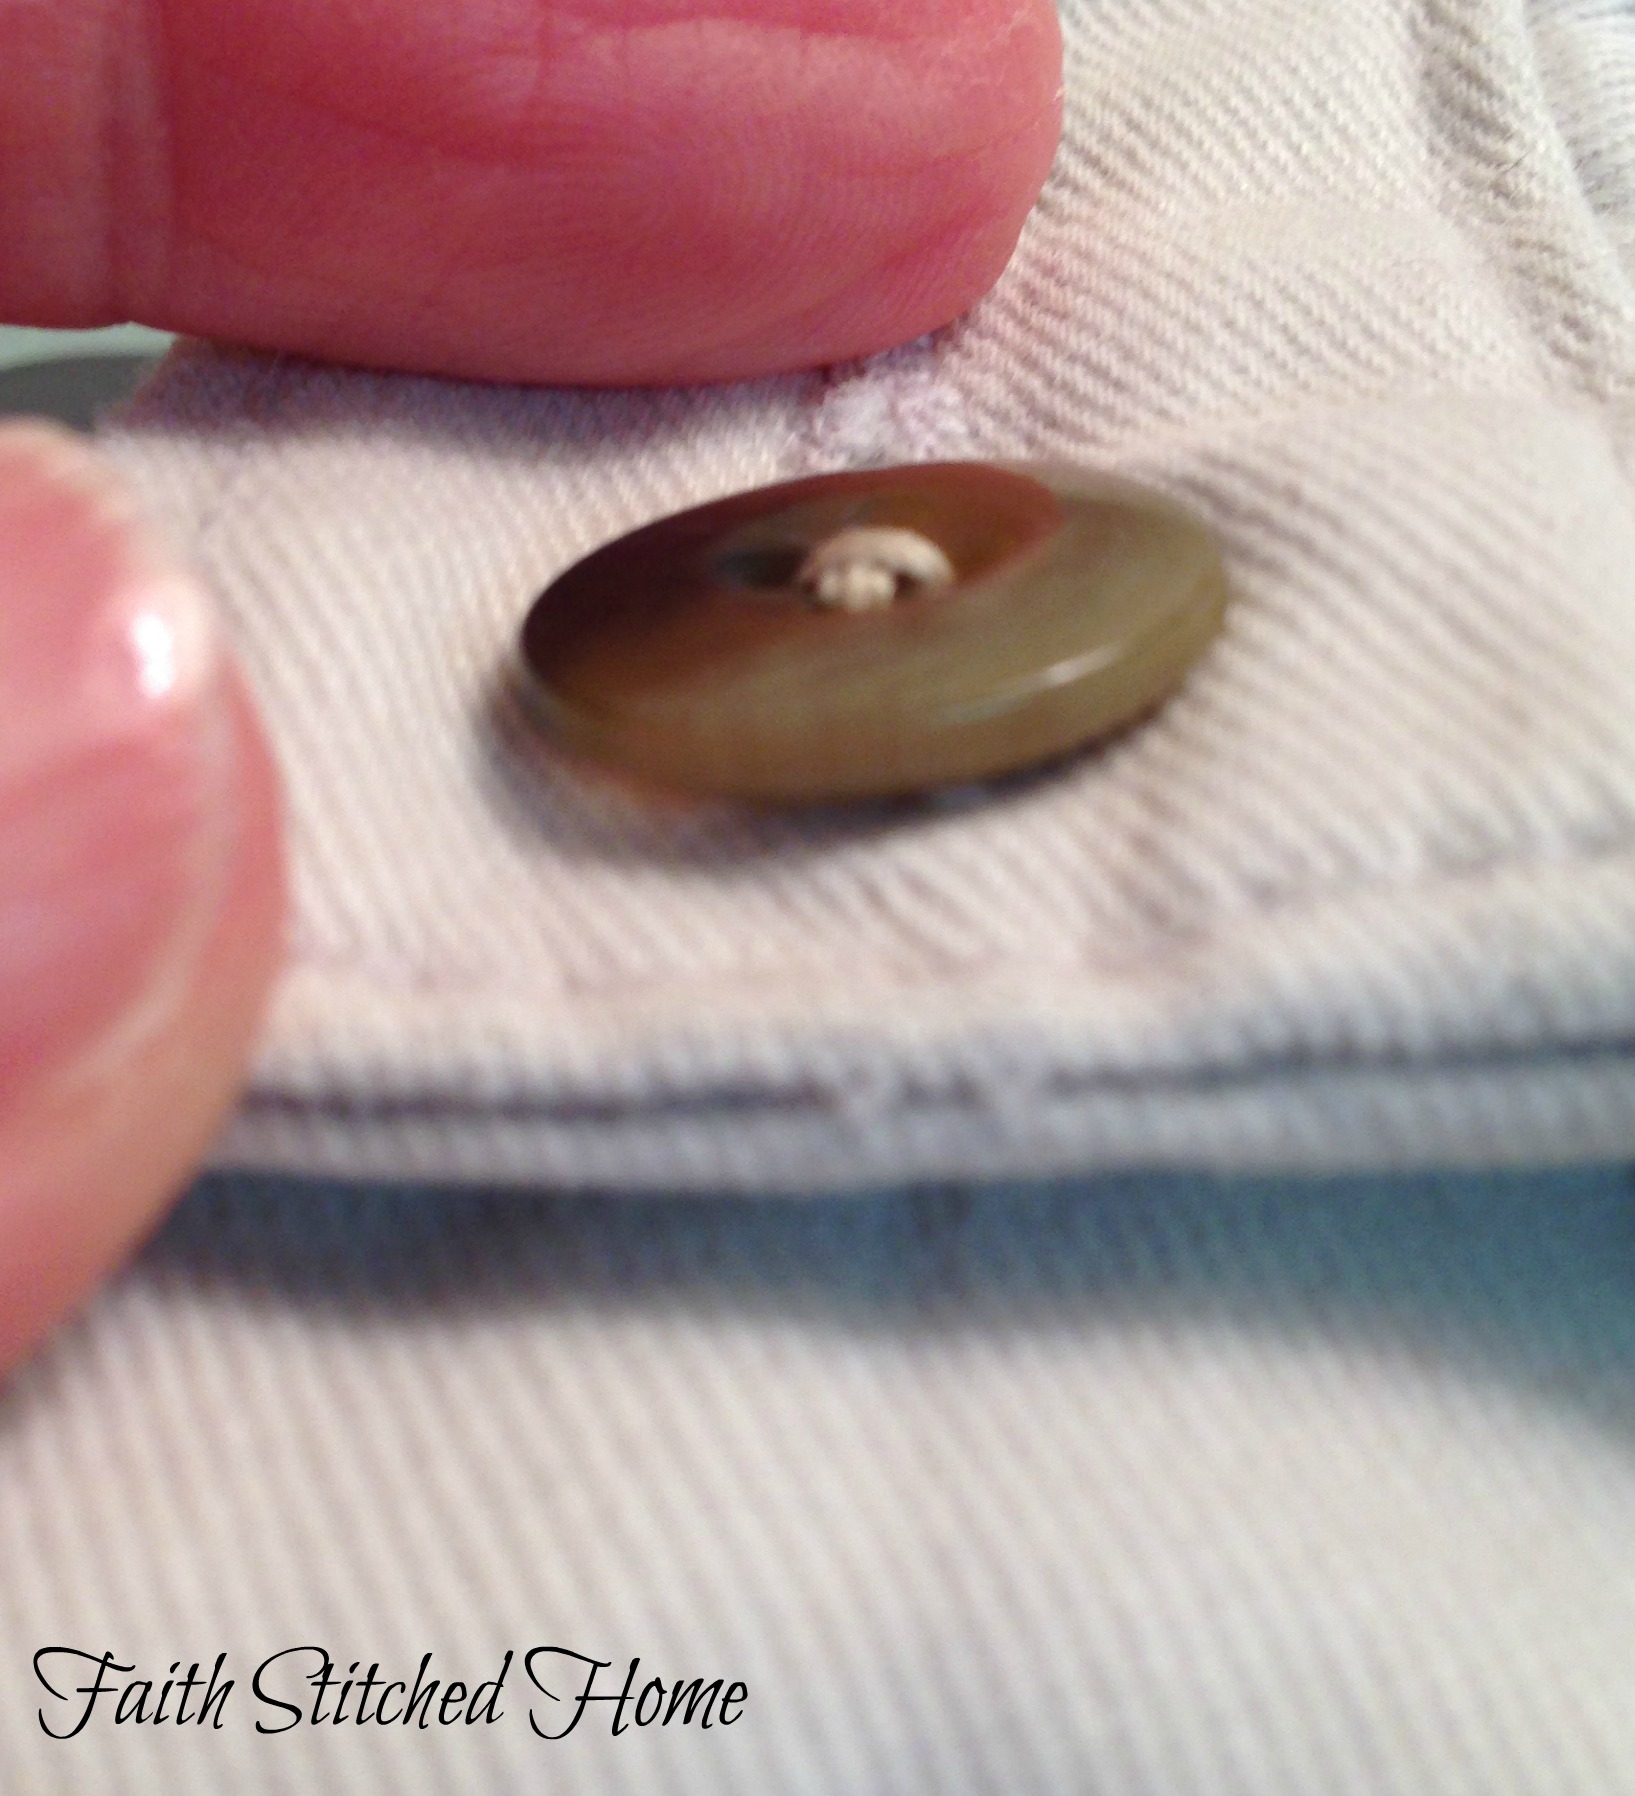
Before pulling the thread taut, place a dressmaker pin or safety pin under the thread. Pull your thread taut.
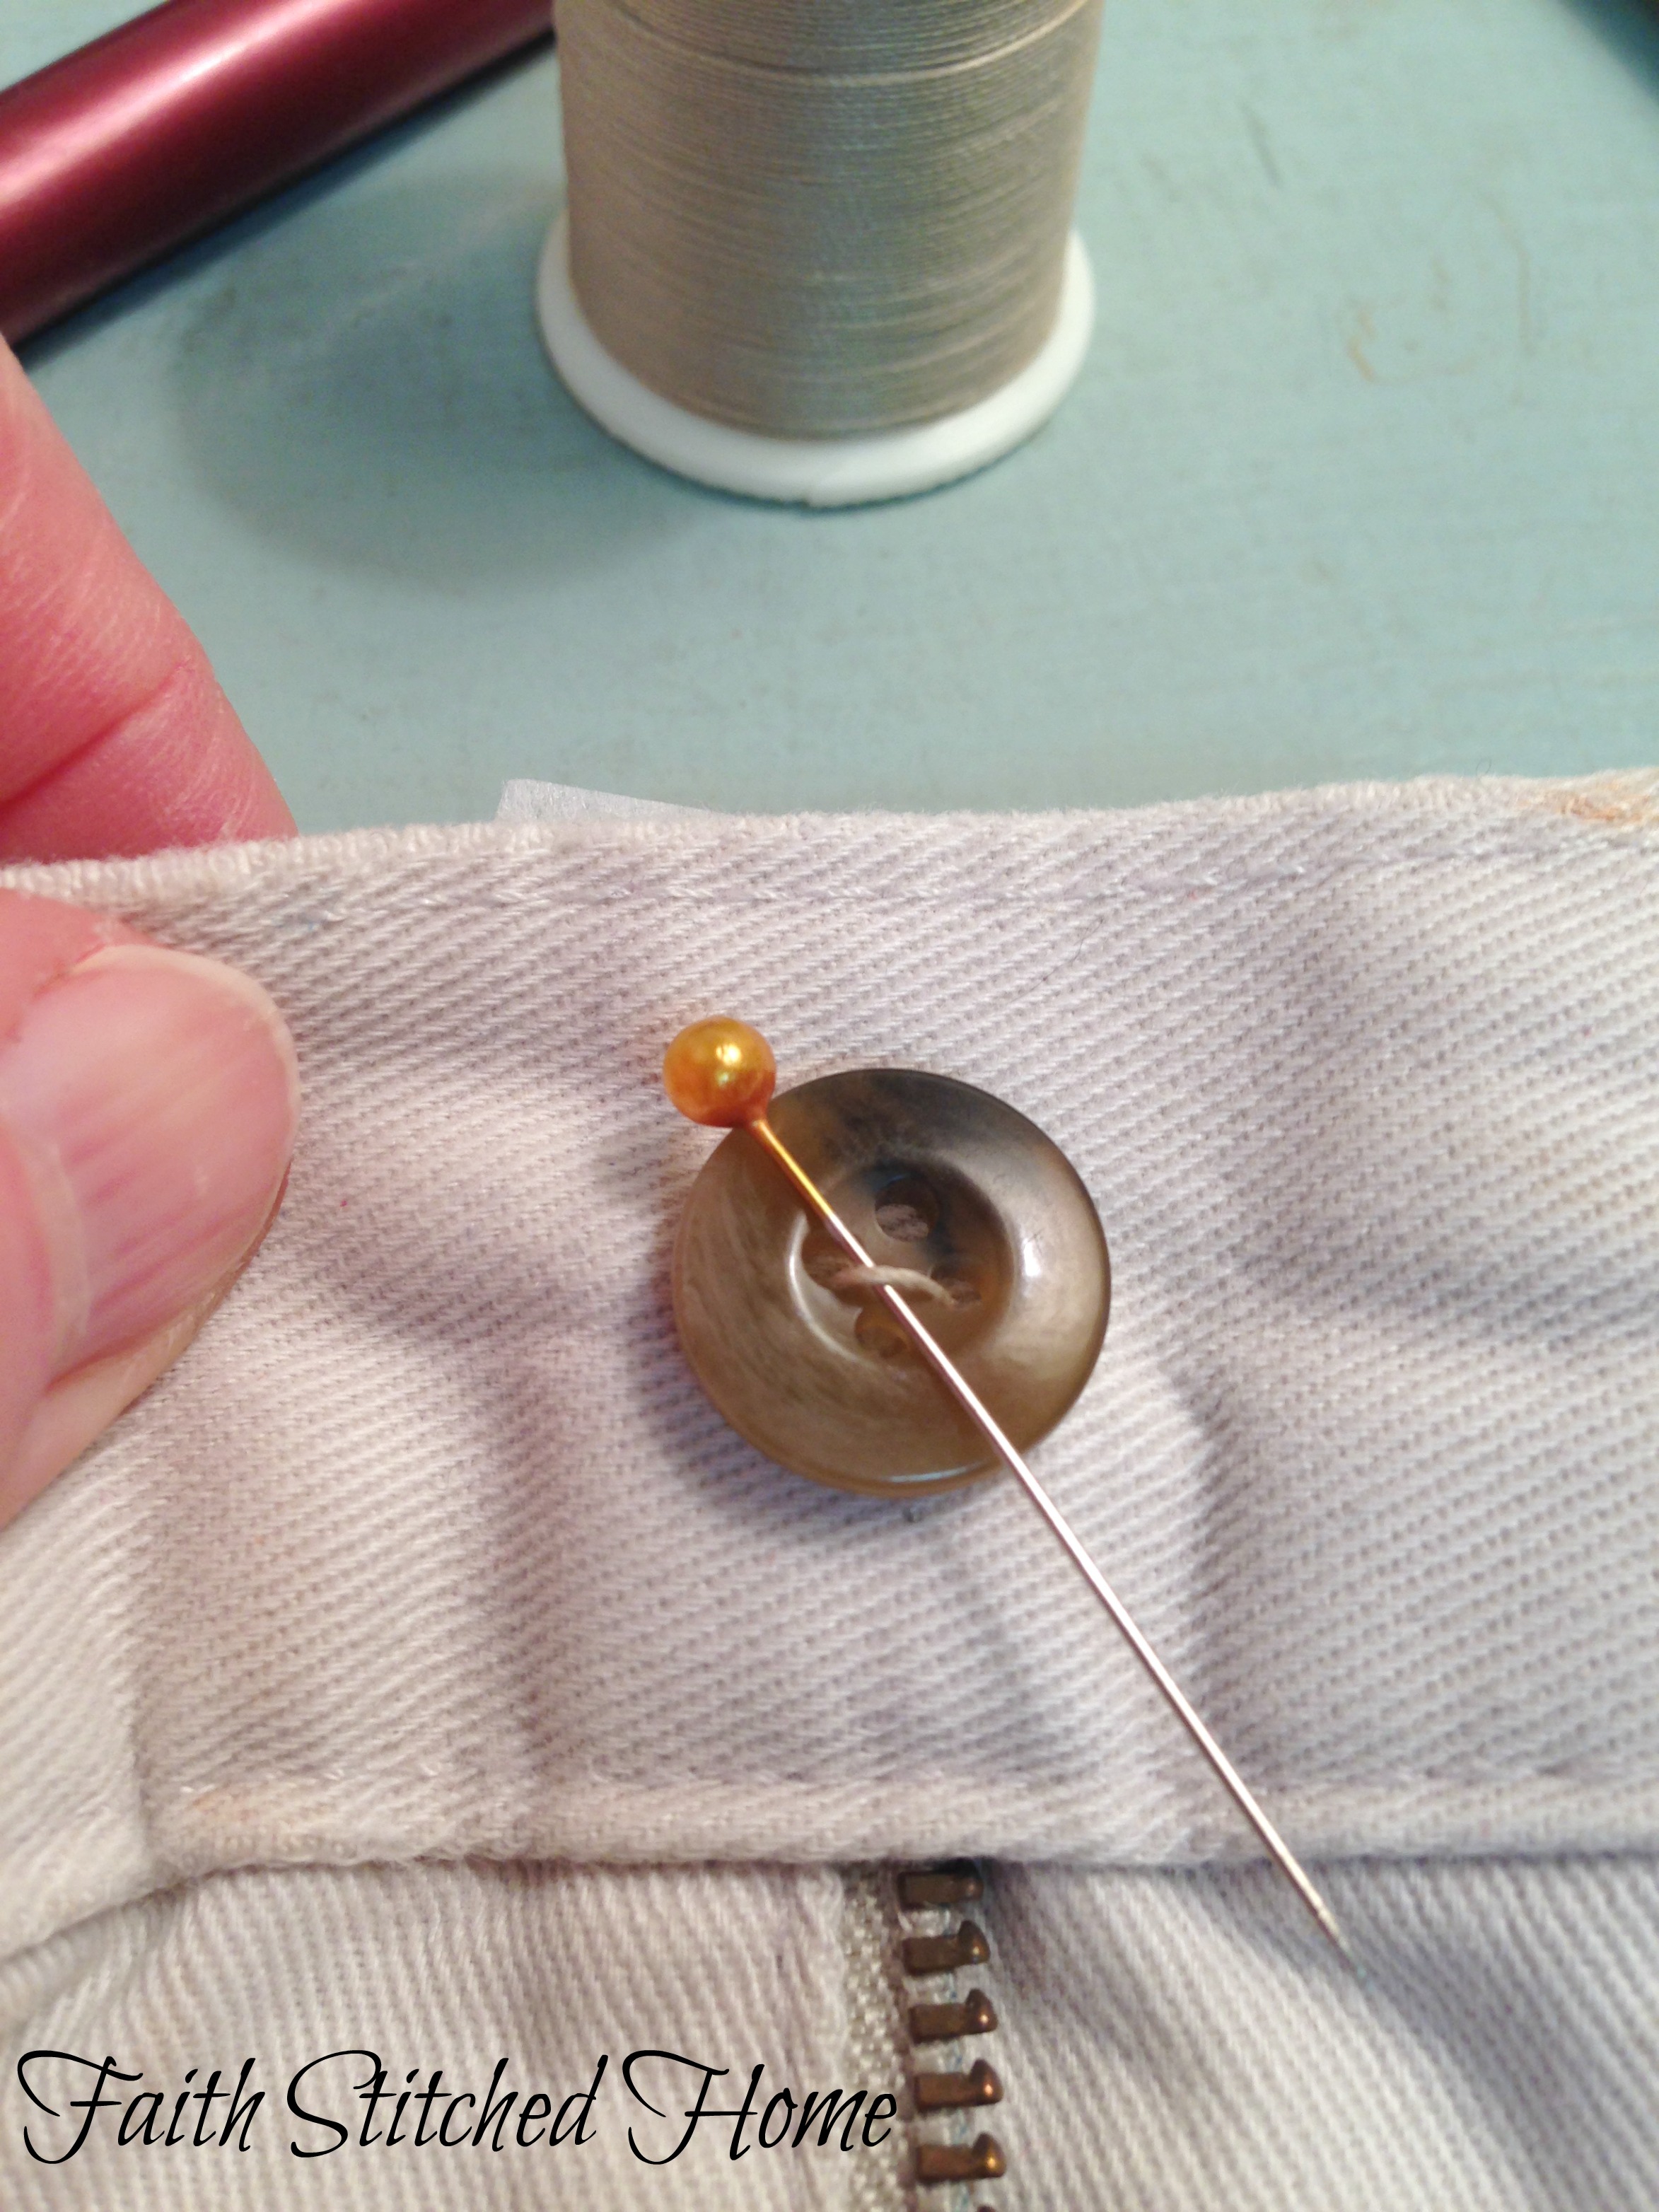
Continue this 3 or 4 more times through the same holes, then crisscross stitch through the other two holes keeping the pin in place as you stitch.
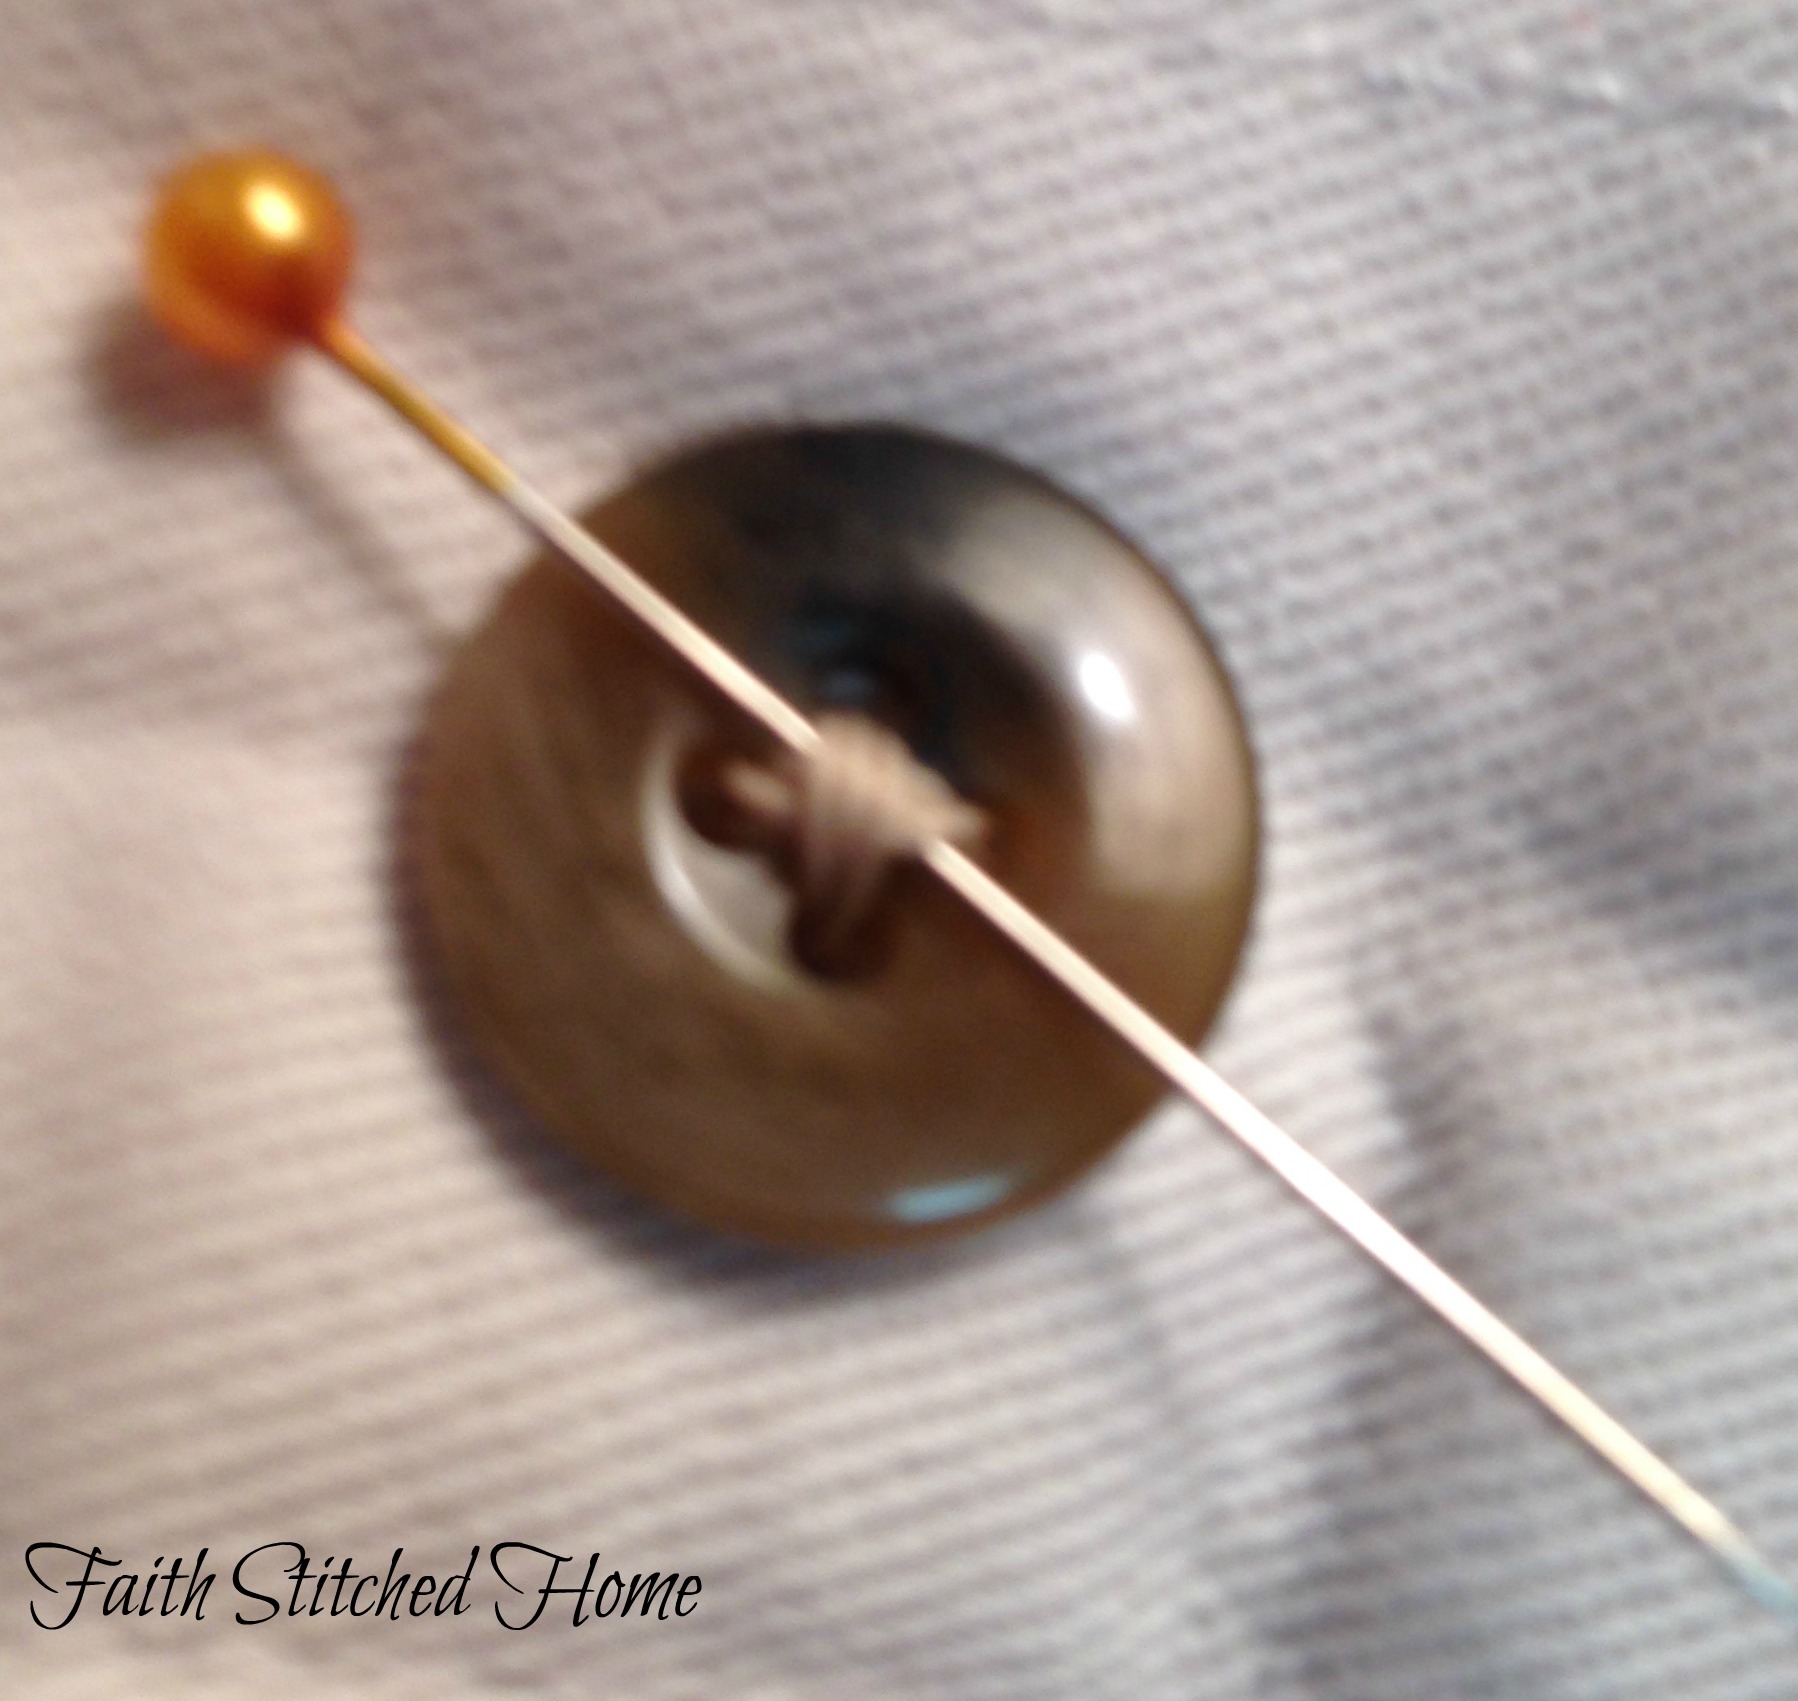
So what purpose does the pin serve, you ask? Bear with me and I will show you.
When you have finished stitching the button on, bring the needle from the back up through the waistband right under the button but not through one of its holes.
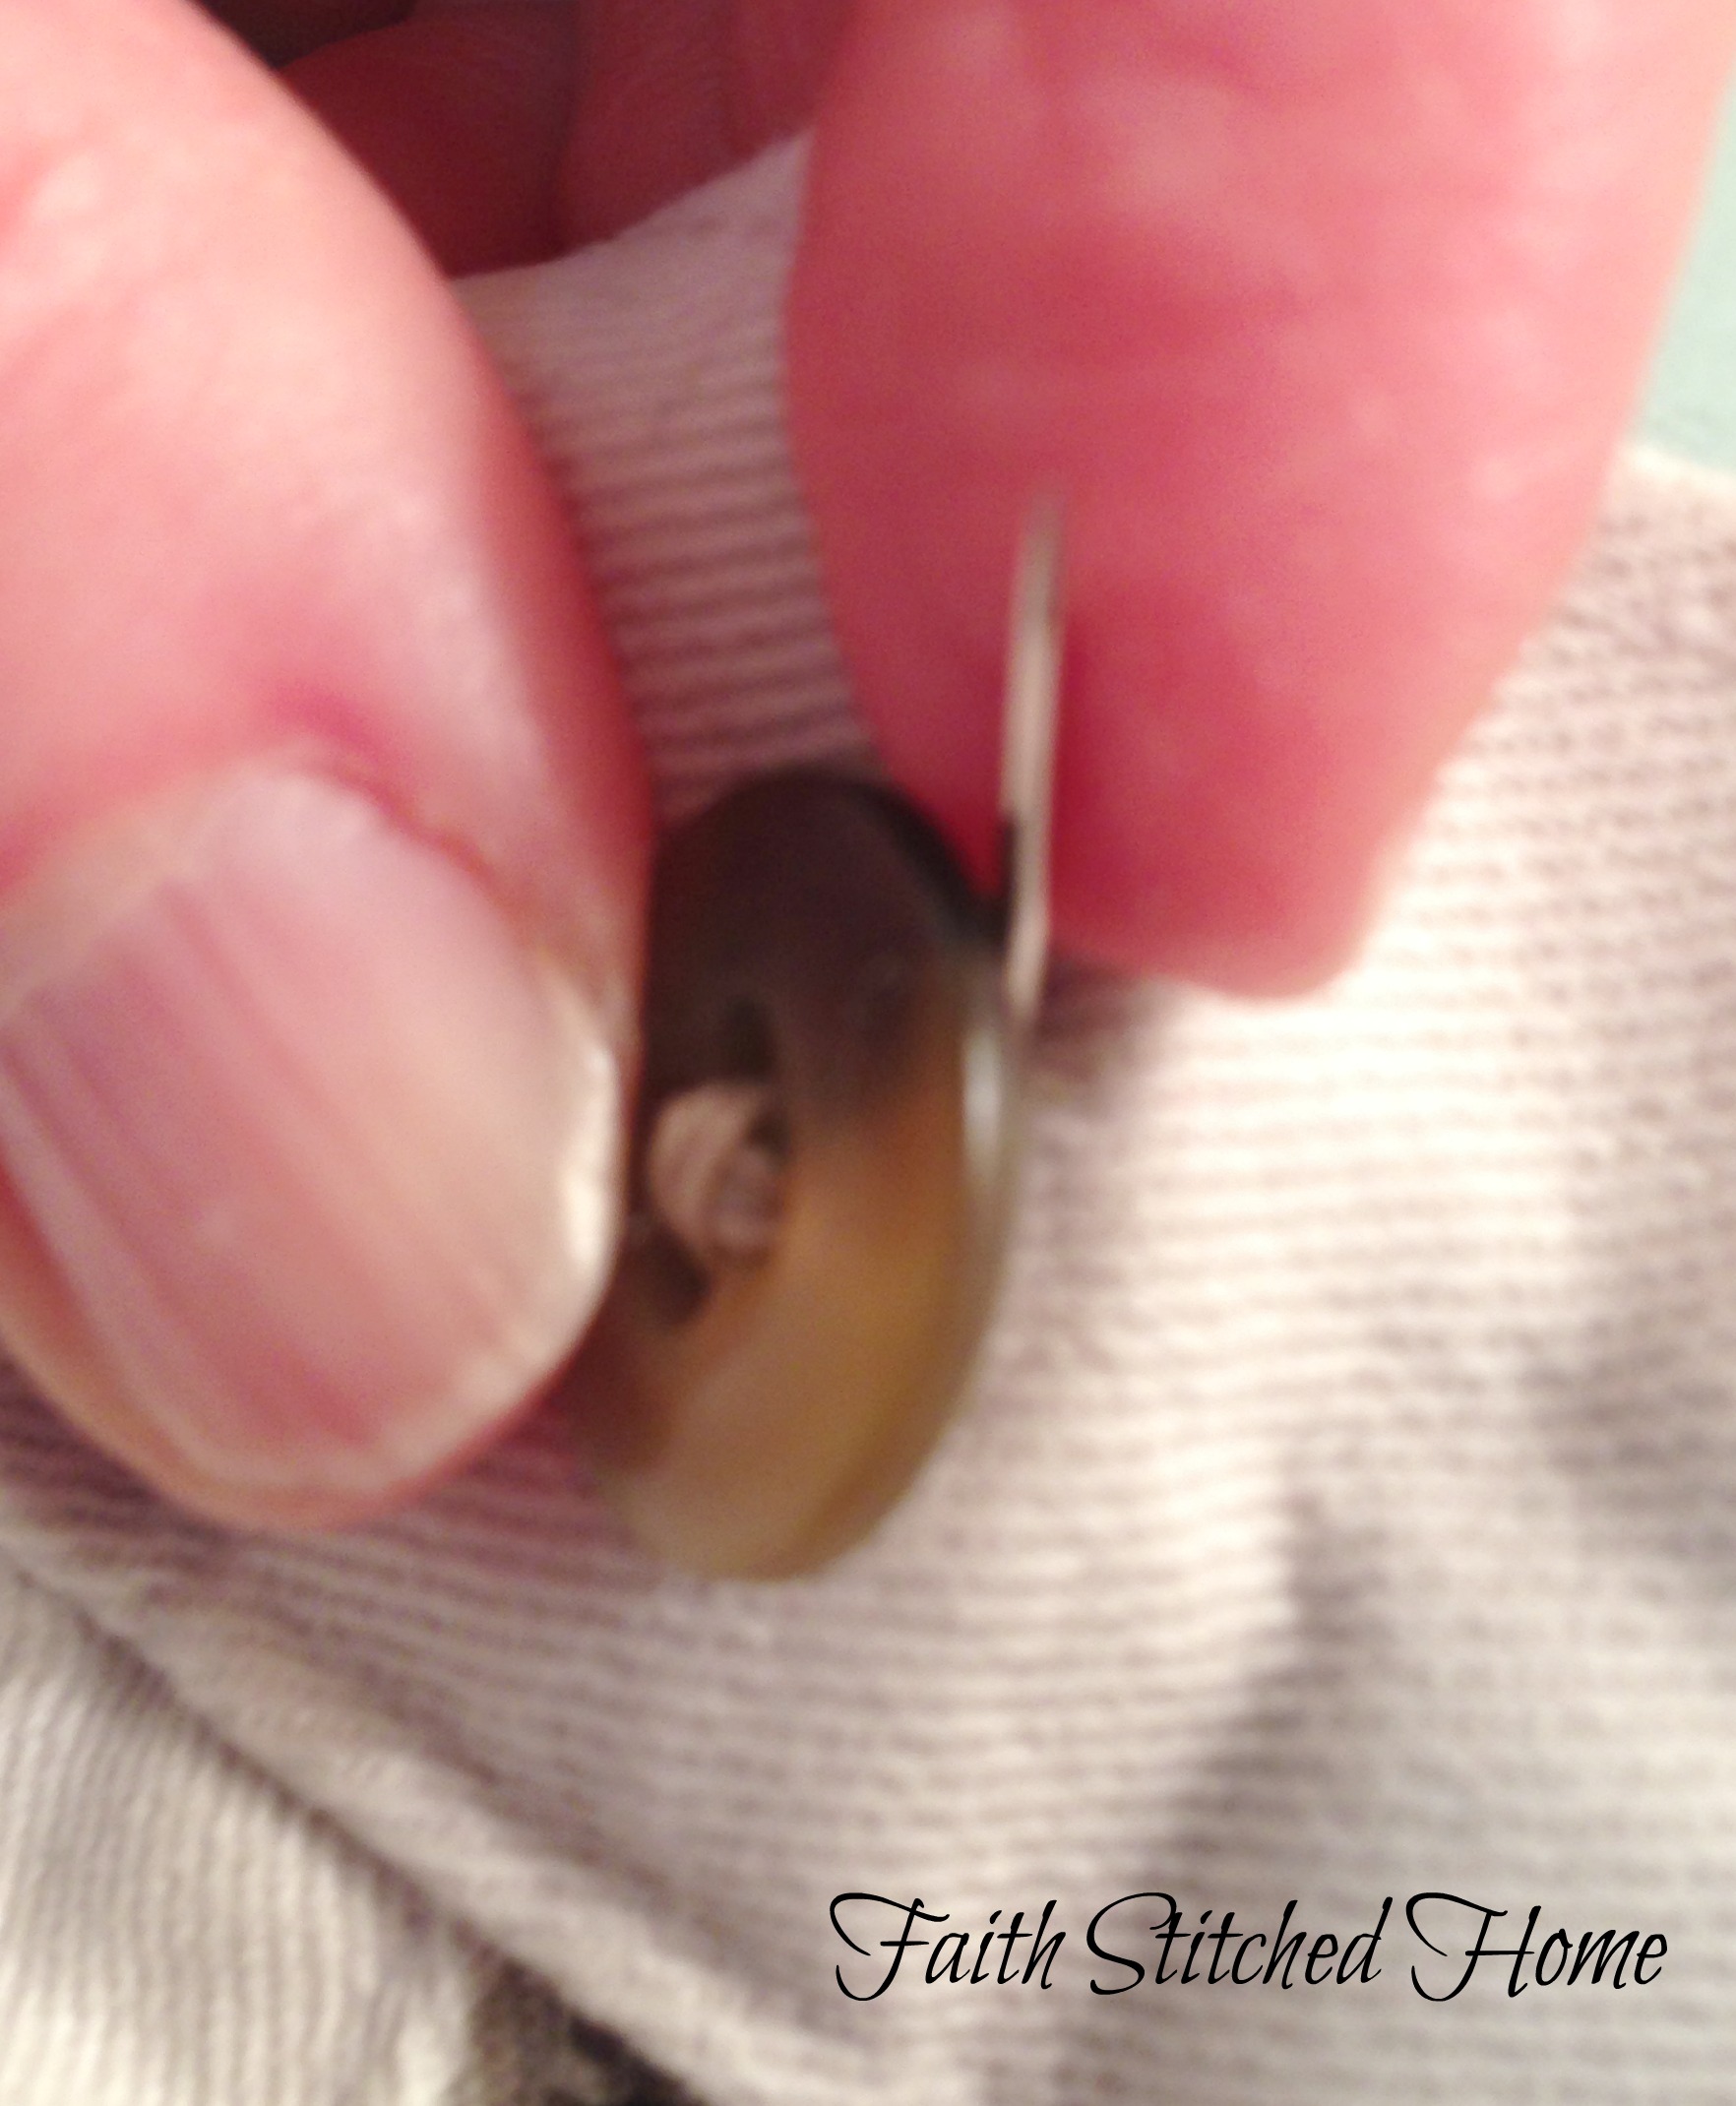
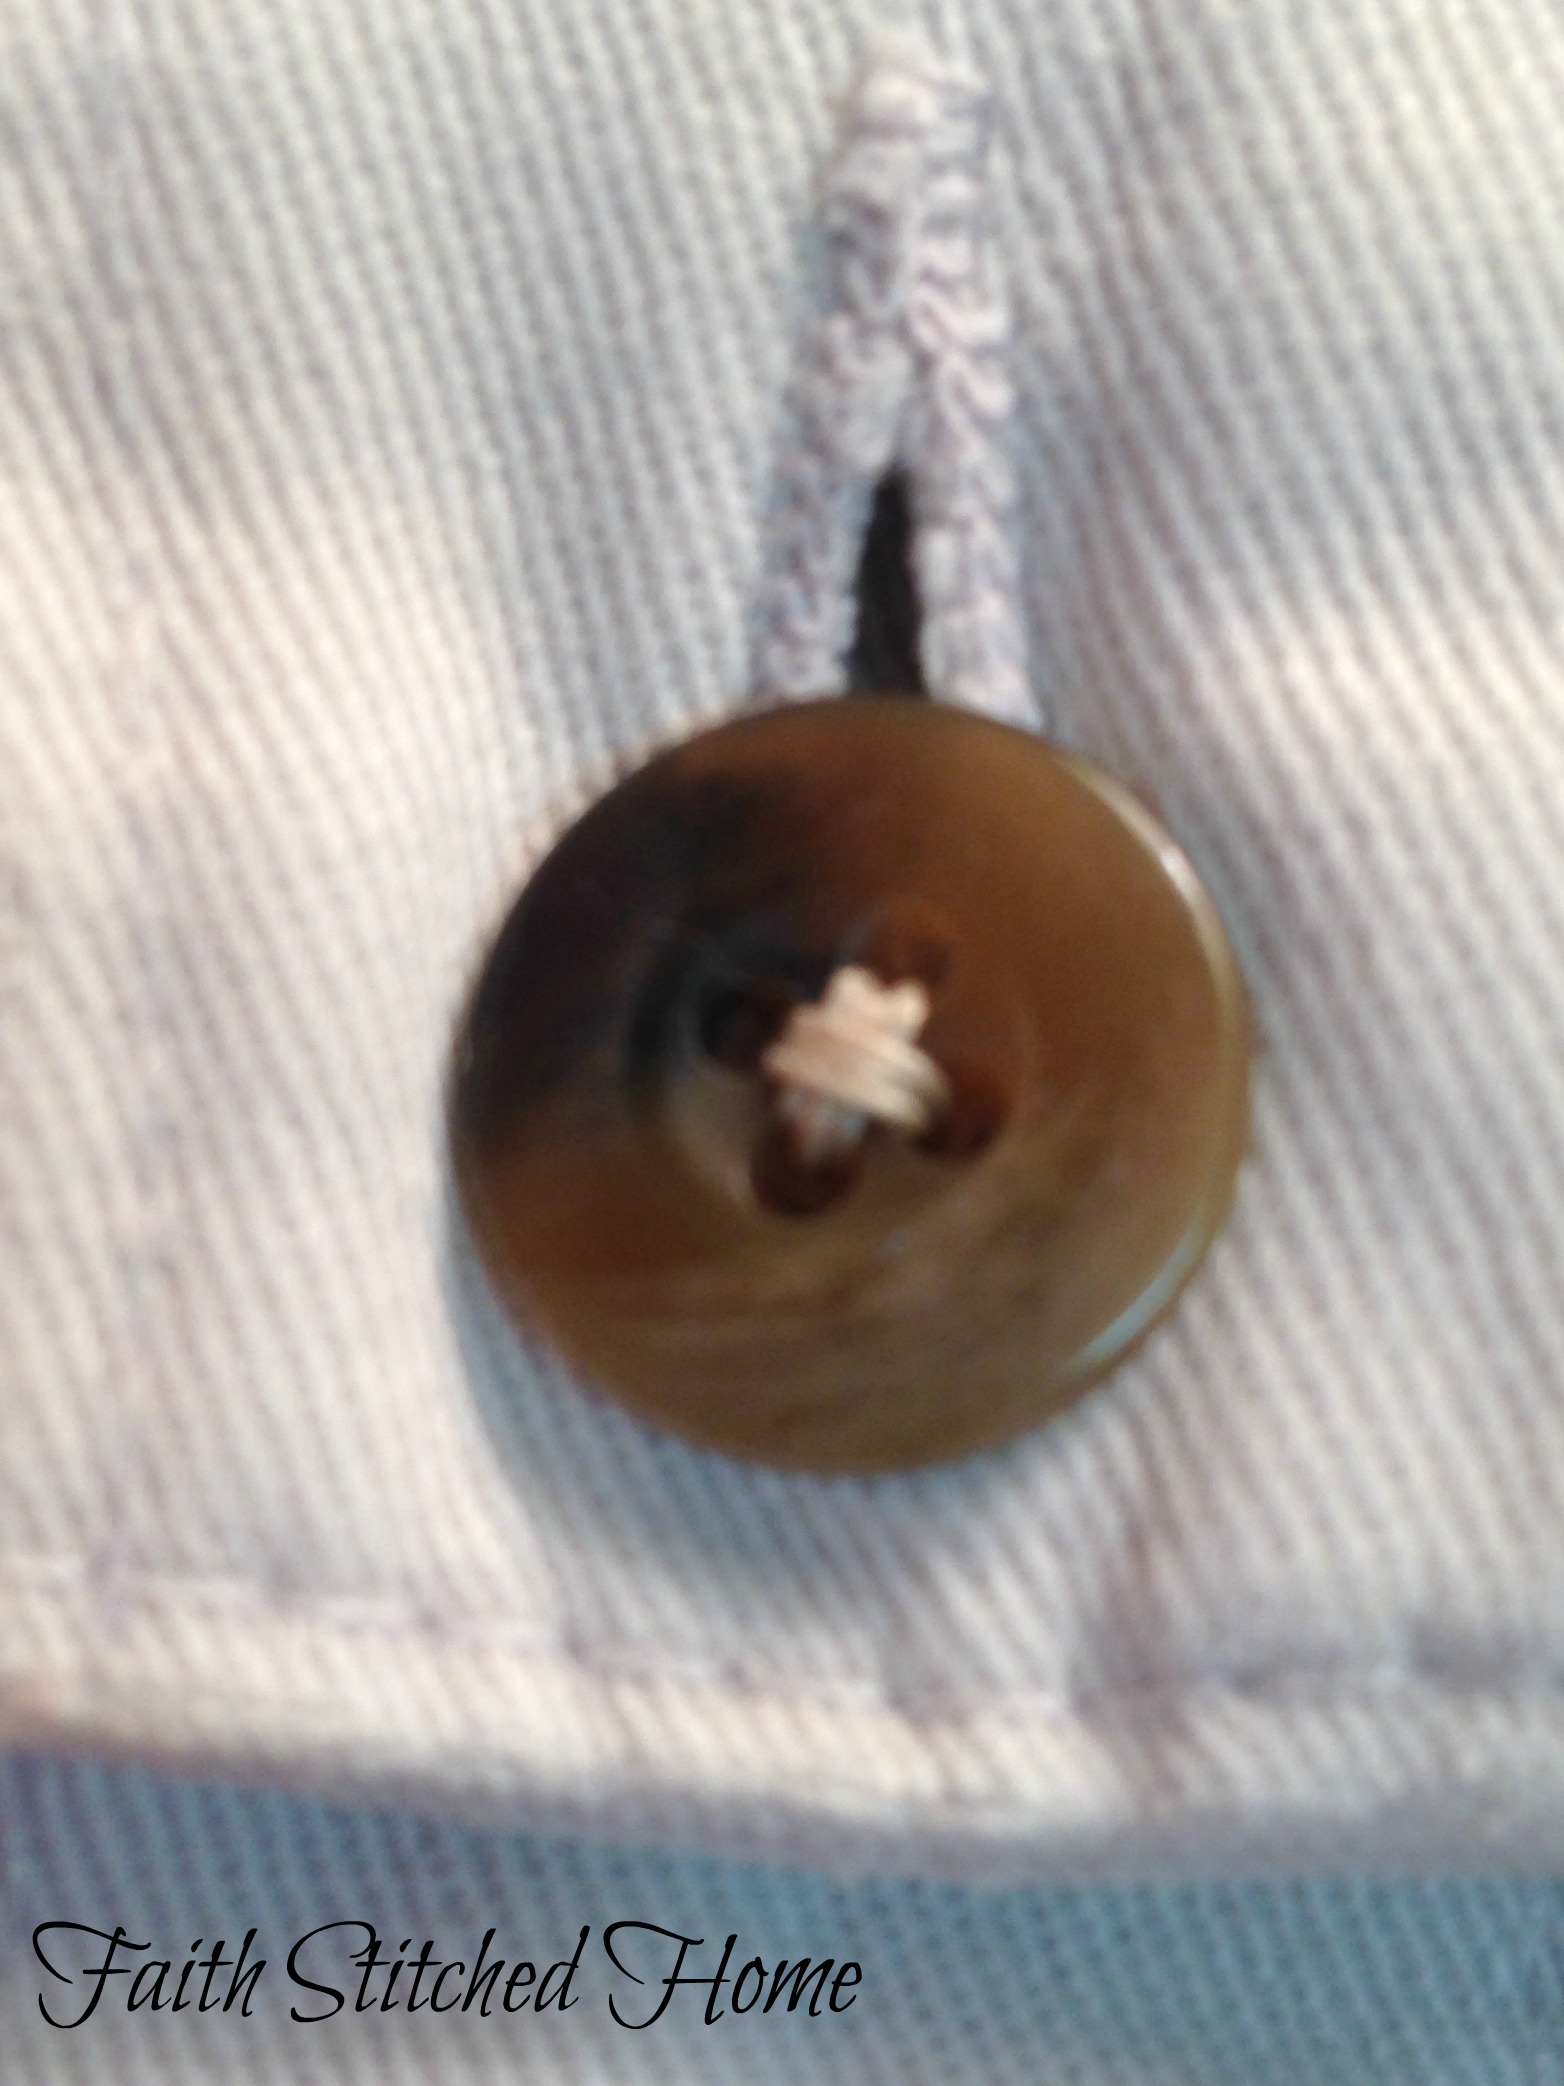
Now remove the pin and wrap the thread around and around the stitches (between the button and waistband) that holds the button in place. Do this about 3 or 4 times.

Now push your needle back through the waistband to the back.

Take a couple of stitches under the stitches holding the button catching some of the interfacing in your final stitches.
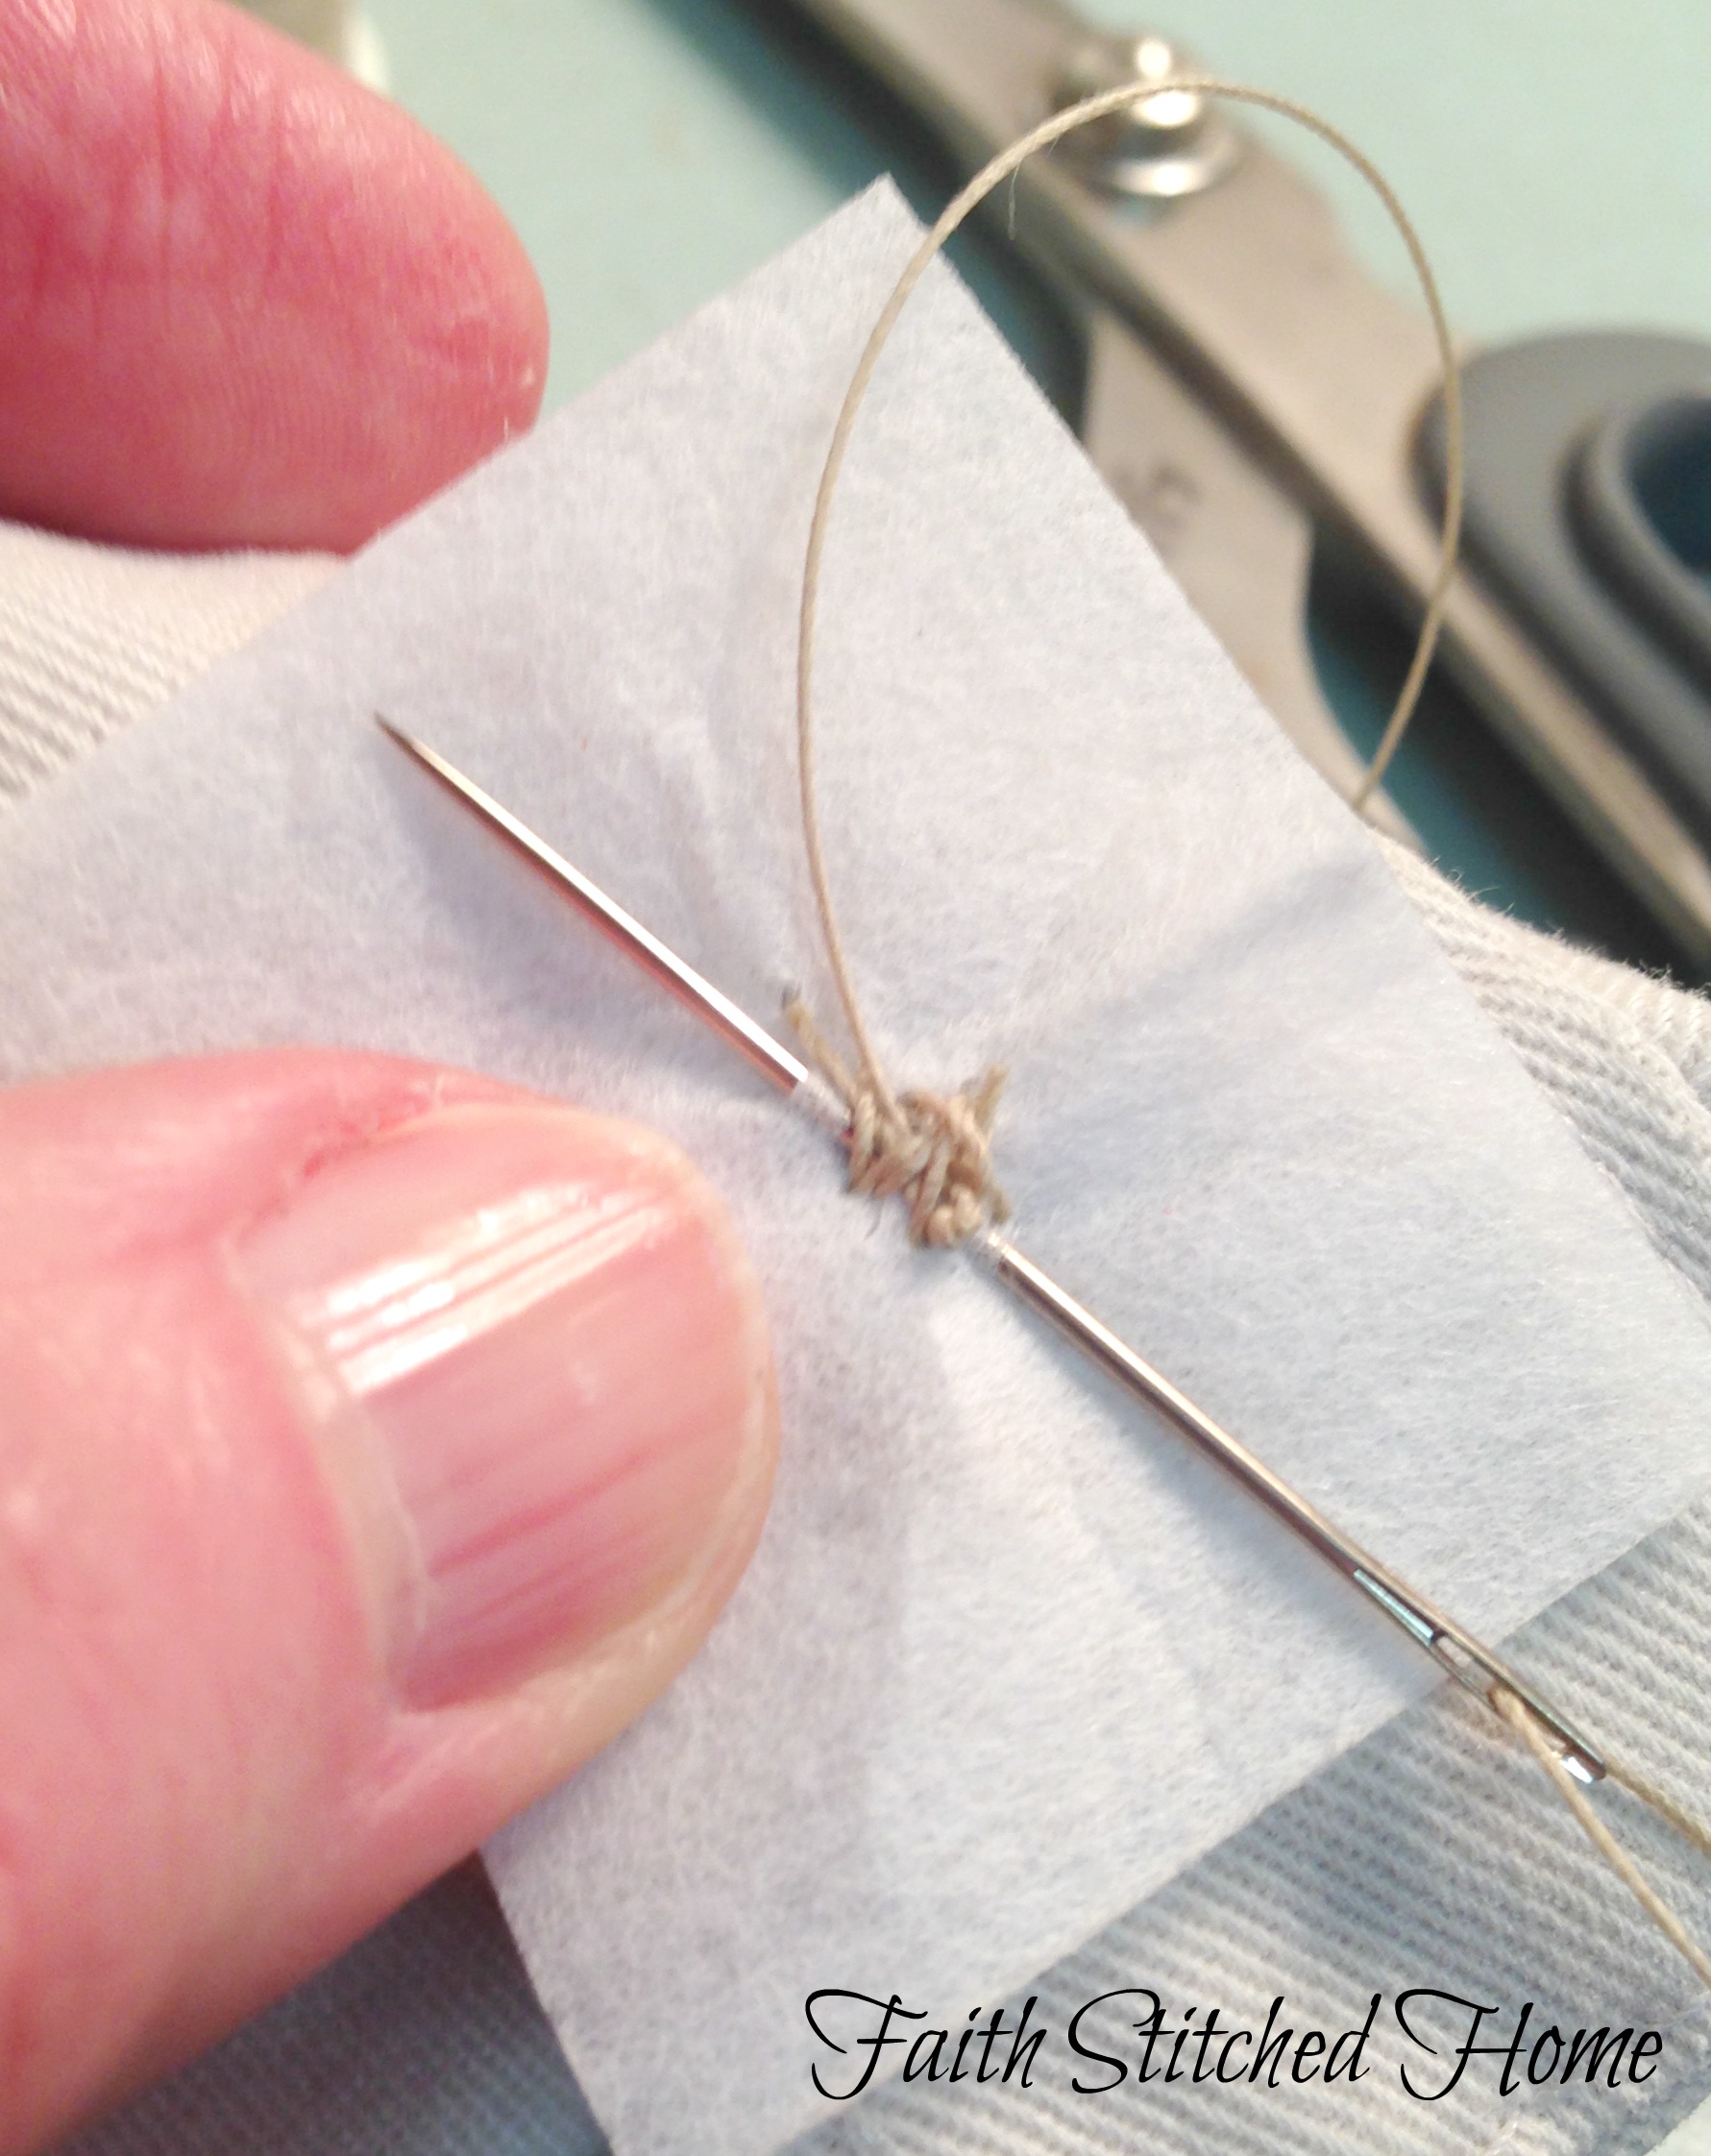
Knot your thread to finish off and take another stitch or two before cutting the thread off.
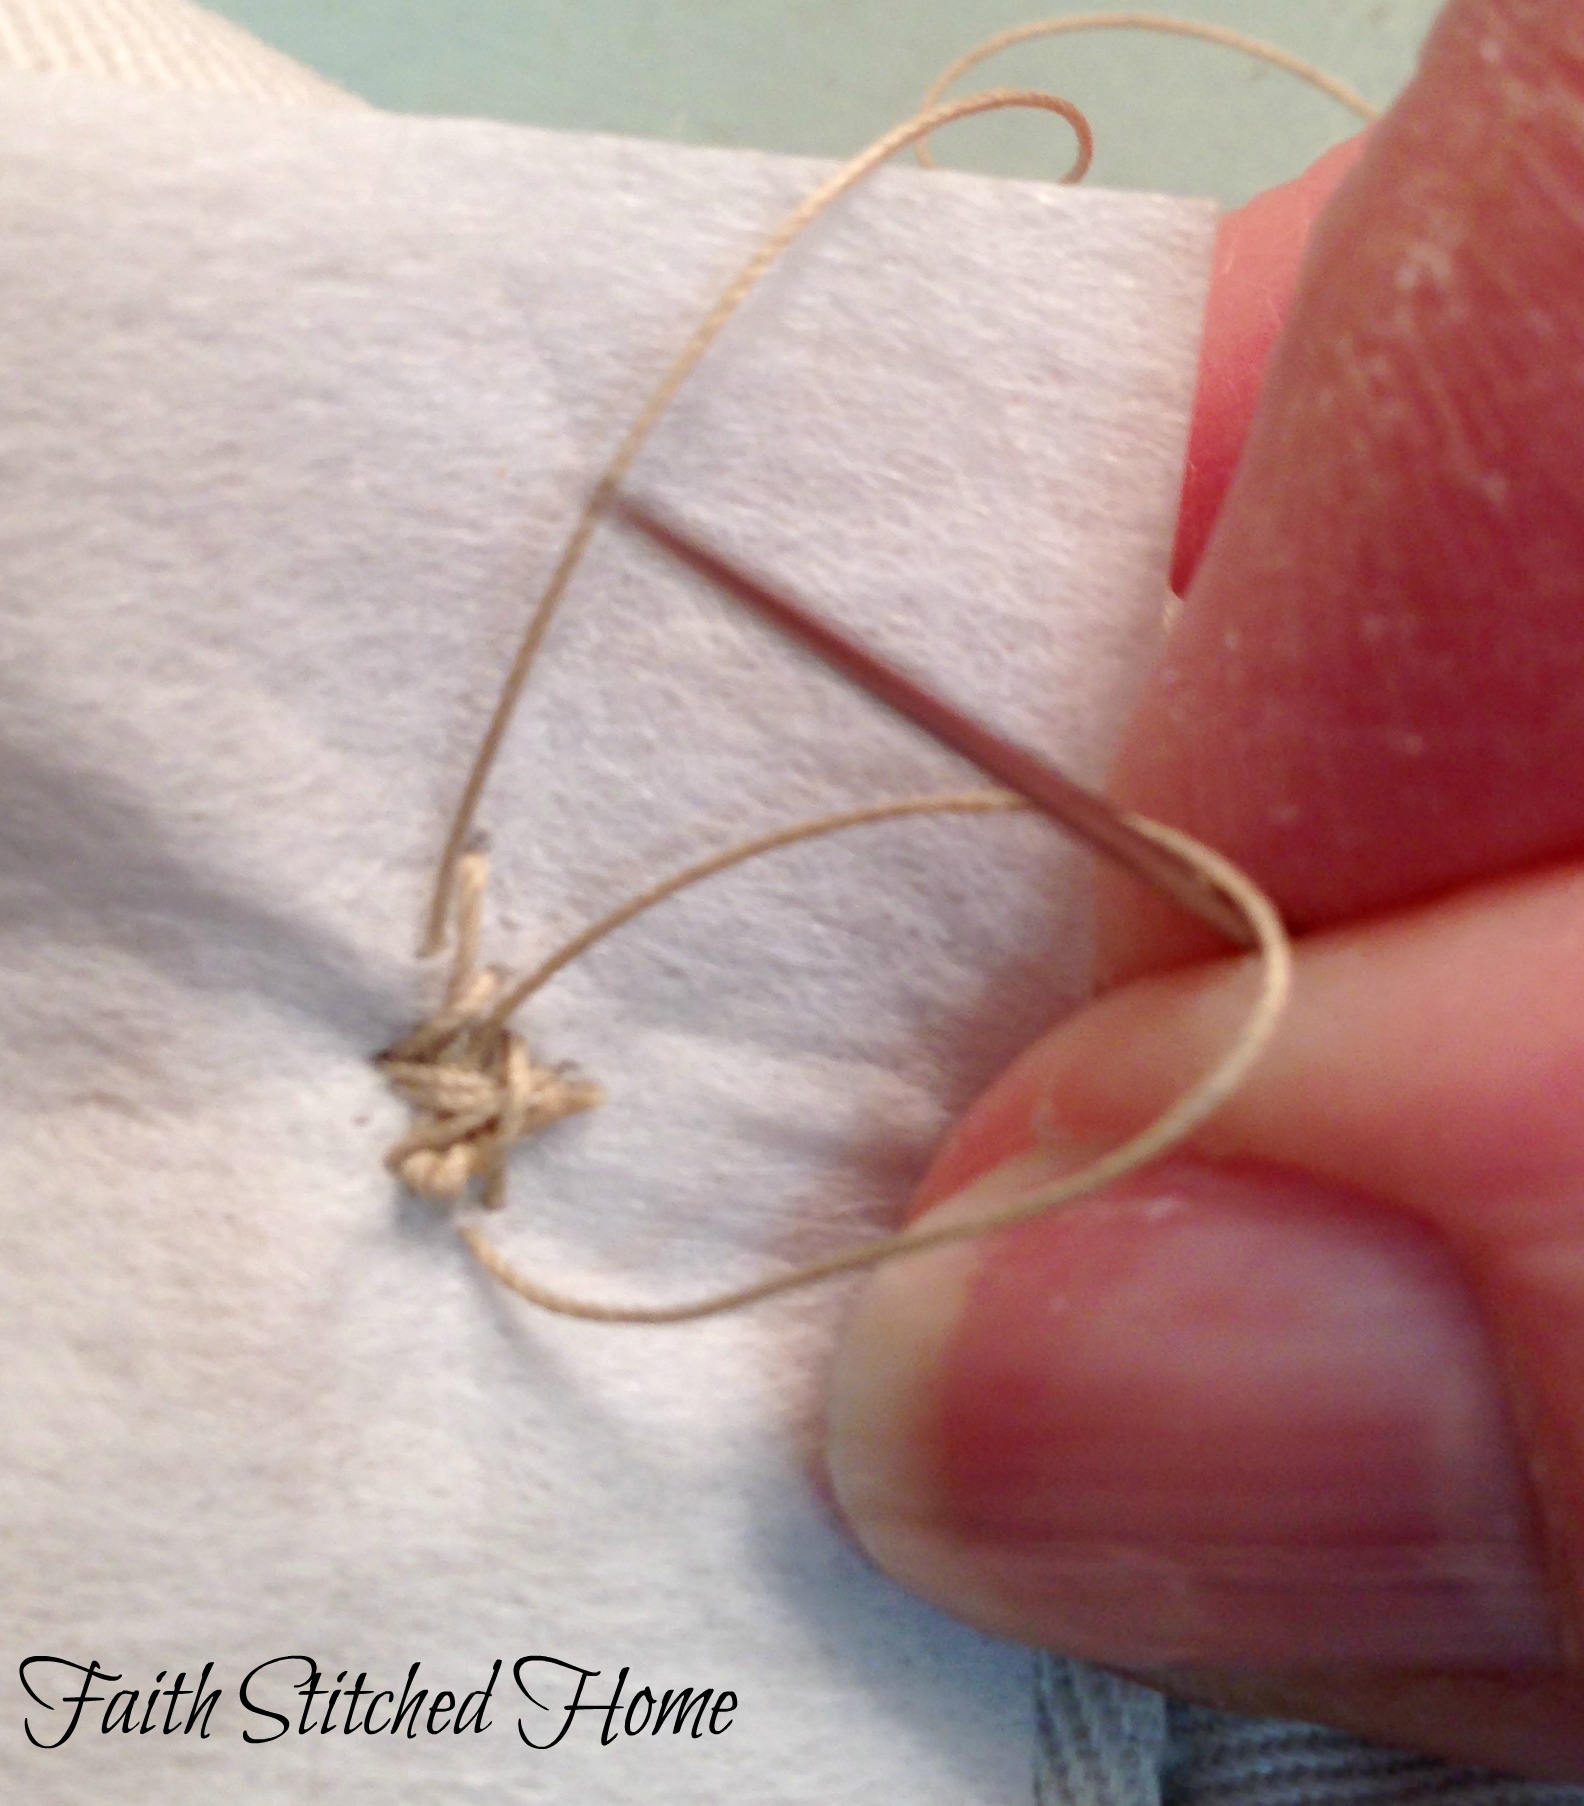
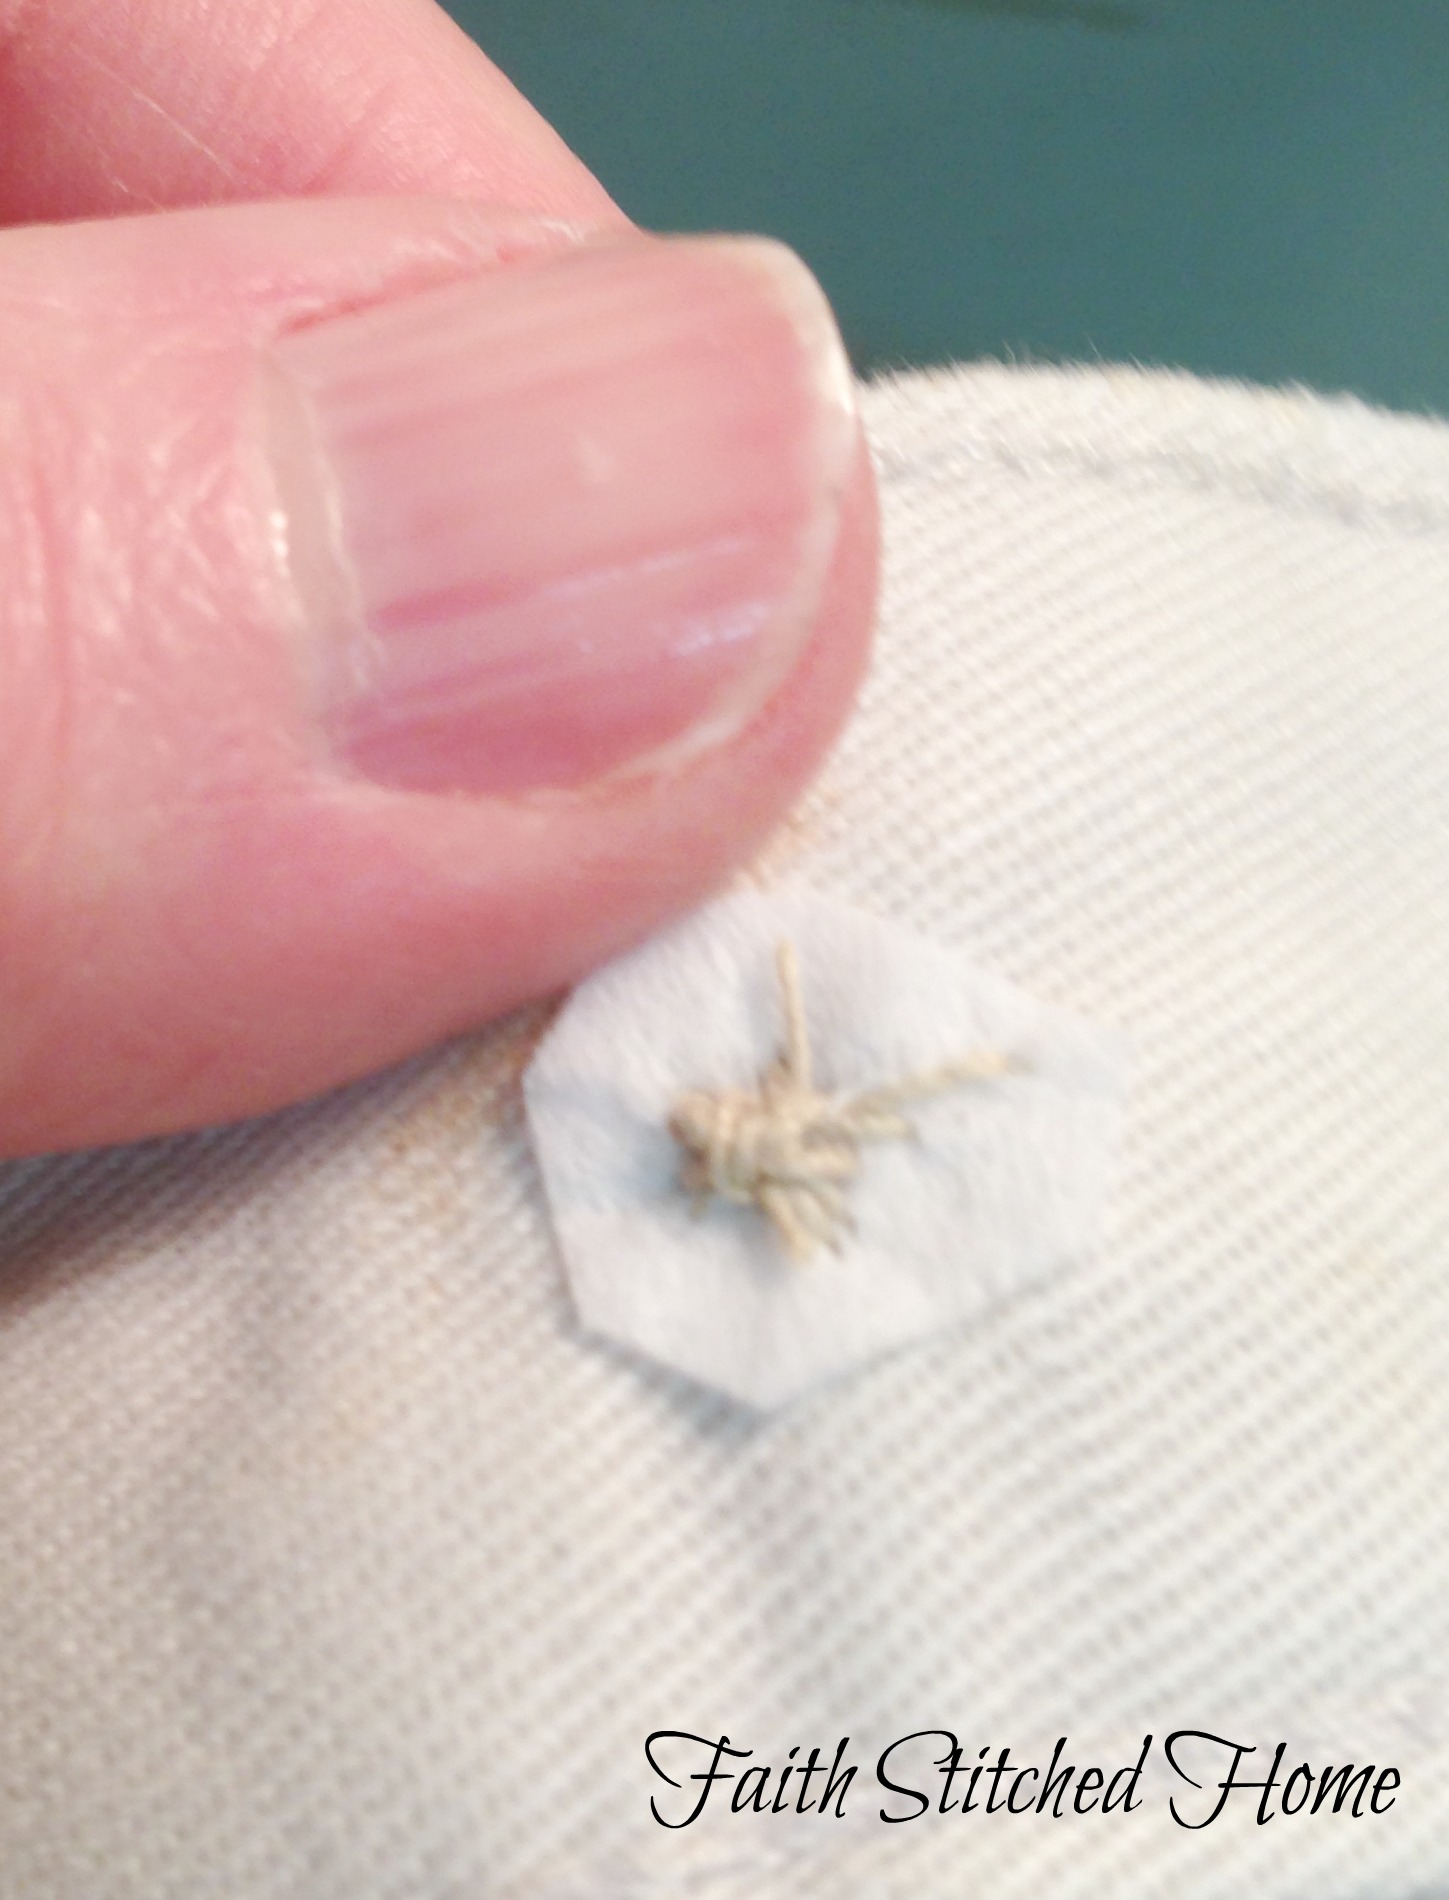
Now trim your interfacing and you have properly sewn on a button.
Now to answer your question about why we used the pin when stitching through the button holes:
The reason you used the pin during sewing was to lift the button ever so slightly from the waistband giving you room to wrap thread around it. This creates room for the bulk of the waistband when buttoning the button.
Wrapping the thread around helps strengthen your stitches from the constant friction of the buttonhole against threads holding your button in place.
Do it right the first time and it will be a very long time before you will have to do it again.
Note: When sewing on decorative buttons (like on a breast pocket or even a cuff) or shank buttons that won’t have a lot of stress on the stitches, it is not necessary to use the pin or wrap the stitches.
I hope this helps. Let me know if it does or if you have questions.
Any other sewing techniques you would like to see?
xo, Faith
Leave a Reply