My family is so lucky to have the best neighbors in the world. We count them among the best of our friends.
Our next door neighbor in particular is awesome. We spend a fair amount of time on his driveway (aka red neck patio!) while he fires up his Big Green Egg. His driveway is a magnet. It is extra wide with room for a patio table and four matching chairs. However, the crowd gets too big to be accomodated by the matched patio set so out come the miscellaneous chairs – molded plastic chairs, fold up canvas camping chairs in their carry case, make shift seating in the form of a cooler, you name it.
Once he has provided seating for his happenstance guests, he pulls out a ratty, old vintage webbed rocking chair that belonged to his grandmother as his personal seating. That chair must be 50 years old! You just don’t see these old relics anymore, but I love them.
Talk about relic, look at that frayed webbing! Even though he is a lightweight guy, and I use that term loosely, I thought we might one day see him fall through, fold in half, and get stuck in the chair frame in need of a rescue.
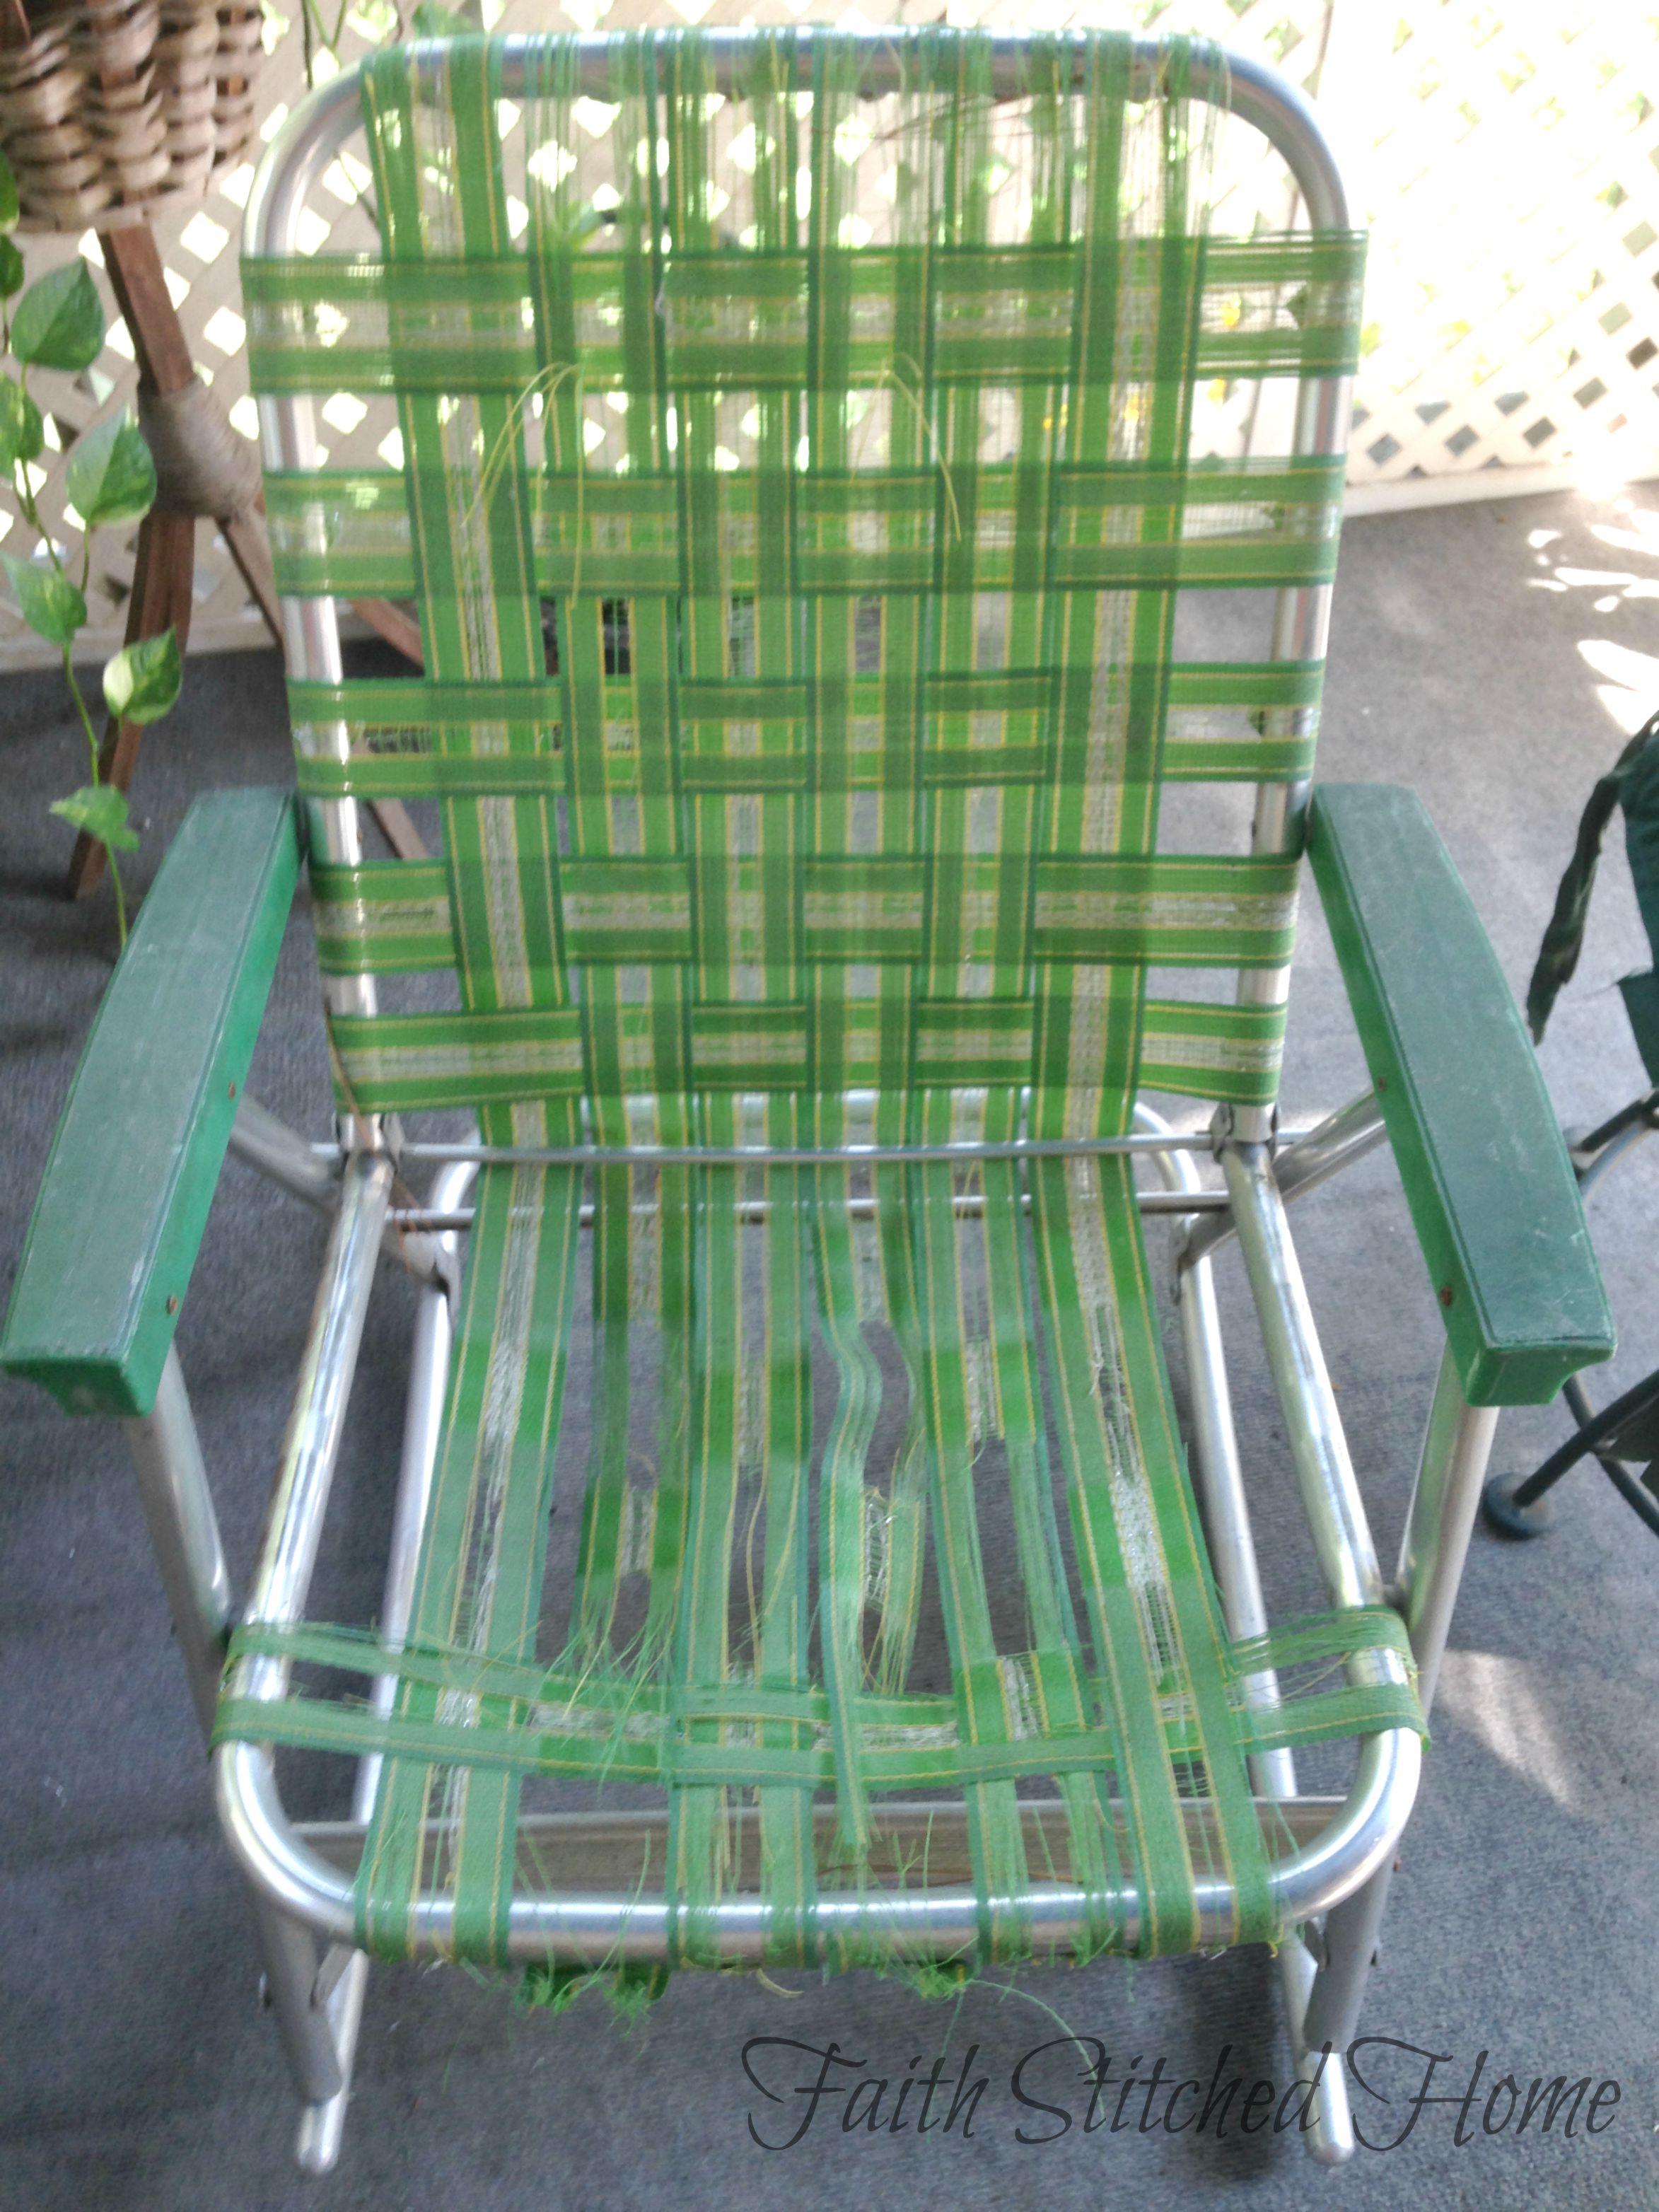
So hubby grabbed the chair off the driveway and I got busy. This photo was taken after I took off the bottom web. Frankly, I was surprised that webbing could be readily found but we have a great well stocked hardware store near us and a package of webbing found its way home. After removing the brittle ancient web, I realized that it would have been a good idea to have washers on hand to keep the screw heads from working through the web. The original web had rivets in the web so I just cut the rivets off and saved them to put the screws through when replacing with the new web.

I used a small screwdriver (an awl would have worked better but as usual couldn’t find it in the garage) to poke a guide hole through the webbing for the screw placement. Folding over the web creates layers that will add strength.
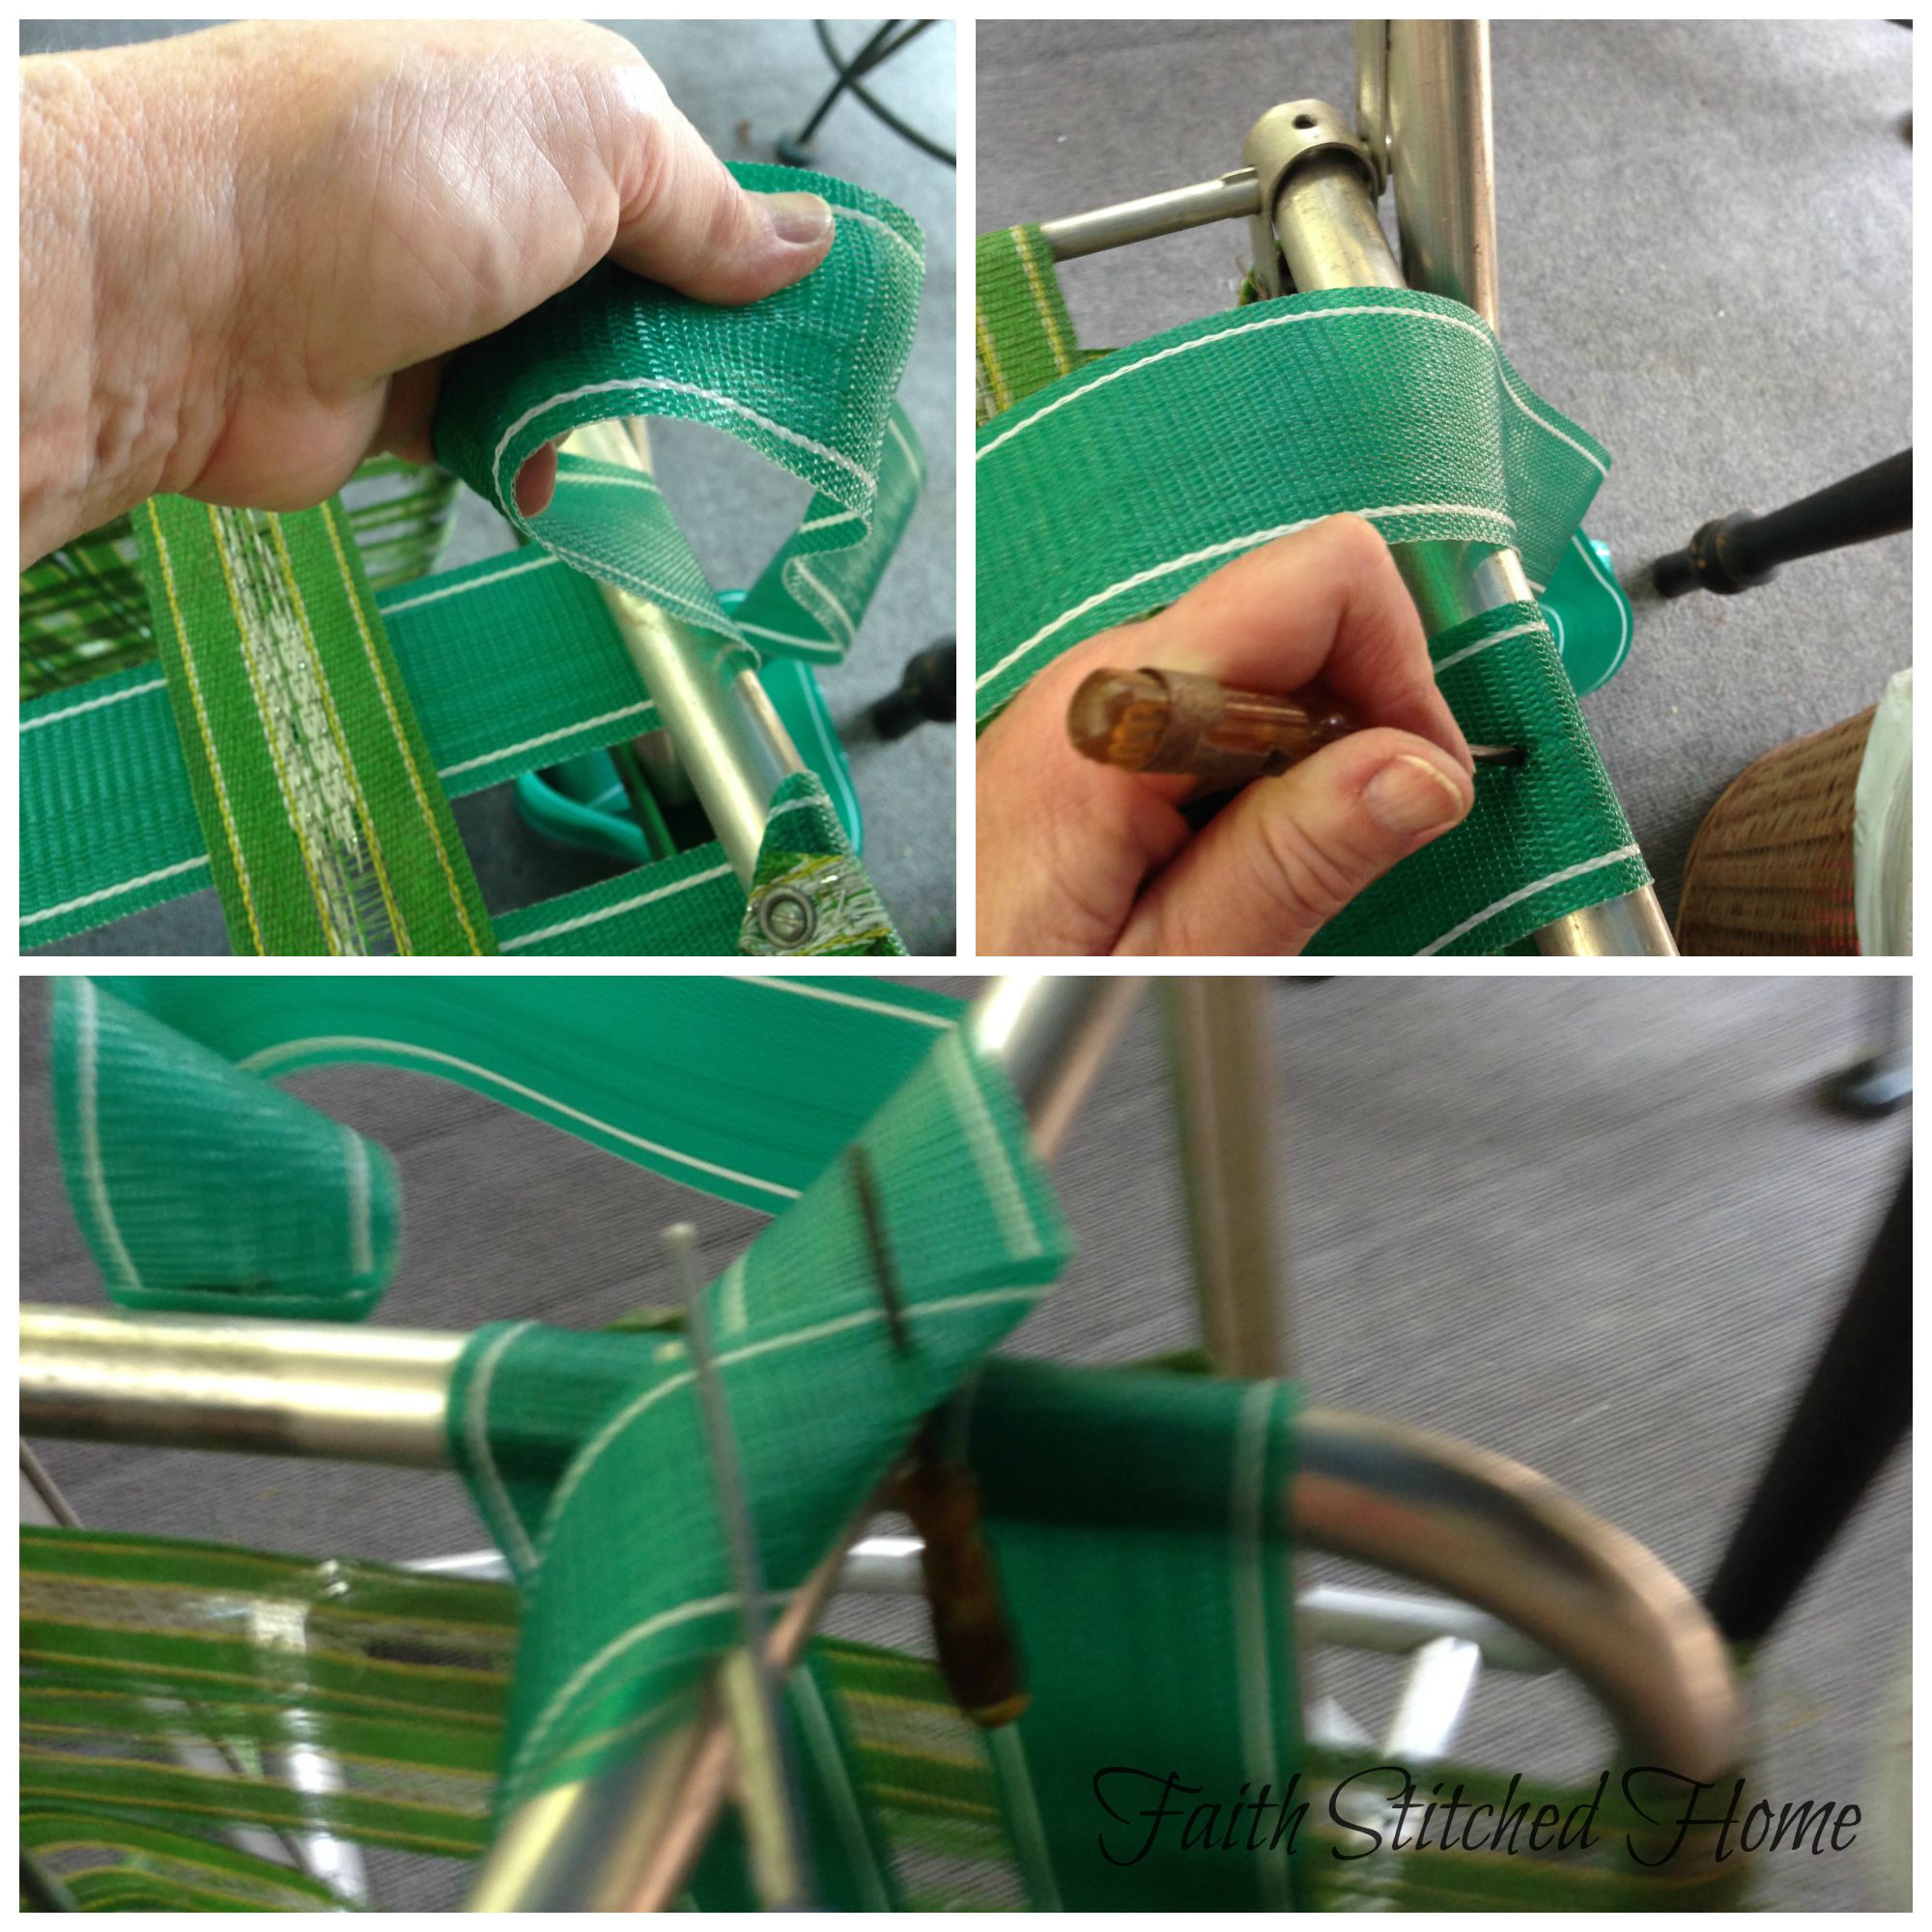
I anchored the first side, pulled the web taunt to the other side tugging snugly to mark the hole on the other side. I marked the hole by placing the screw driver through the web into the screw hole. Then I trimmed the webbing and attached to the other side. Of course after the first strips are attached, you will then weave (elementary) through the cross webbing.

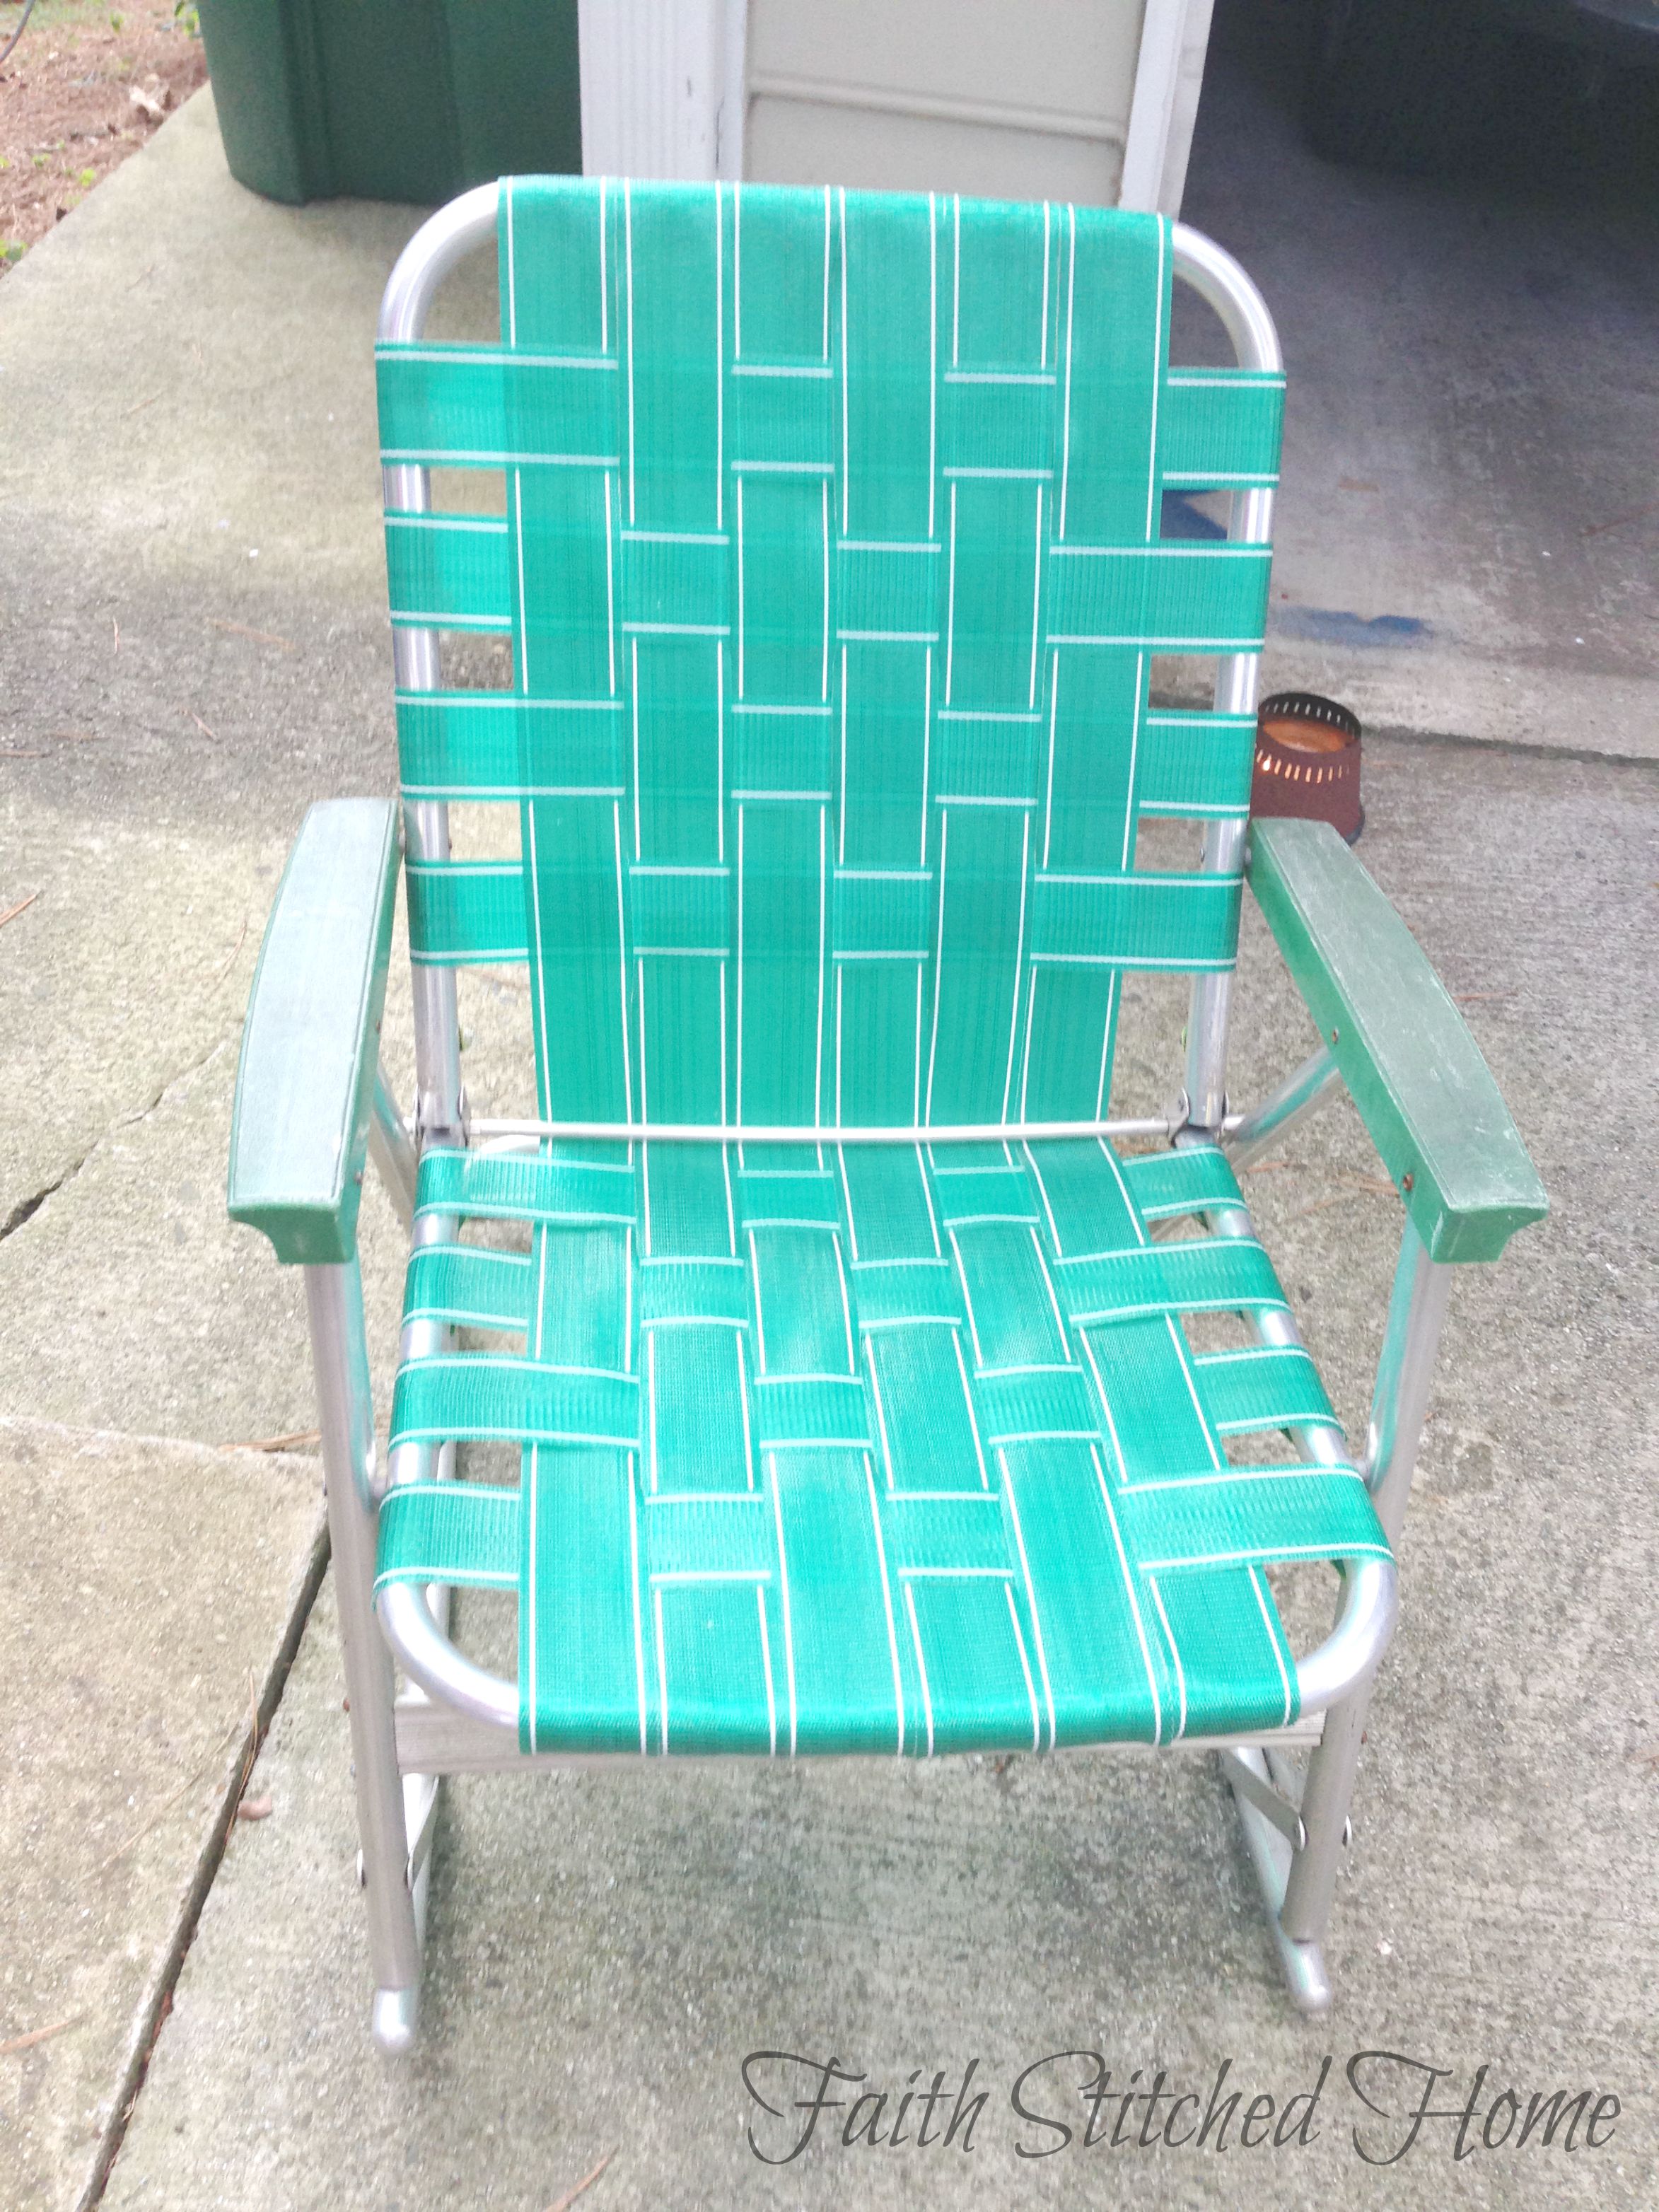
Done!
This was actually an easy job, just time consuming. It took about 3 hours start to finish and cost less than $7!!!
Now we have a happy camper next door! Burgers anyone?!

Leave a Reply