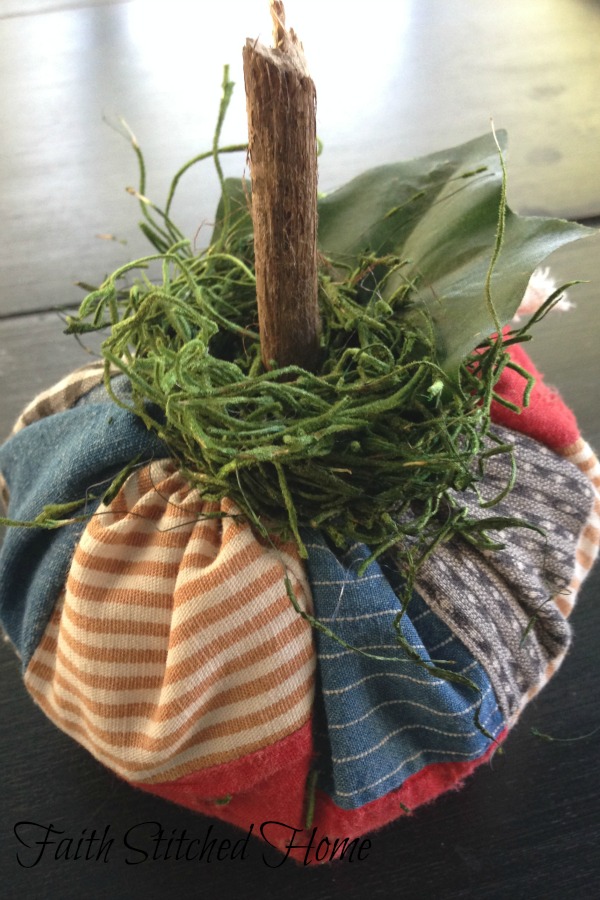
At my friend, Connie’s request, here is a quick and easy how to for the patchwork pumpkin. I’ve got to warn you right now before I go any further: This project is addictive. You will not stop at just one. Heck, you might not stop at ten! Please do not hold me accountable should pumpkin making consume you and cause you to skip cooking dinner or doing the laundry. Blame Connie for asking! Create these at your own risk. Oh, and enjoy yourself during the process!
Here goes:
- Cut a circle (I use a dinner plate, salad plate, or bread/butter plate to make large, medium or small).
- Hand baste (large stitches) around the raw edge (no need to clean finish; it will be covered). Leave some long tails of string to cinch it up later and tie it off.
- Gather stitches (almost like making a yo-yo) but not too tight so you can stuff it.
- Drop a few dry beans in the bottom to give the pumpkin some bottom weight.
- Stuff pumpkin (I like mine to be stuffed full).
- Tighten the gathered stitches and tie off securely. Don’t tighten so much that you don’t have room to stick in your stem.
- Go in the yard and get a stick (doesn’t matter what it looks like – the rougher the better, more natural that way). Or you can go to the kitchen spice cabinet and get a cinnamon stick.
- Heat a glue gun and run a generous amount around the part of the stick that you will insert into the pumpkin and stick it in there. If necessary, add more glue once it is in.
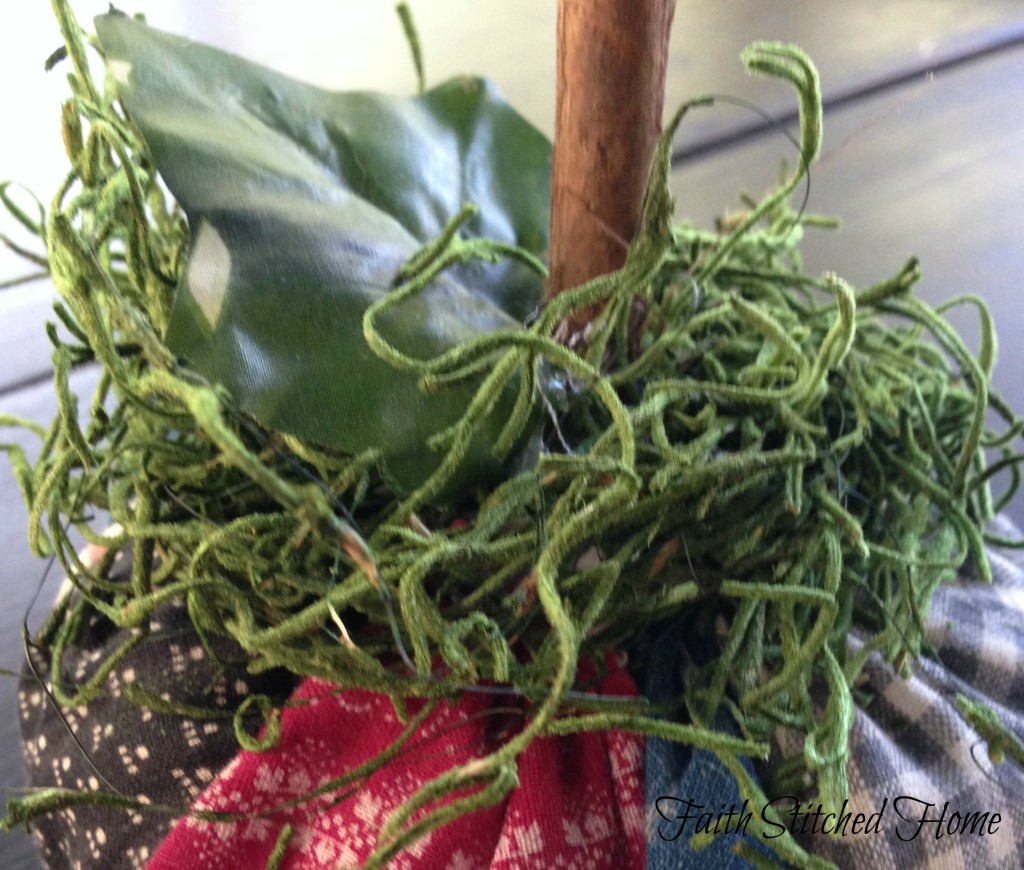
- Stick in a silk leaf or one you have sewn from a scrap of fabric adding more glue to secure.
- Run a few circles of glue around the top outside of the pumpkin “stem” and stick on a hand full of spanish moss or excelsior. Or gather up a length of lace and hot glue that around the “stem”. This finishes the pumpkin and hides your stitches and any stuffing that might be visible.
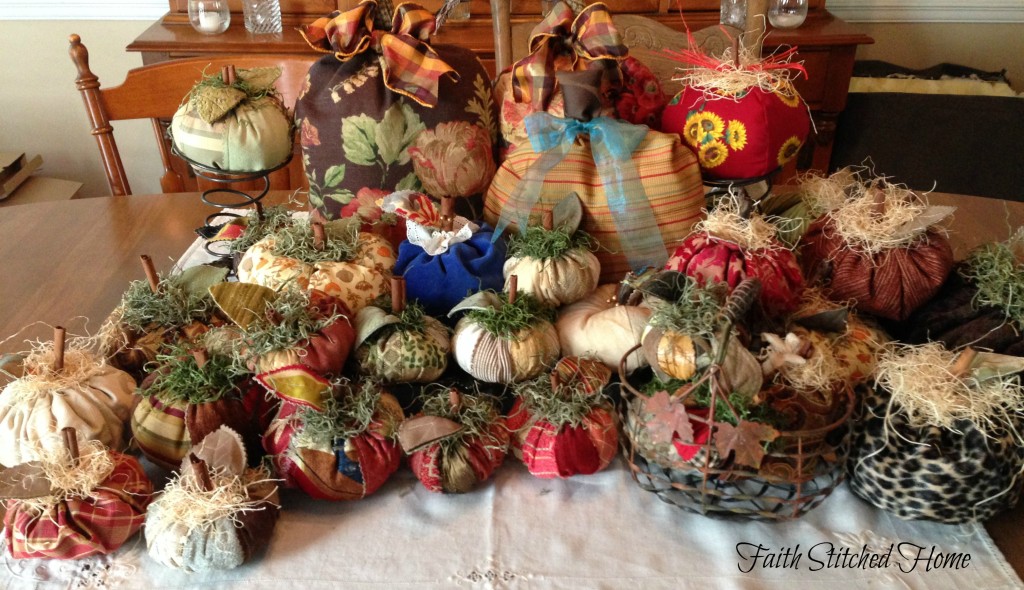
So there – I hope I have not created a monster for you. If you make any, please share. I would truly love to see a picture.
Um, yea, remember that addiction I spoke of?!
xoxo, Faith


Leave a Reply