Welcome back! Thanks for coming by to see how I made the pumpkins from fabric swatches.
As I mentioned, I had tons of fabric swatches that I had collected over the years and true to form, I simply could not throw them away. After years of collecting, the light bulb went off one day and I came up with these little swatch pumpkins as a way to use all my samples.
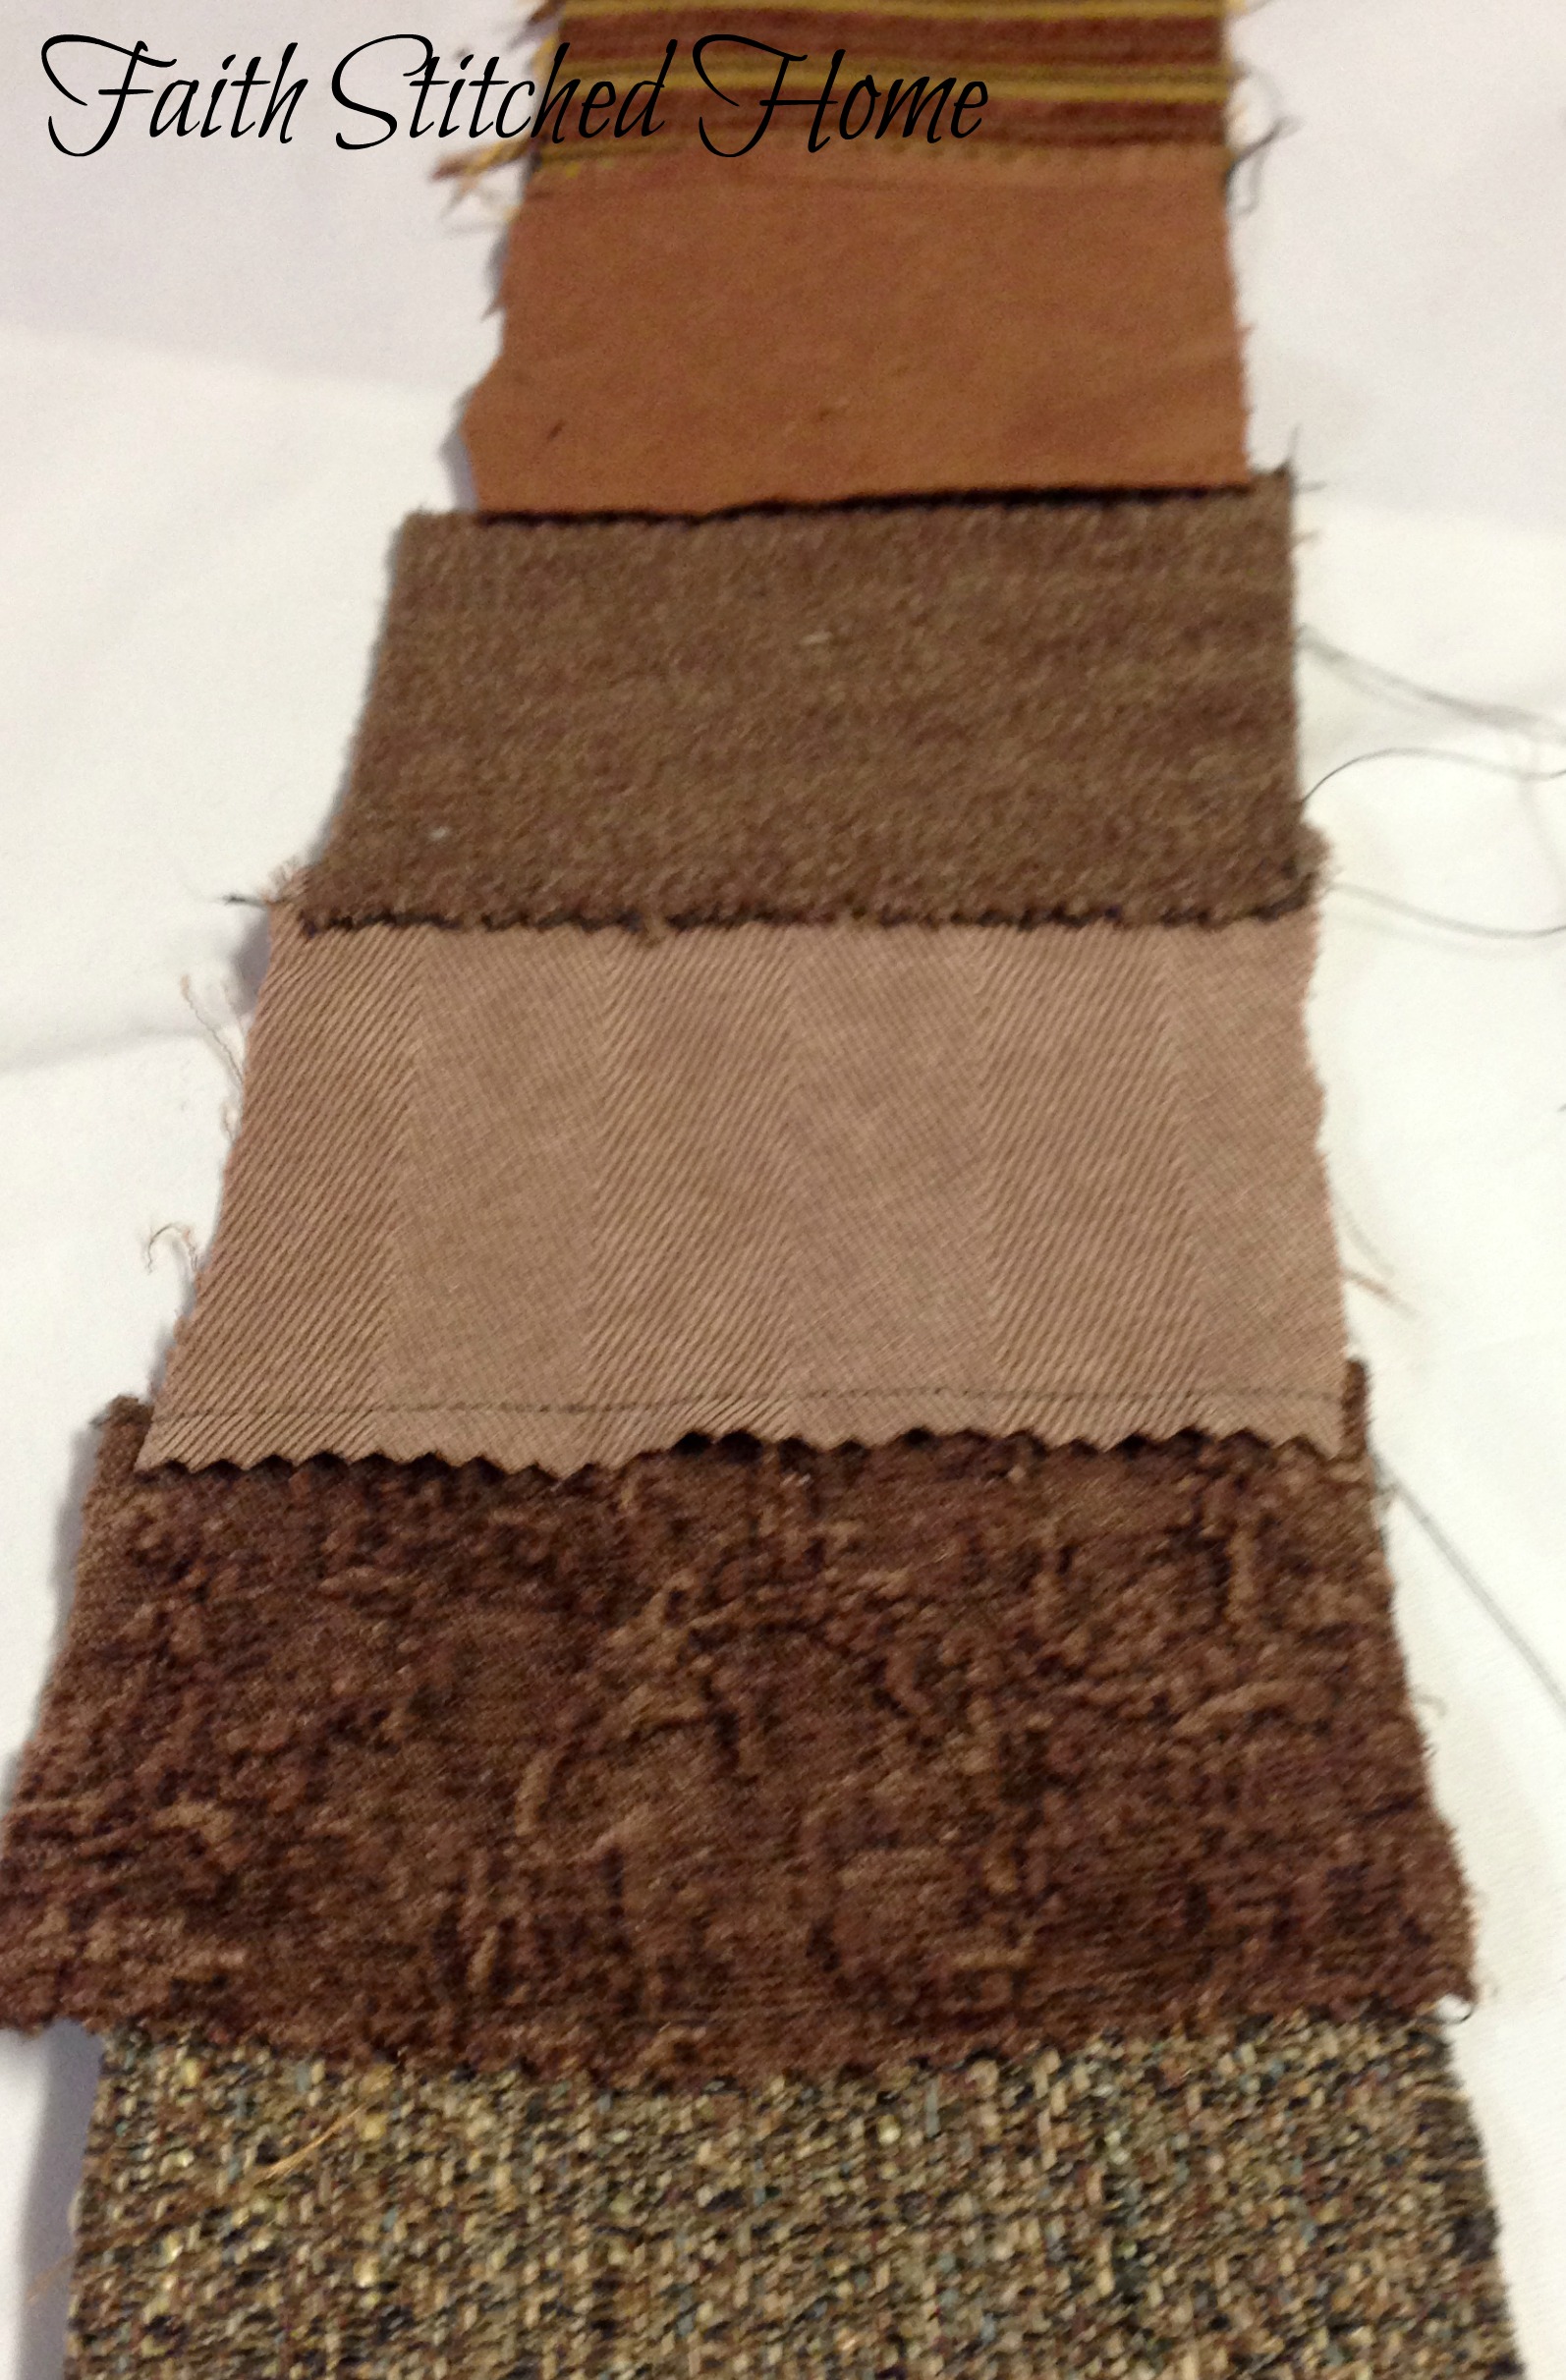
The fun starts with choosing the swatches with which you want to work. I start with a color family and pick a swatch to build upon. For instance, I used browns and rust for this tutorial. Use any color or color family like the blue and beige one I showed you in the last post.
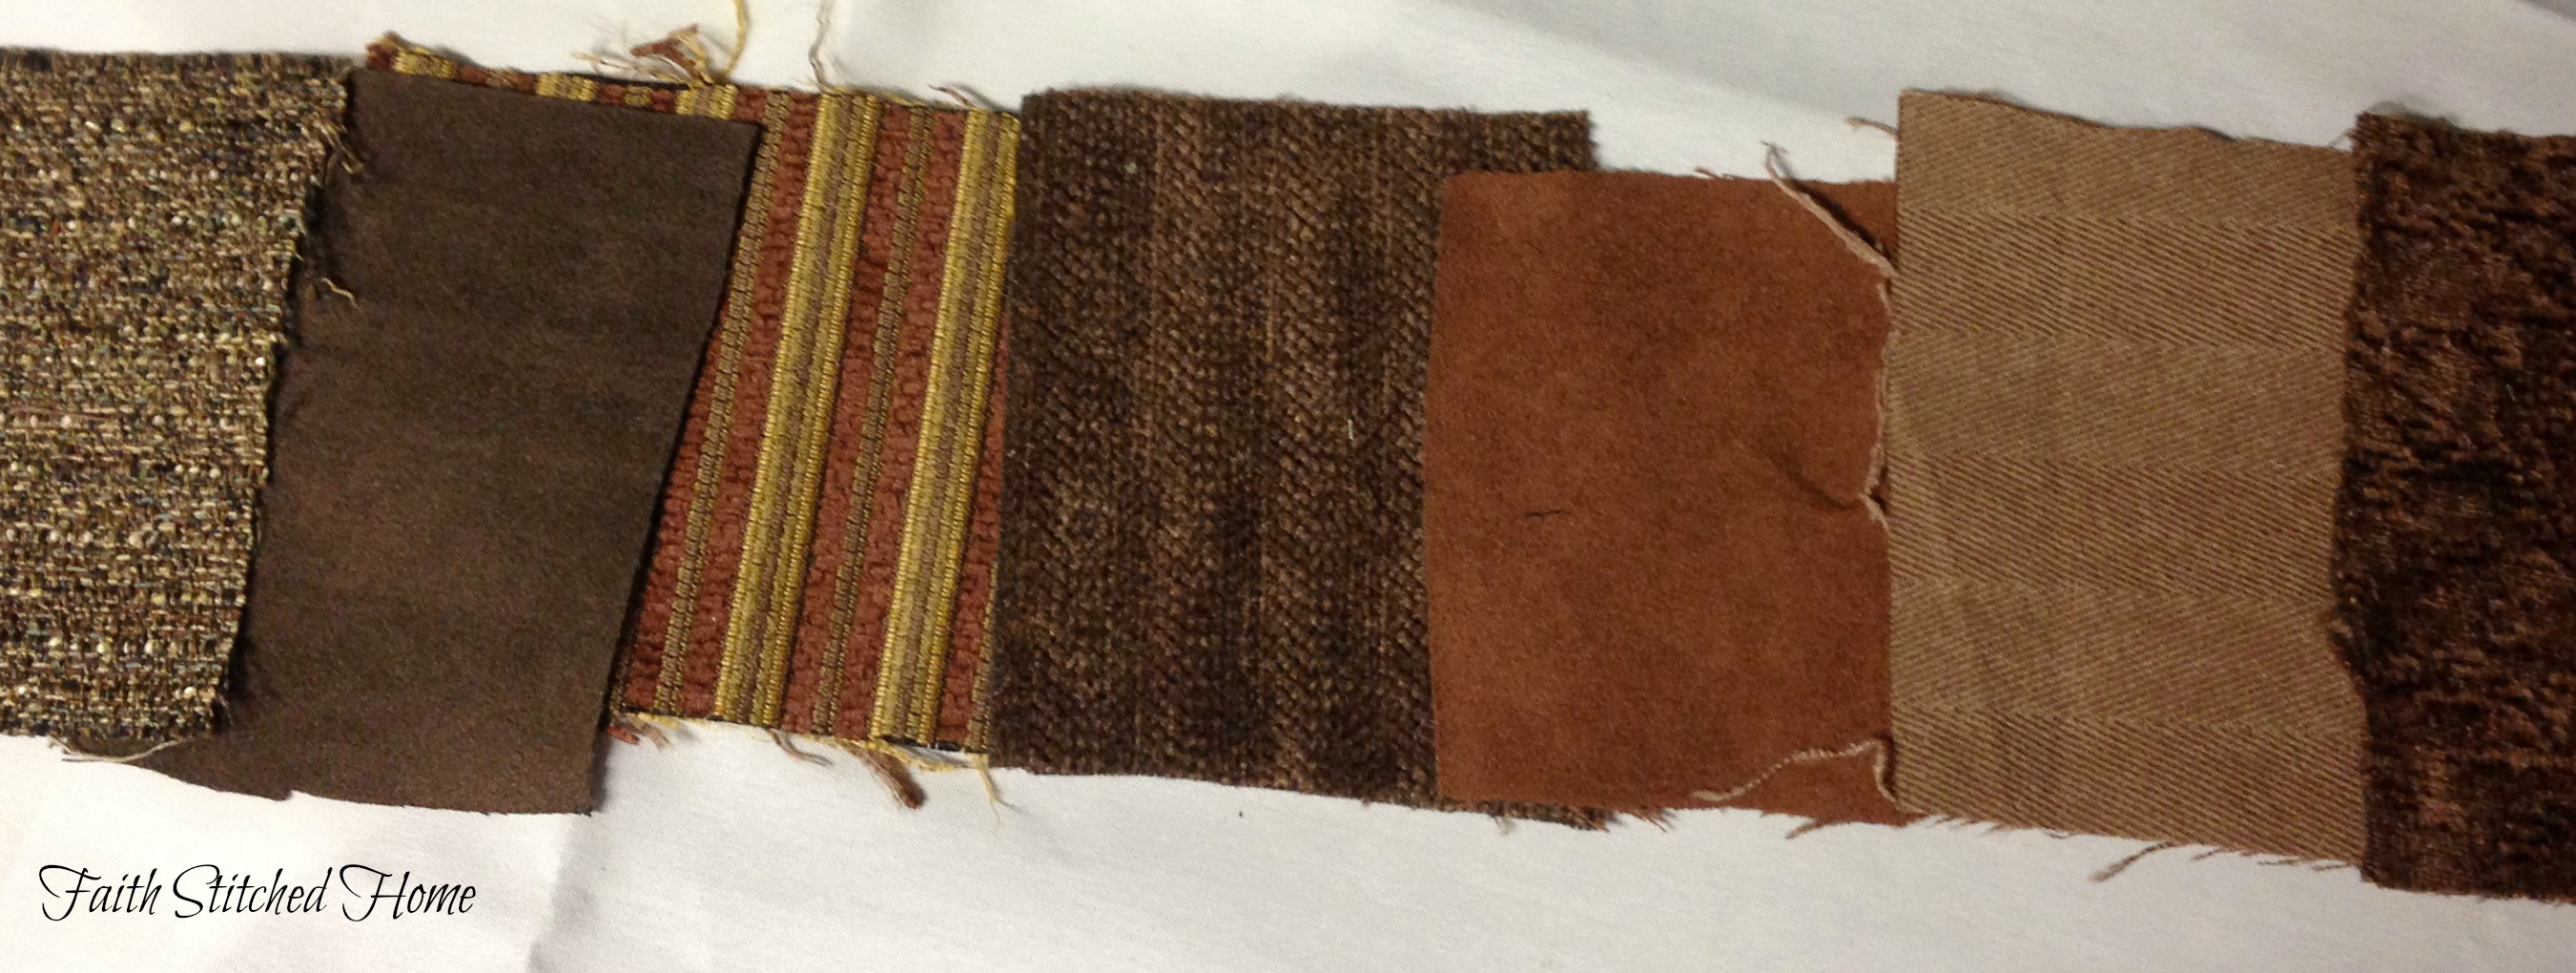
Just lay them out in a row and use the ones that look best together, arranging as you go. I fan mine out making sure that I like how the first and last swatch will look together. Usually 6 -8 swatches will be the best amount to use unless you have very long swatches, then you can add more.
After I have chosen the swatches to be used, I use pinking shears along the long edges. I do this to cut down on raveling and to straighten the edges that may not be cut very straight. Since the swatches are small, there would not be much left to see of them if I sewed a proper seam.

Laying one on top of the edge of another, topstitch the top to the bottom. Continue until all swatches are stitched together.
All sewn together in a row.
Now stitch together the first and the last basically making a tube.

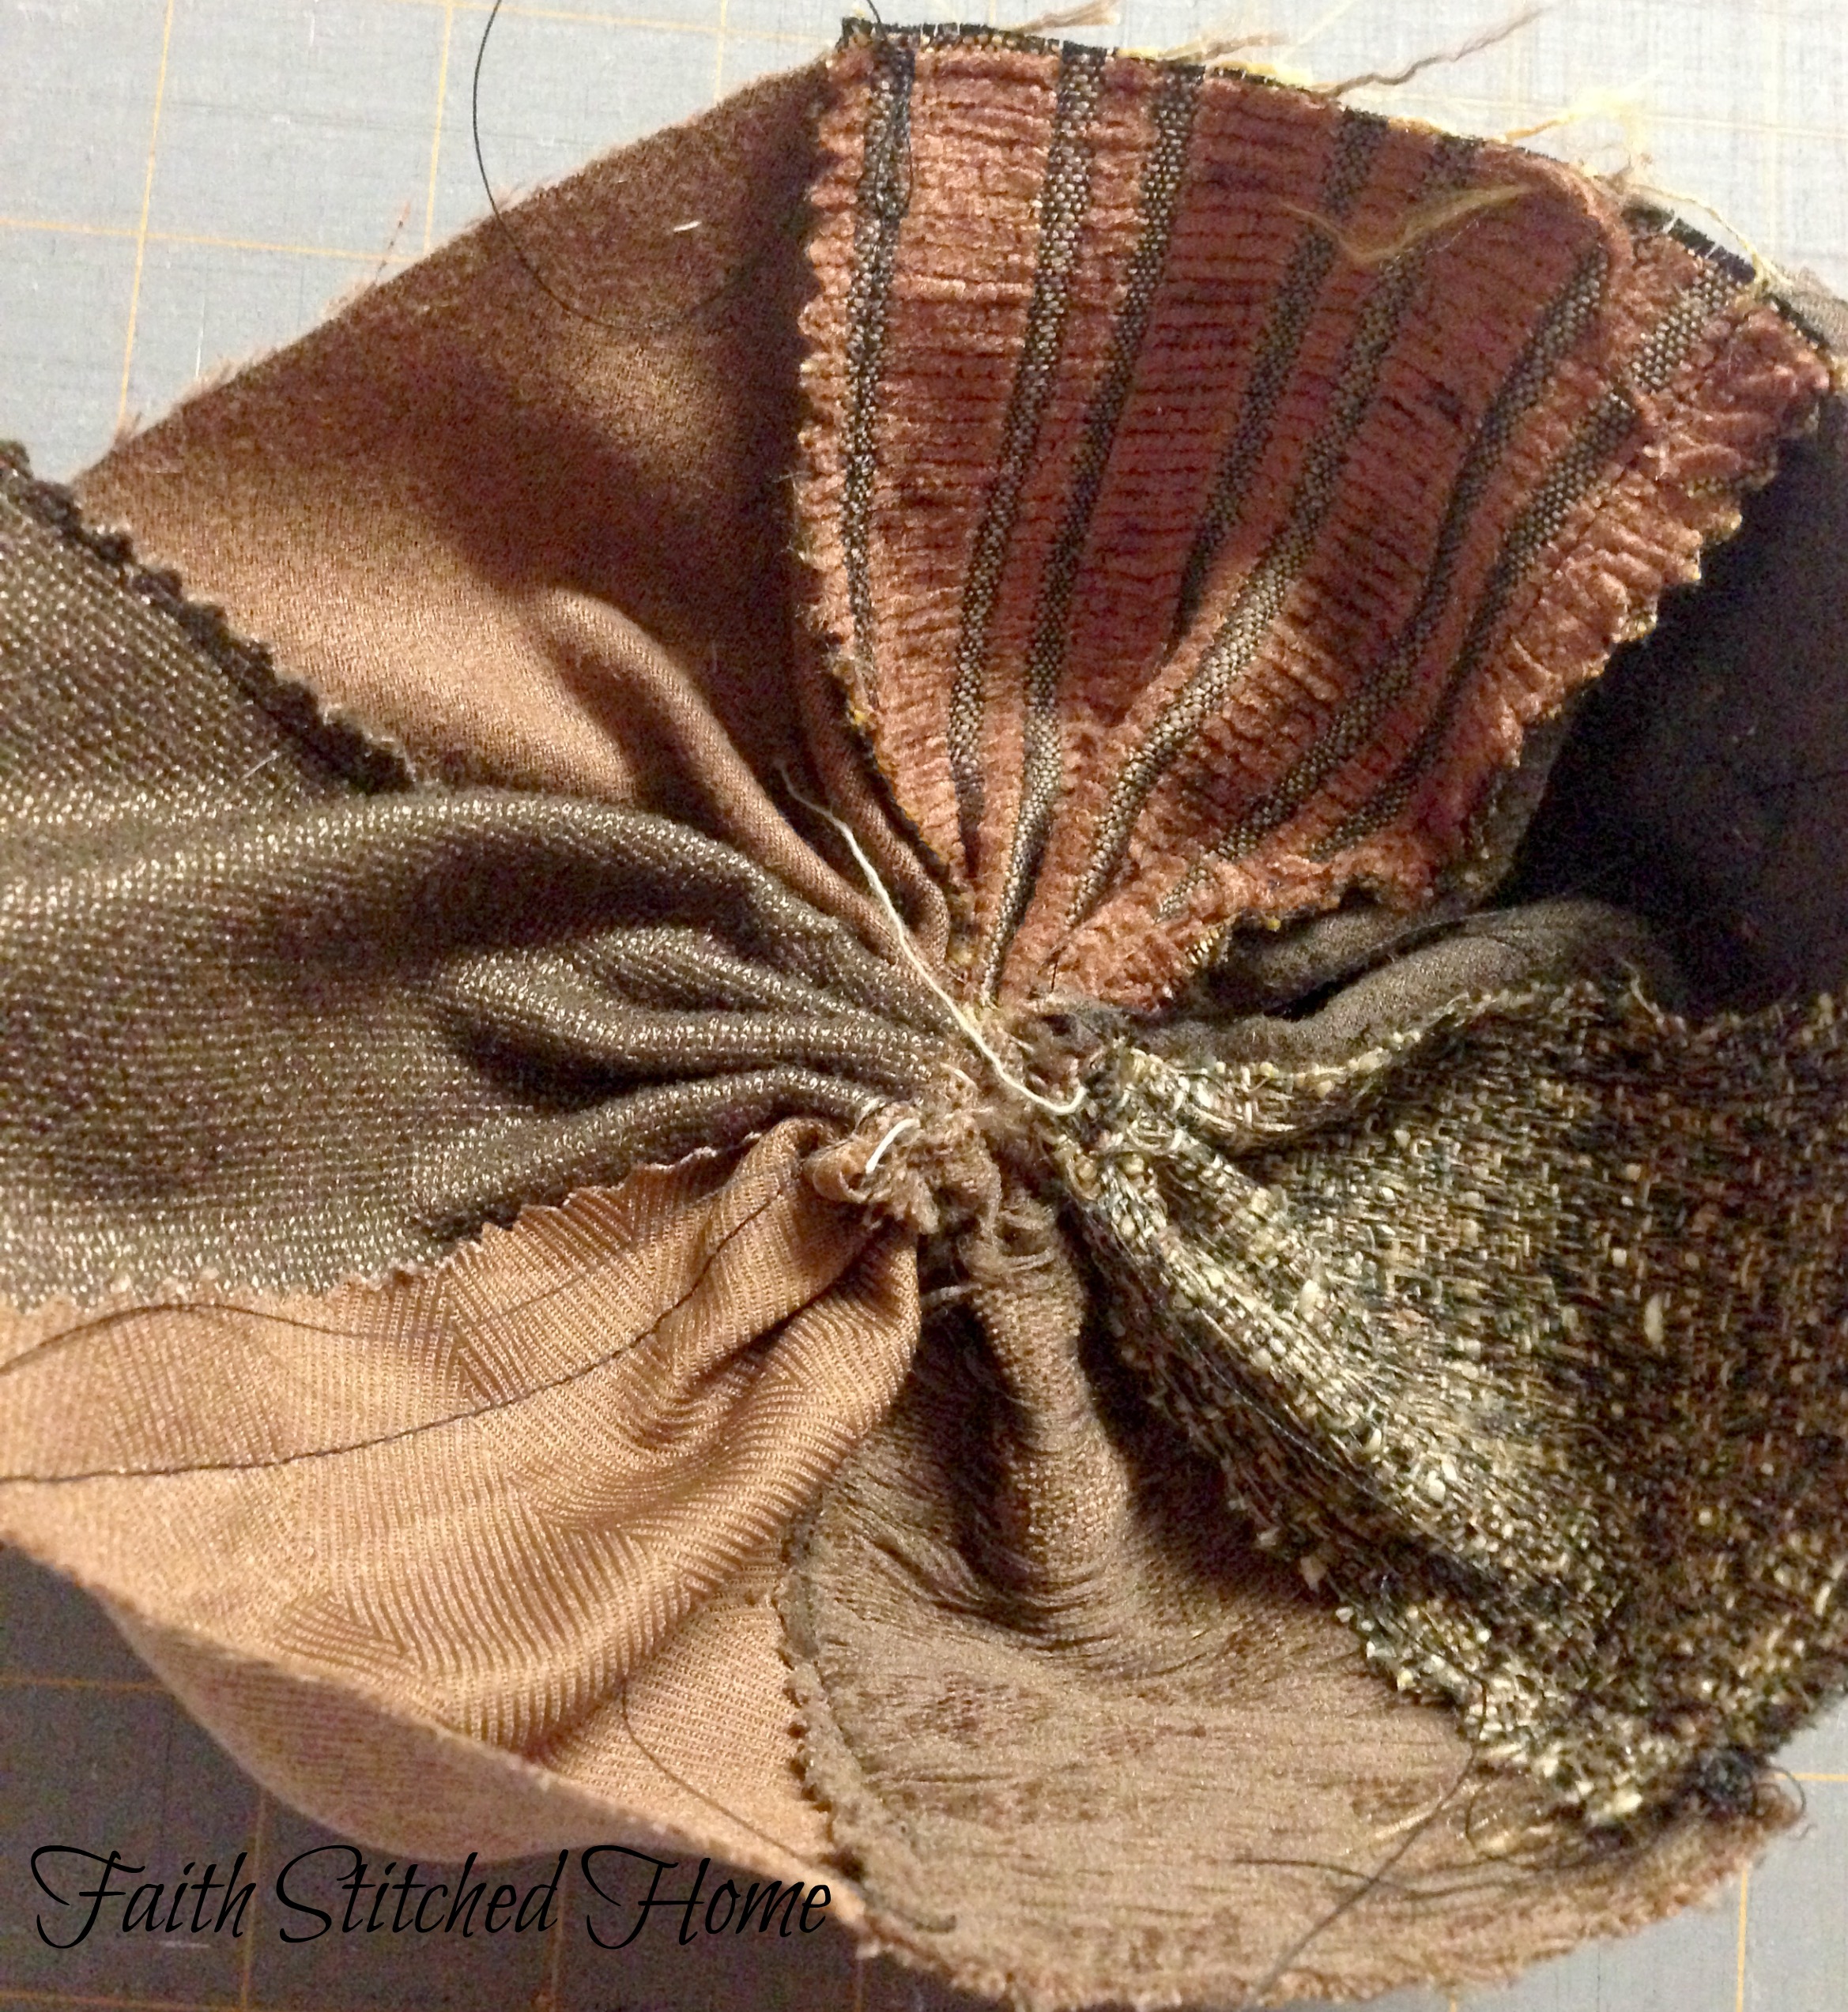
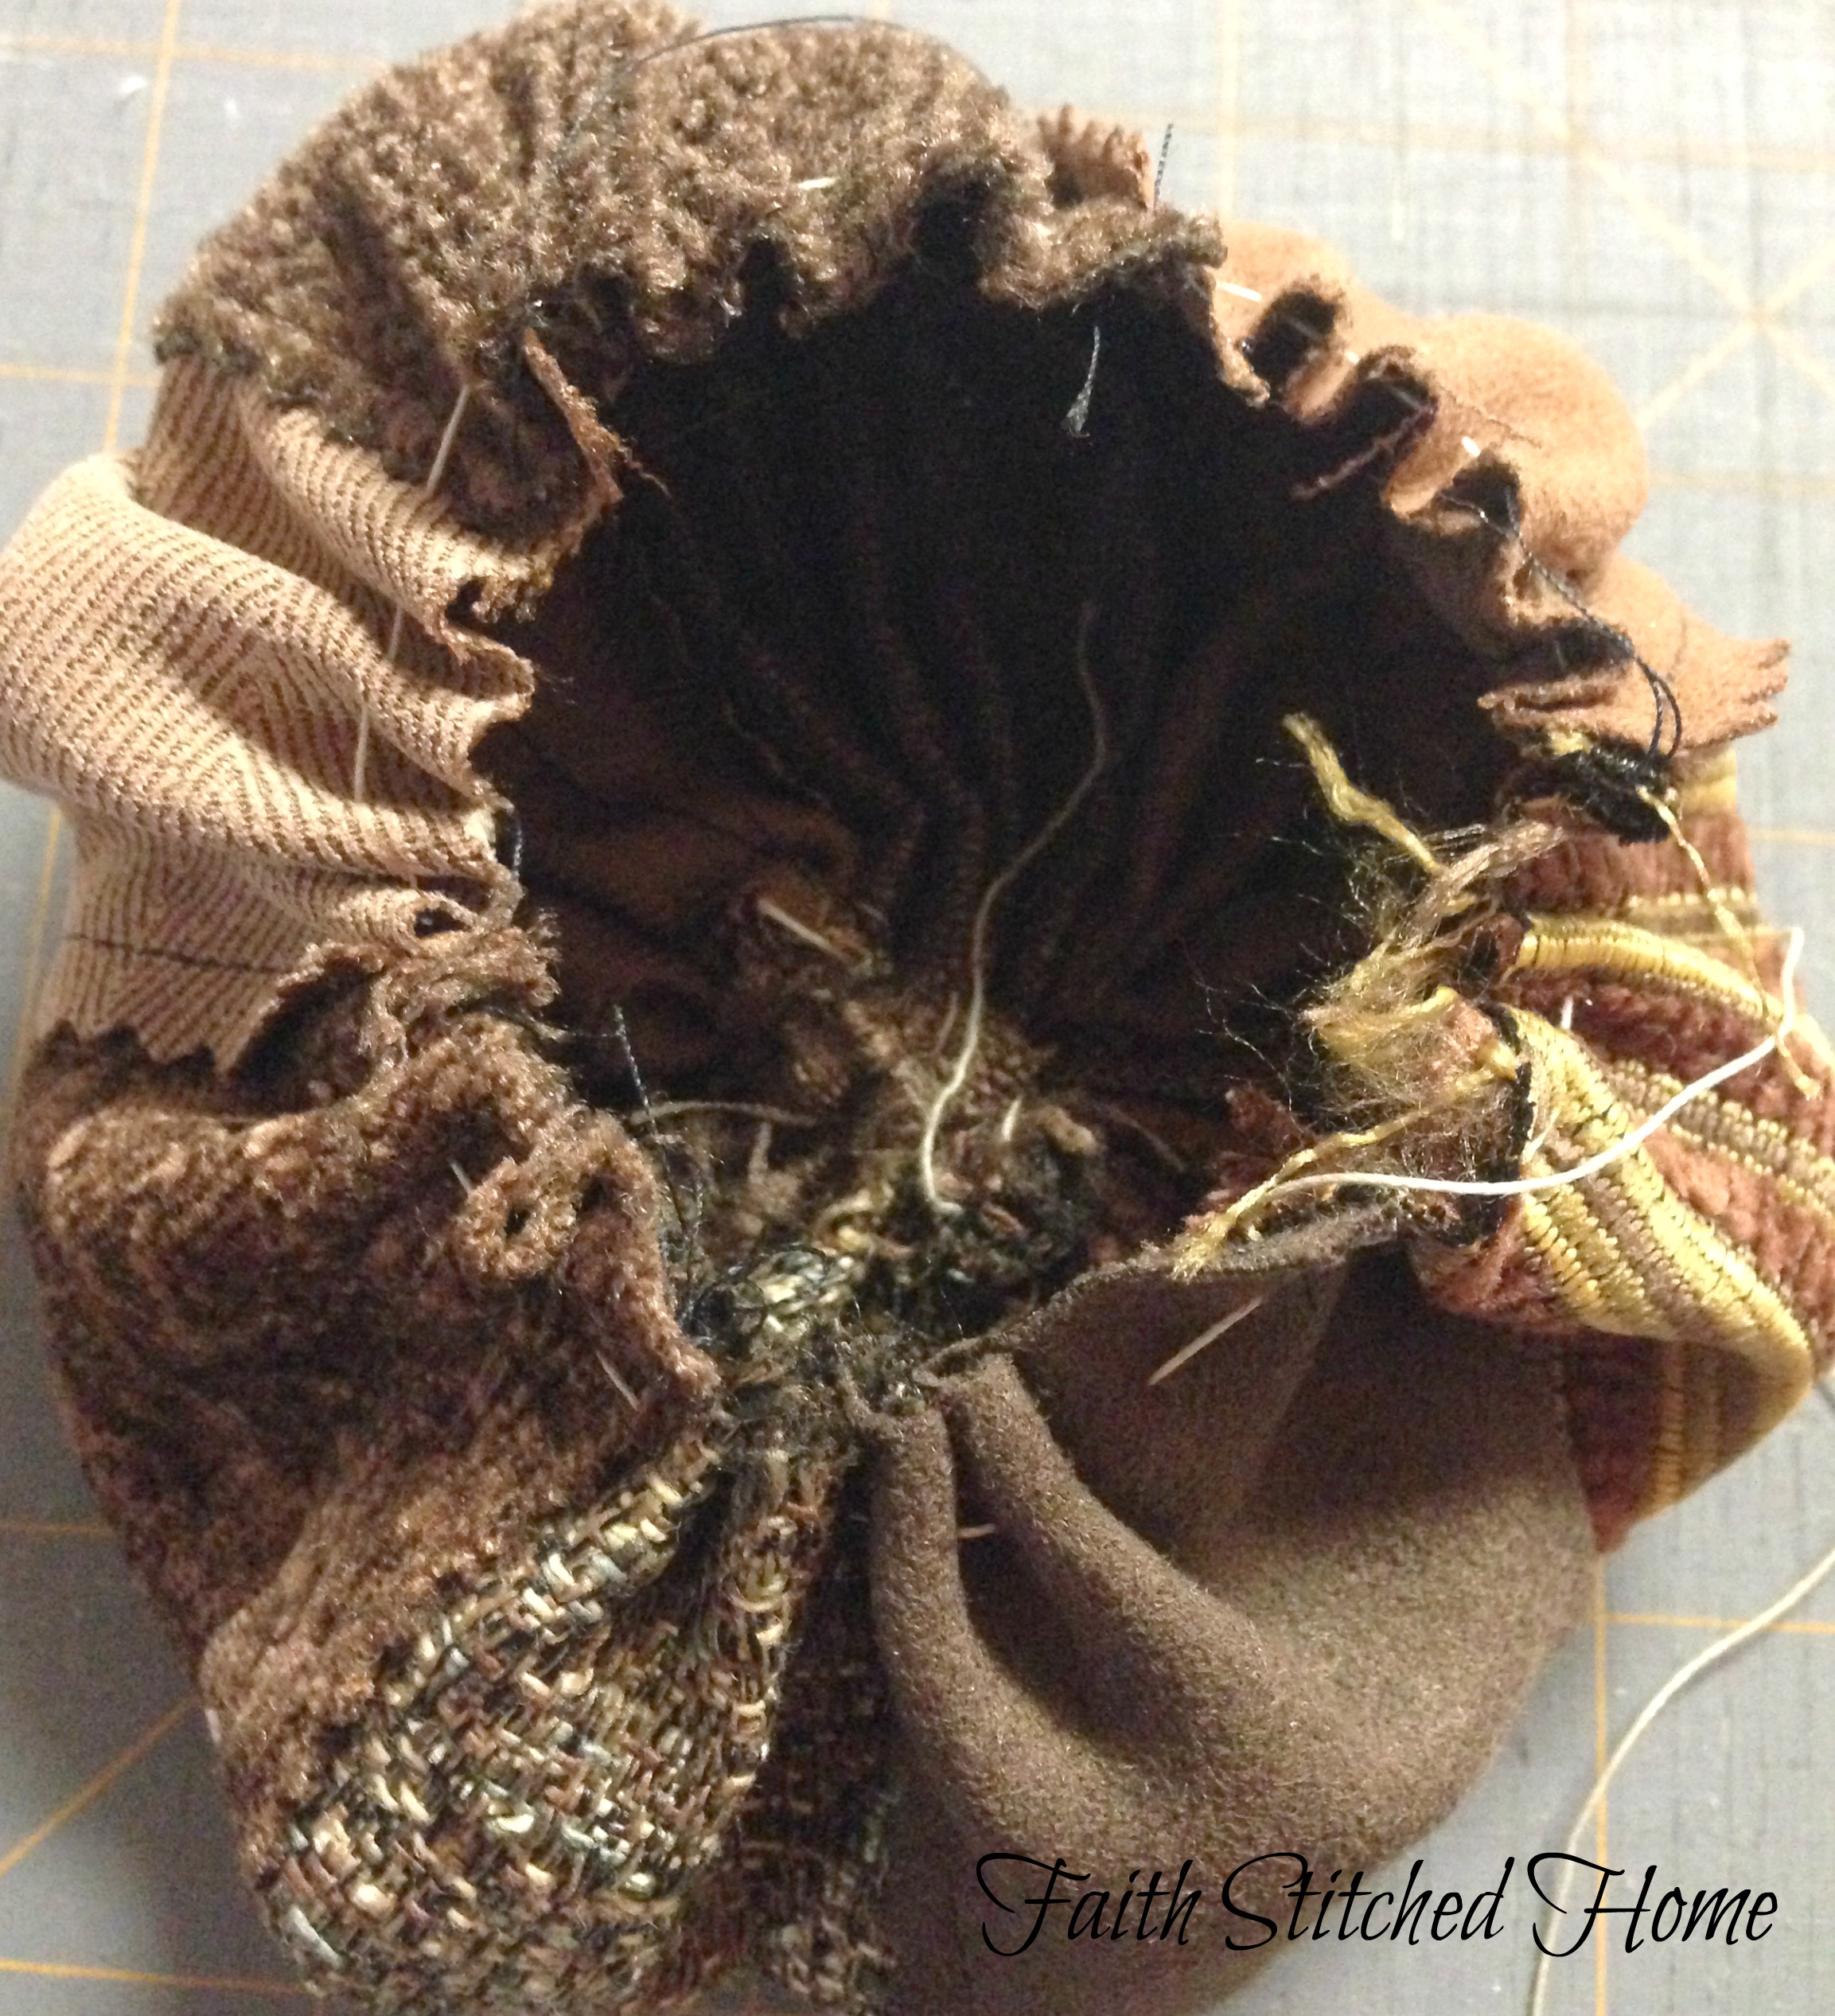
Thread your sewing needle with a heavier thread like buttonhole or upholstery thread. Now hand baste using large stitches around the bottom and cinch the basting stitches up tight and tie off. This is the bottom of your pumpkin. Some of your swatches will not be as long as others and that is okay. It just makes your pumpkin a little wonky just like Mother Nature makes them!
Here is the inside bottom of the pumpkin.
Run another basting stitch around the top and lightly gather before stufffing.
You can add a few dry beans or rice to the bottom if you want your pumpkin to have weight, then stuff tightly. Cinch up and tie off your basting stitches leaving room to stick in a stem.
You may want to stuff some more after you have tied off the top gathers.
I do because I like mine to be stuffed very full.

These little pumpkins can hold a surprisingly large amount of filling.
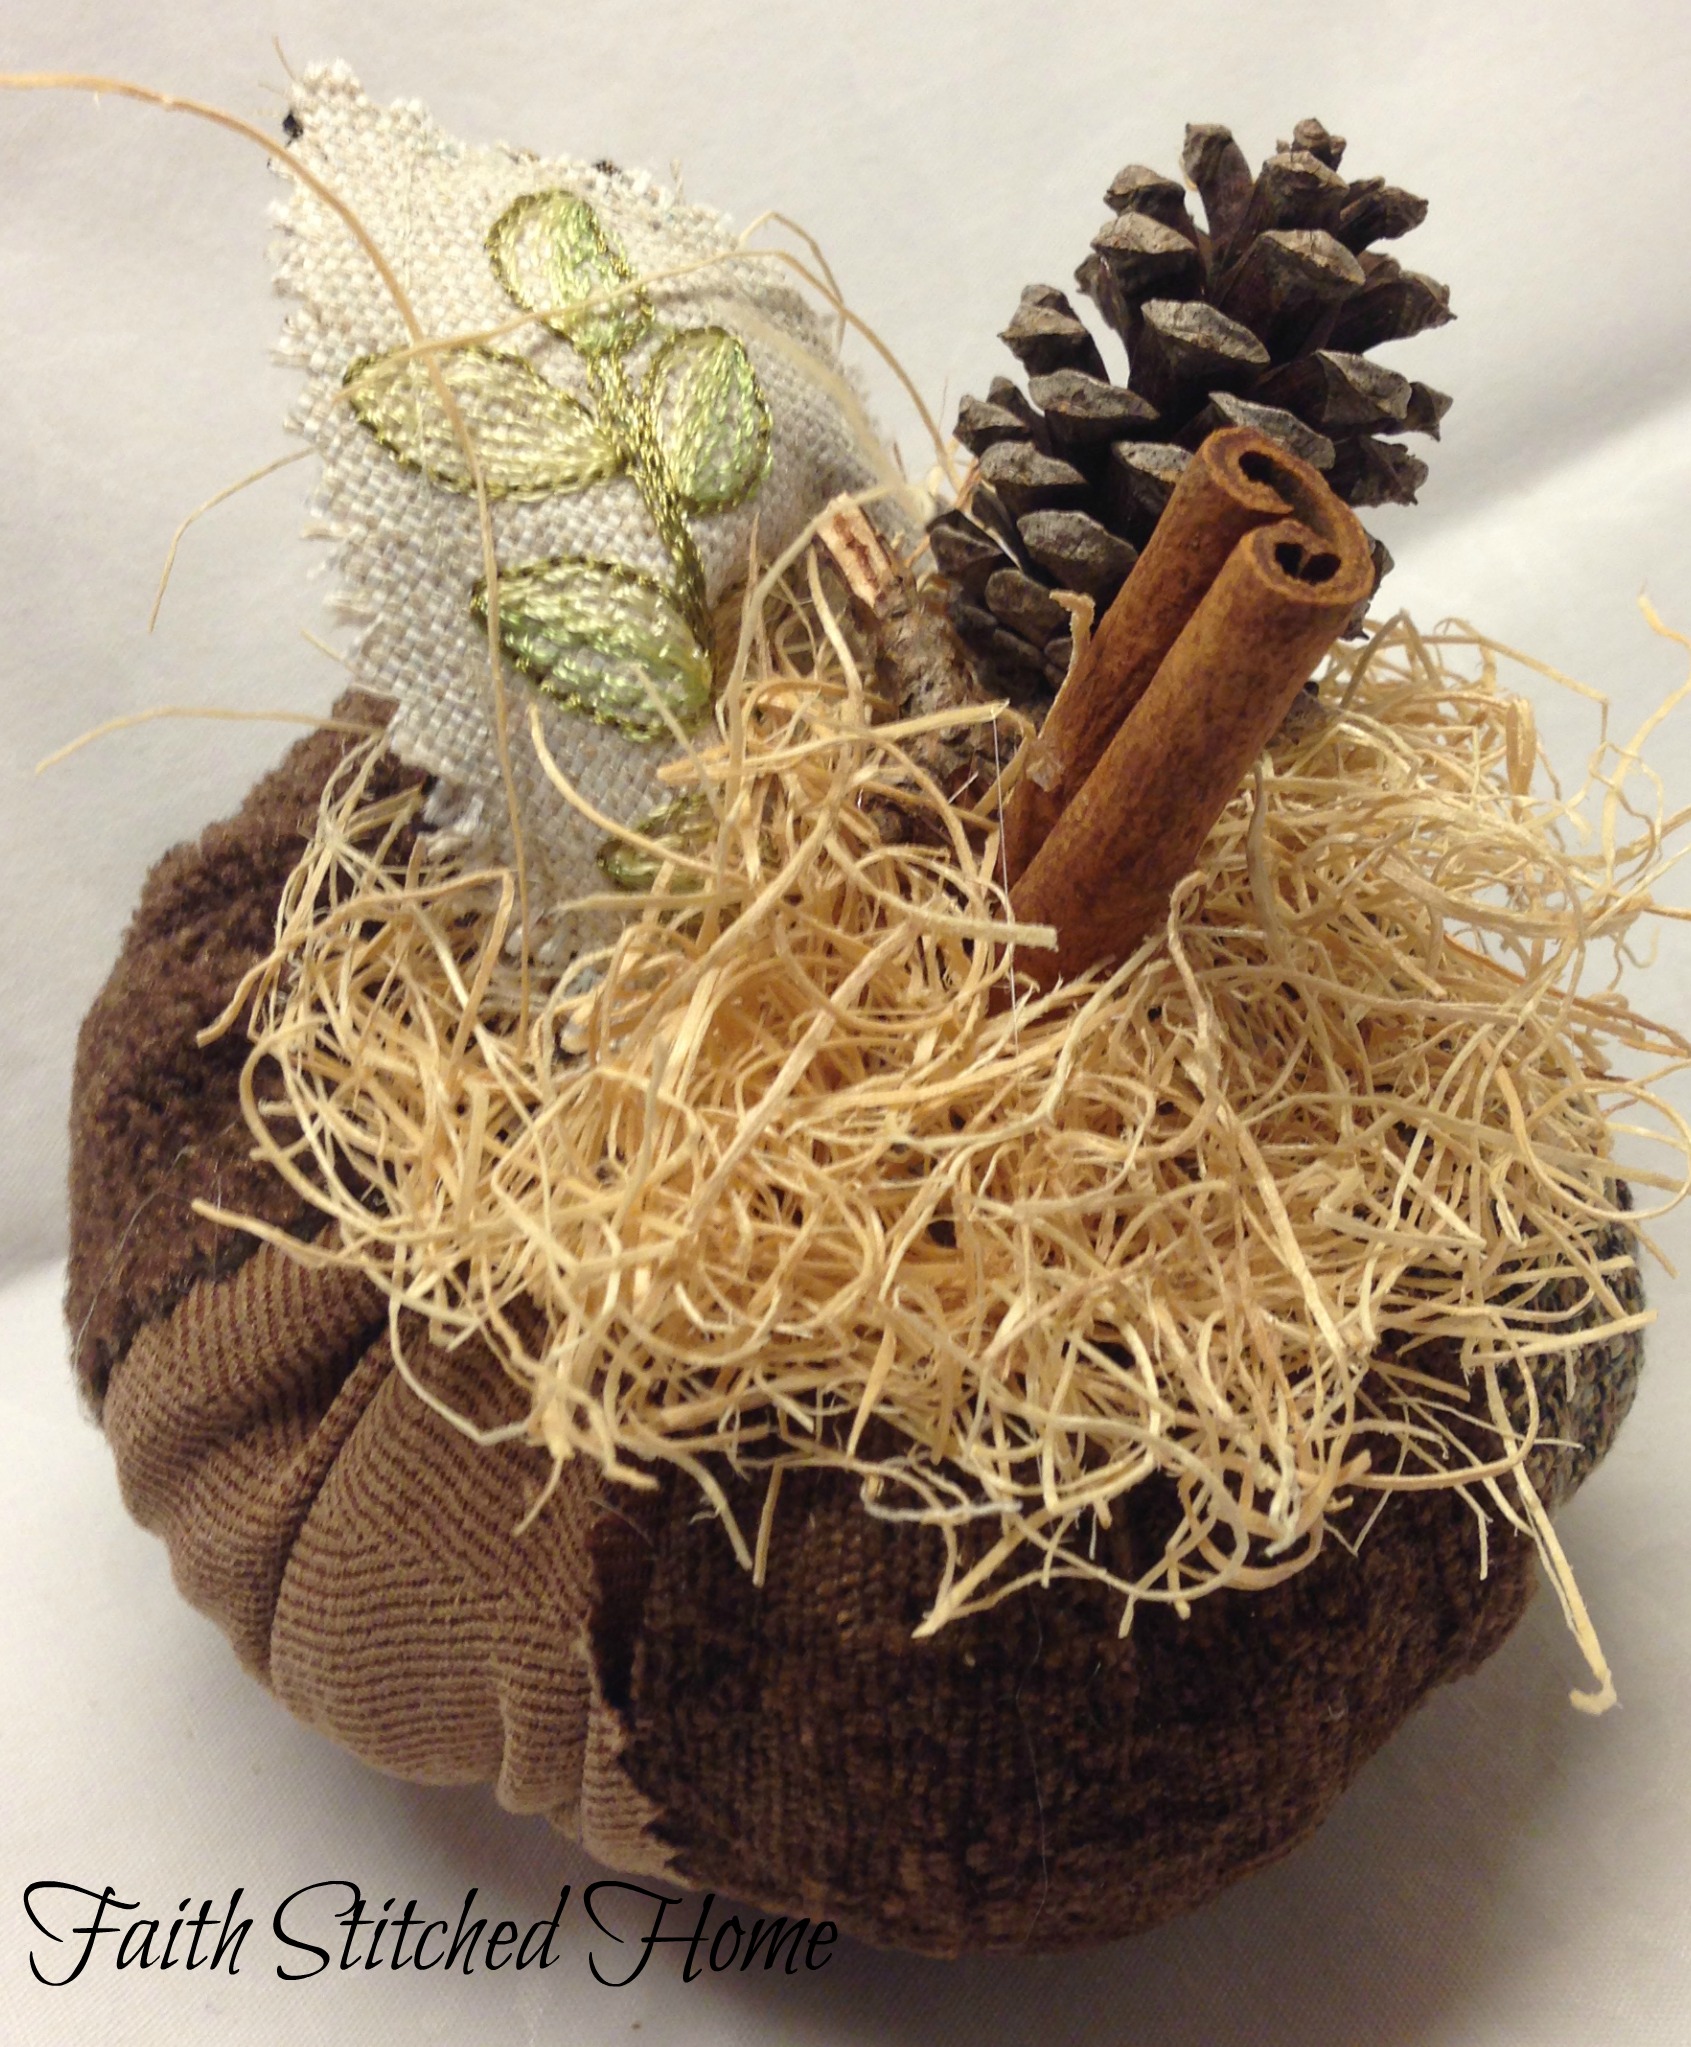
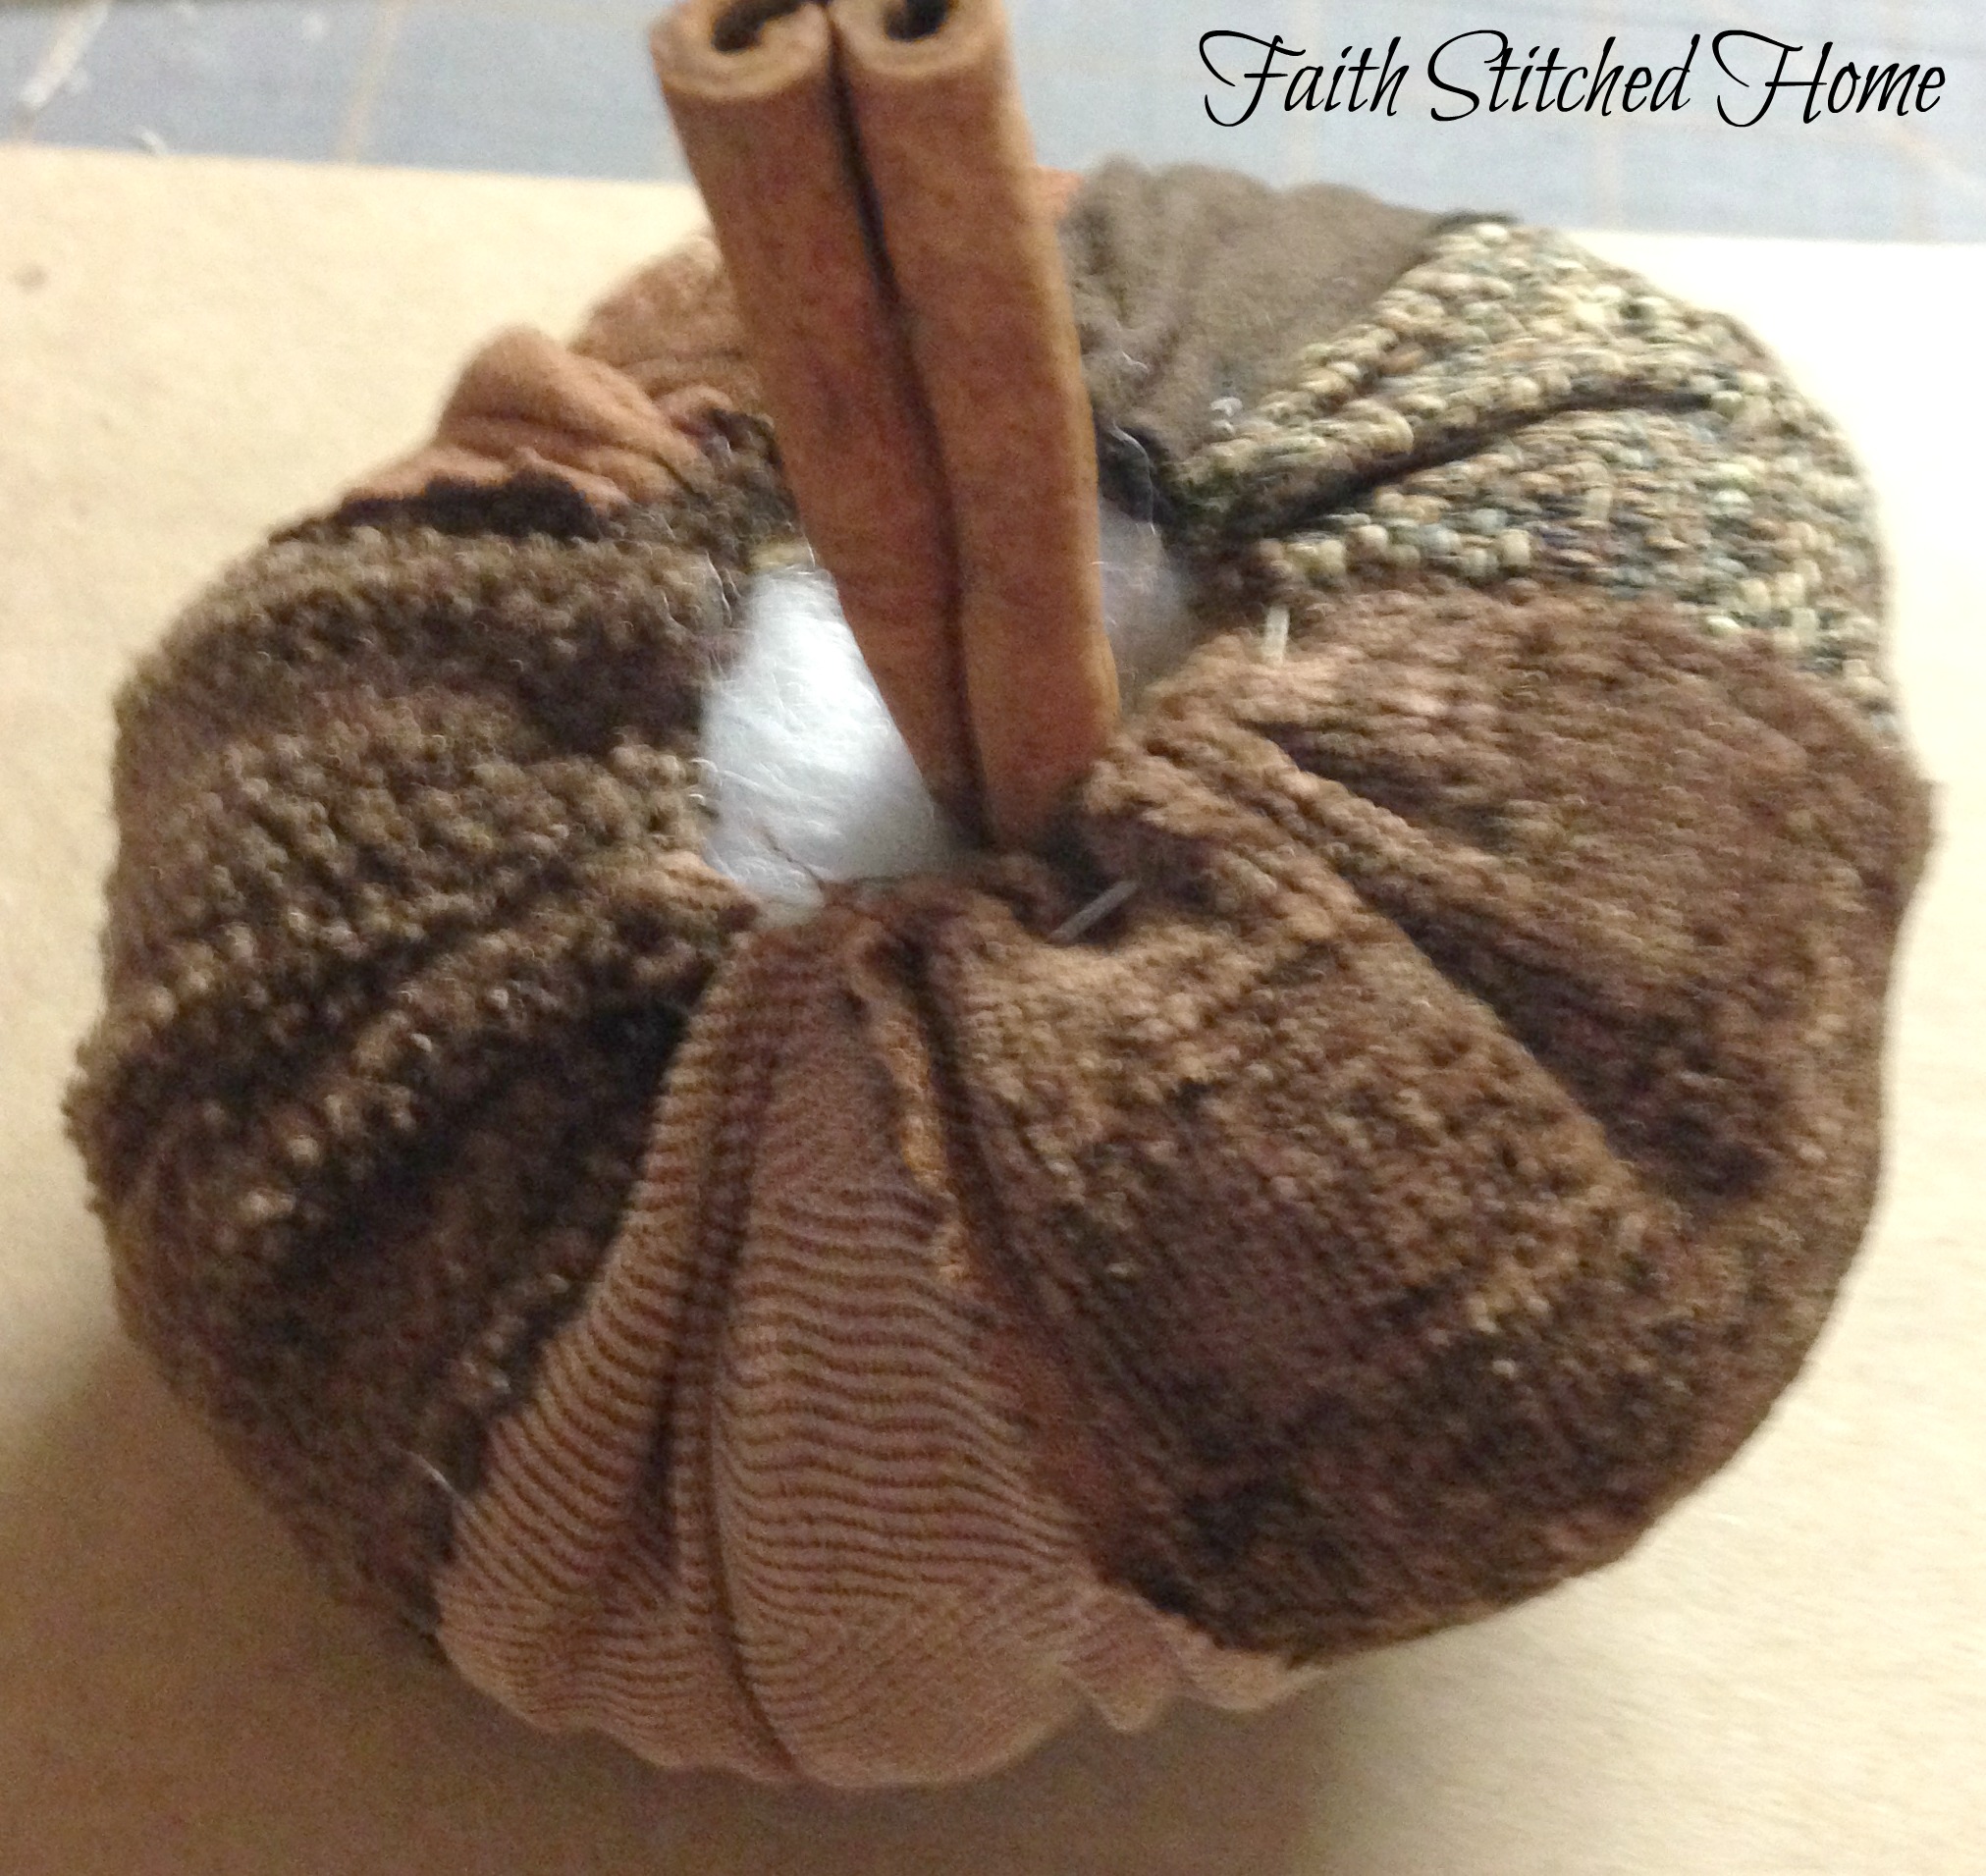
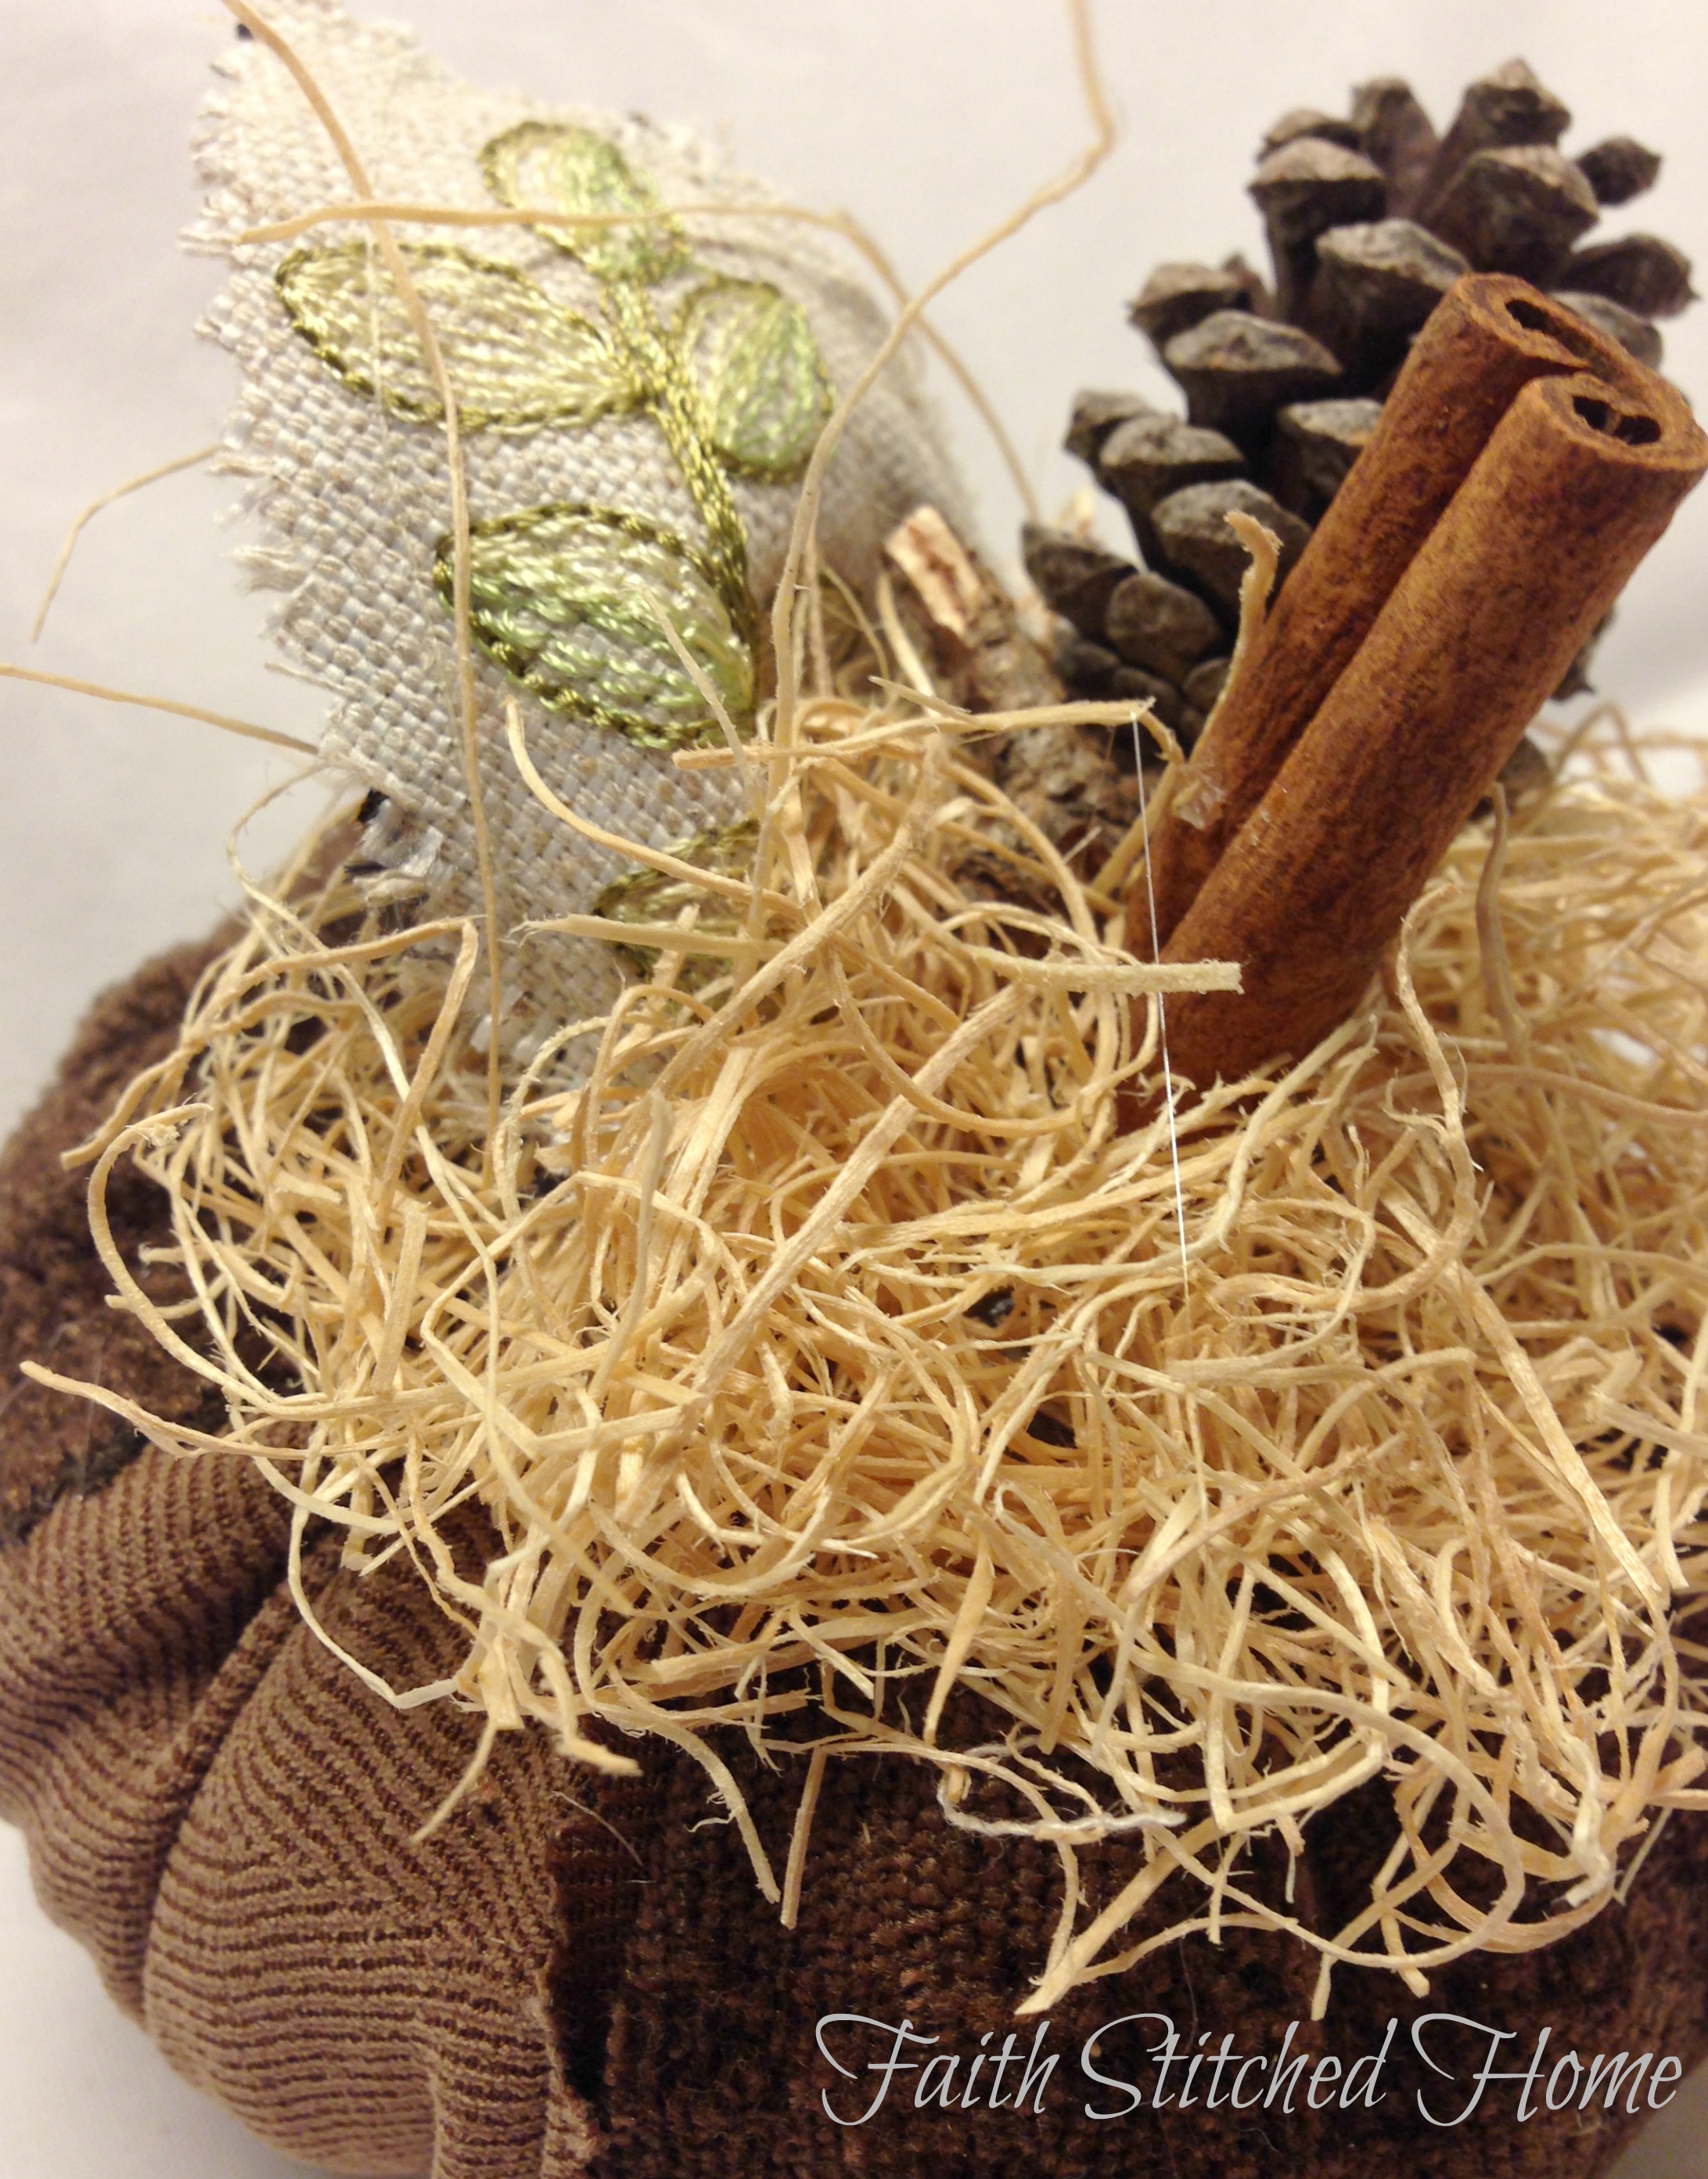
Run a bead of glue around the end of your stem [I used a cinnamon stick] and stick it into the center of the pumpkin. Hot glue some more around the top if necessary to secure the stem.
Hot glue a leaf in place (come back later this week for a how-to on making a leaf).
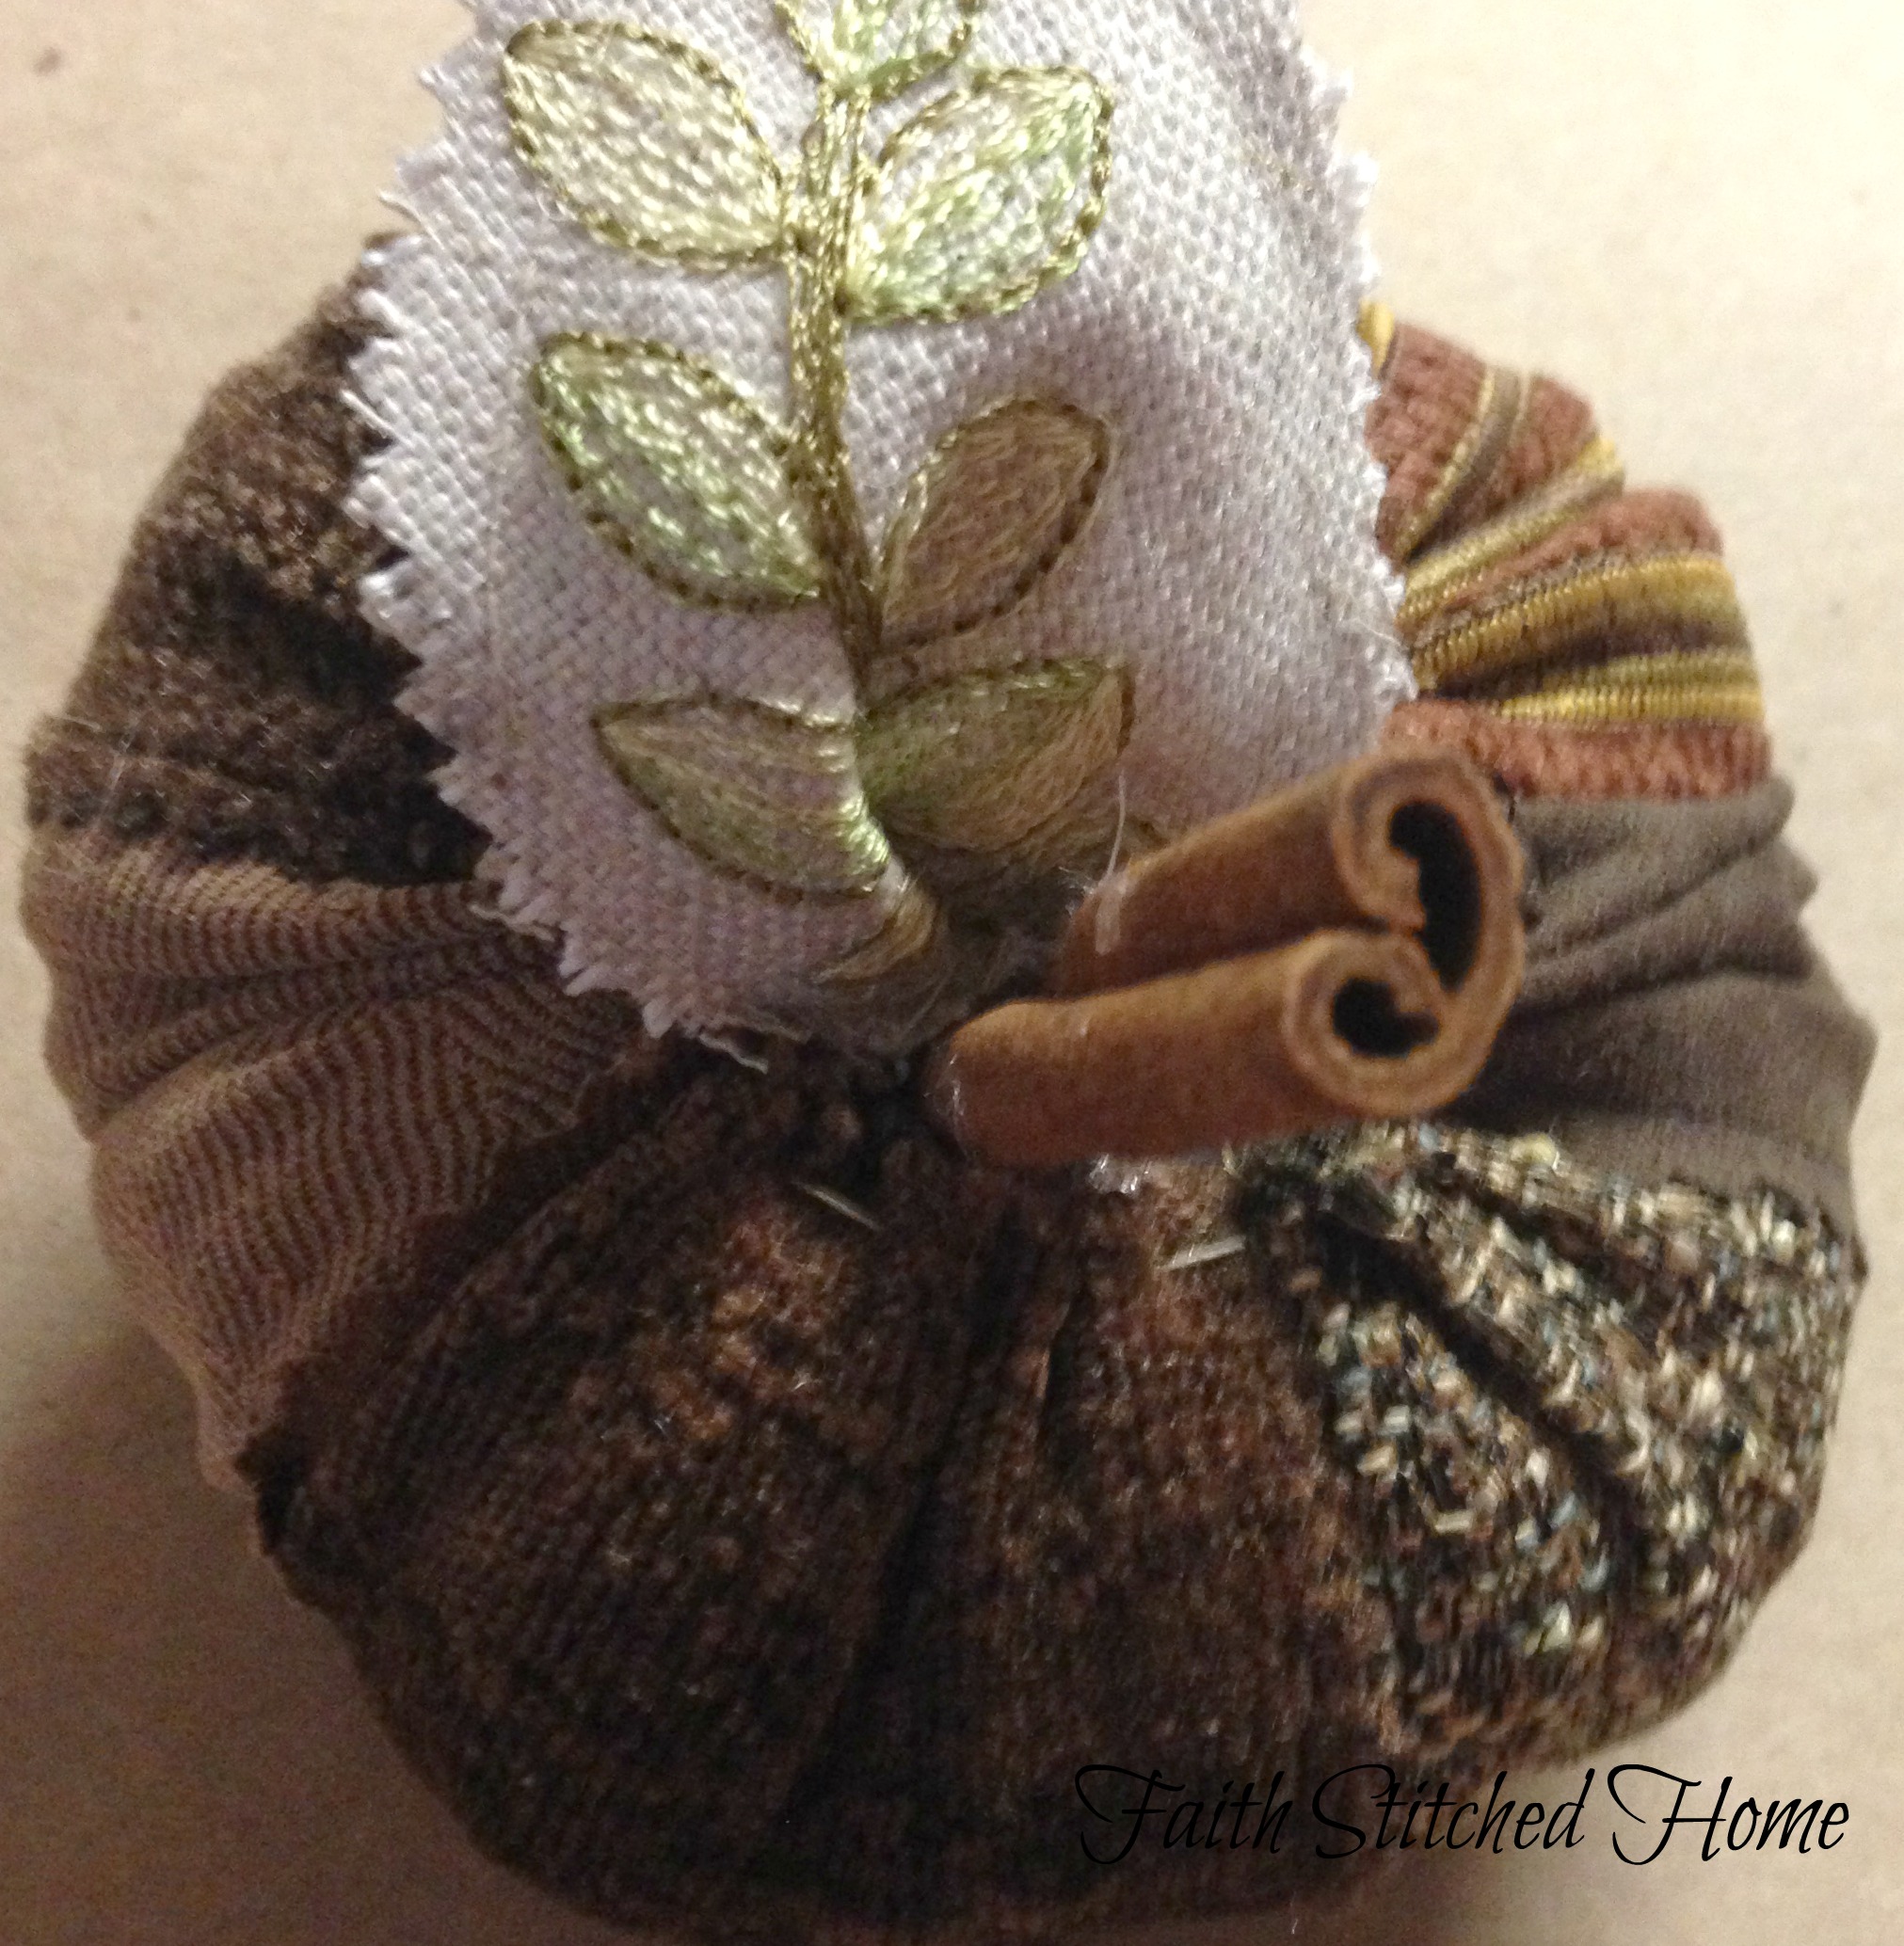
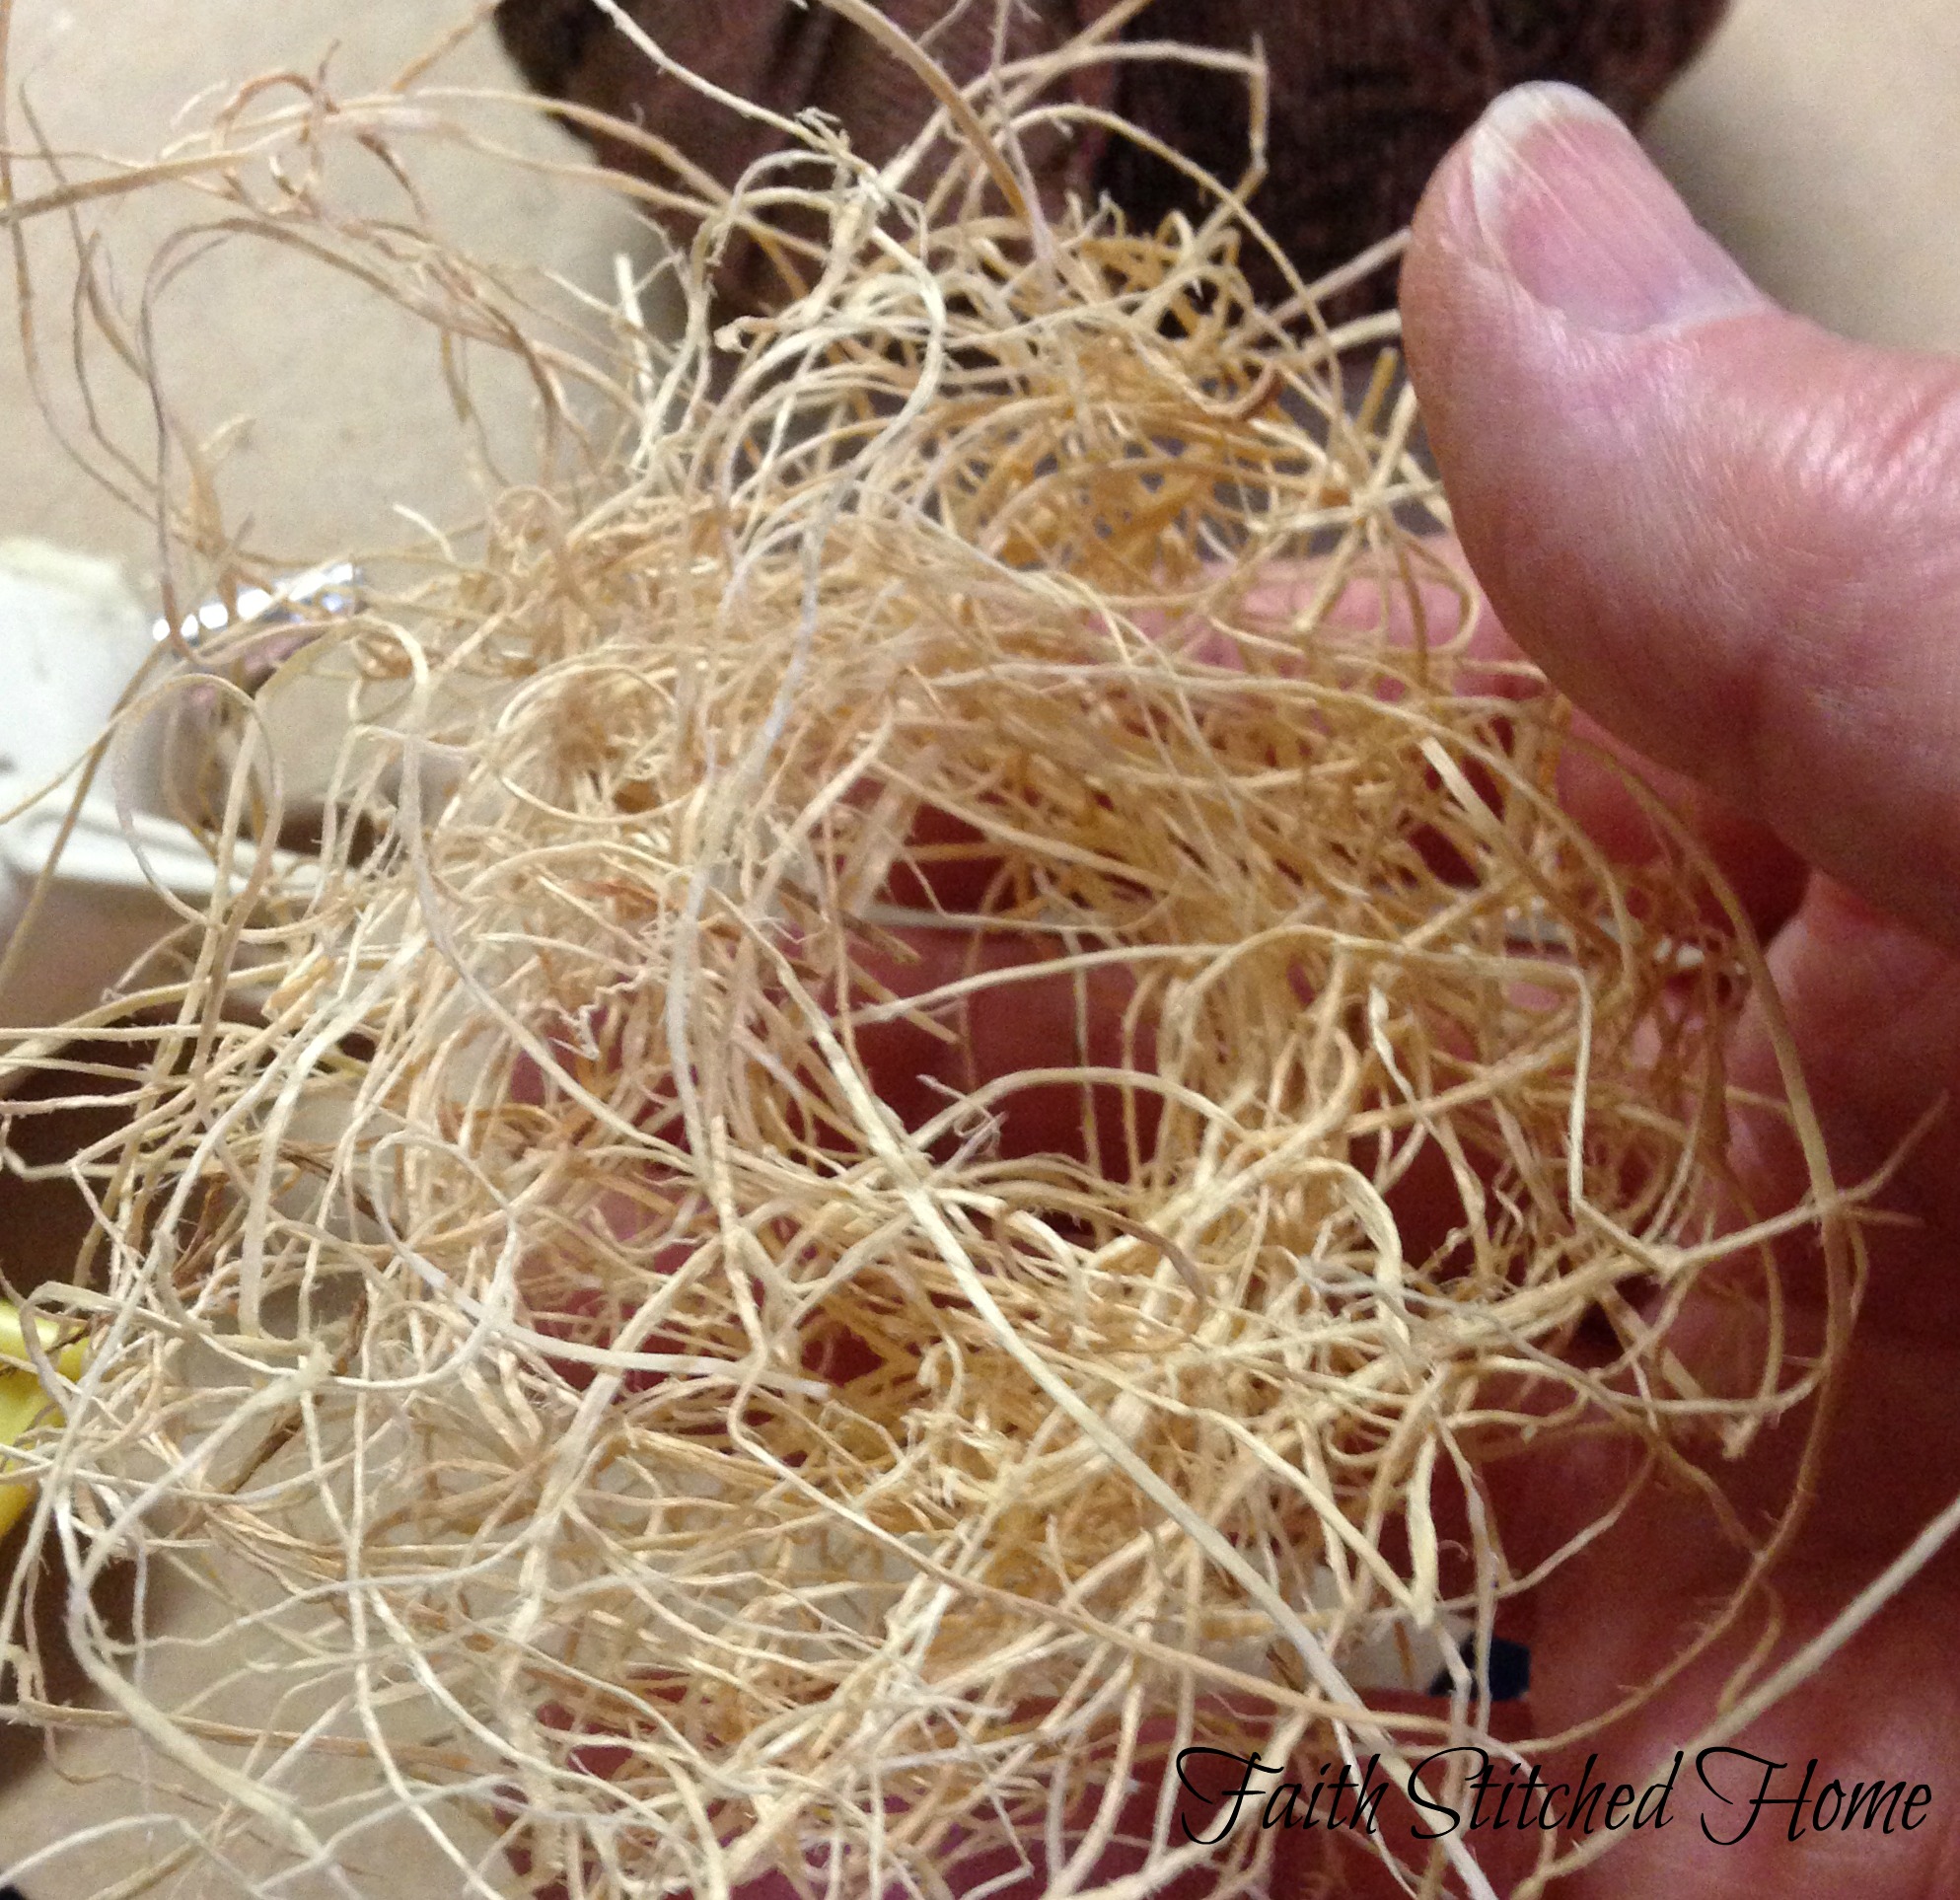
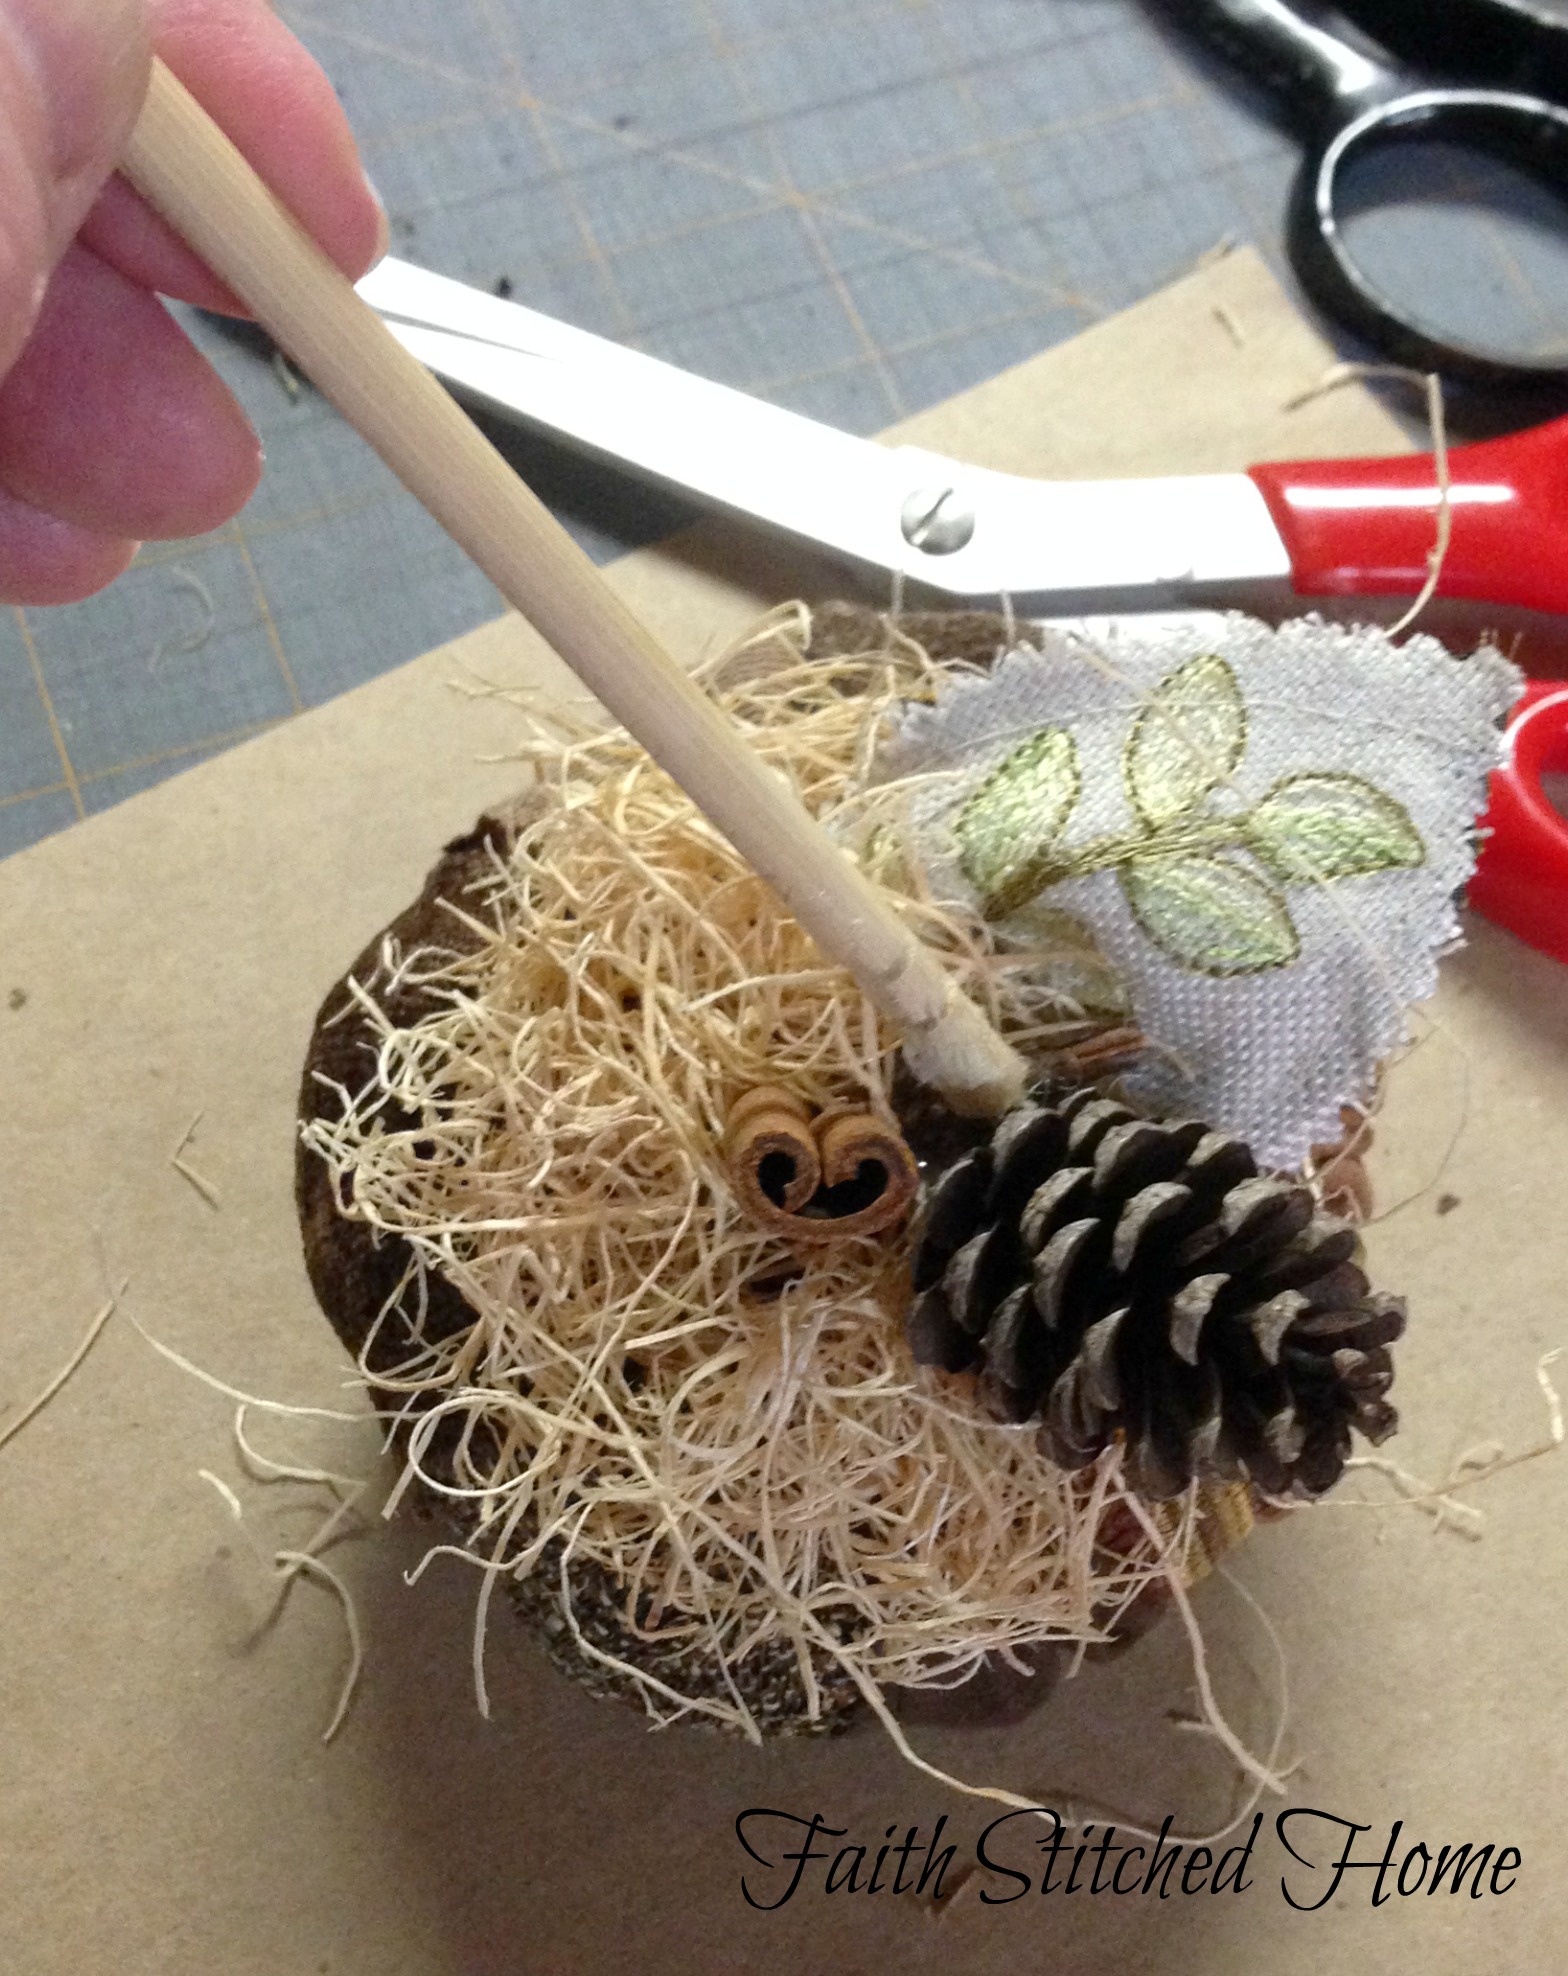
Finally, hot glue some Spanish moss, crimped paper, gathered lace, or excelsior [like I used here] around the stem and under the leaf to finish it off hiding your stitches and any stuffing that might still be visible.
I had a cute little pine cone that I glued on too for more interest.
I used one of those sticks that comes in a bag of poly-fil to hold the pine cone in place while the glue sets because I don’t want to burn my fingers. Ouch!
Here’s what the bottom looks like.
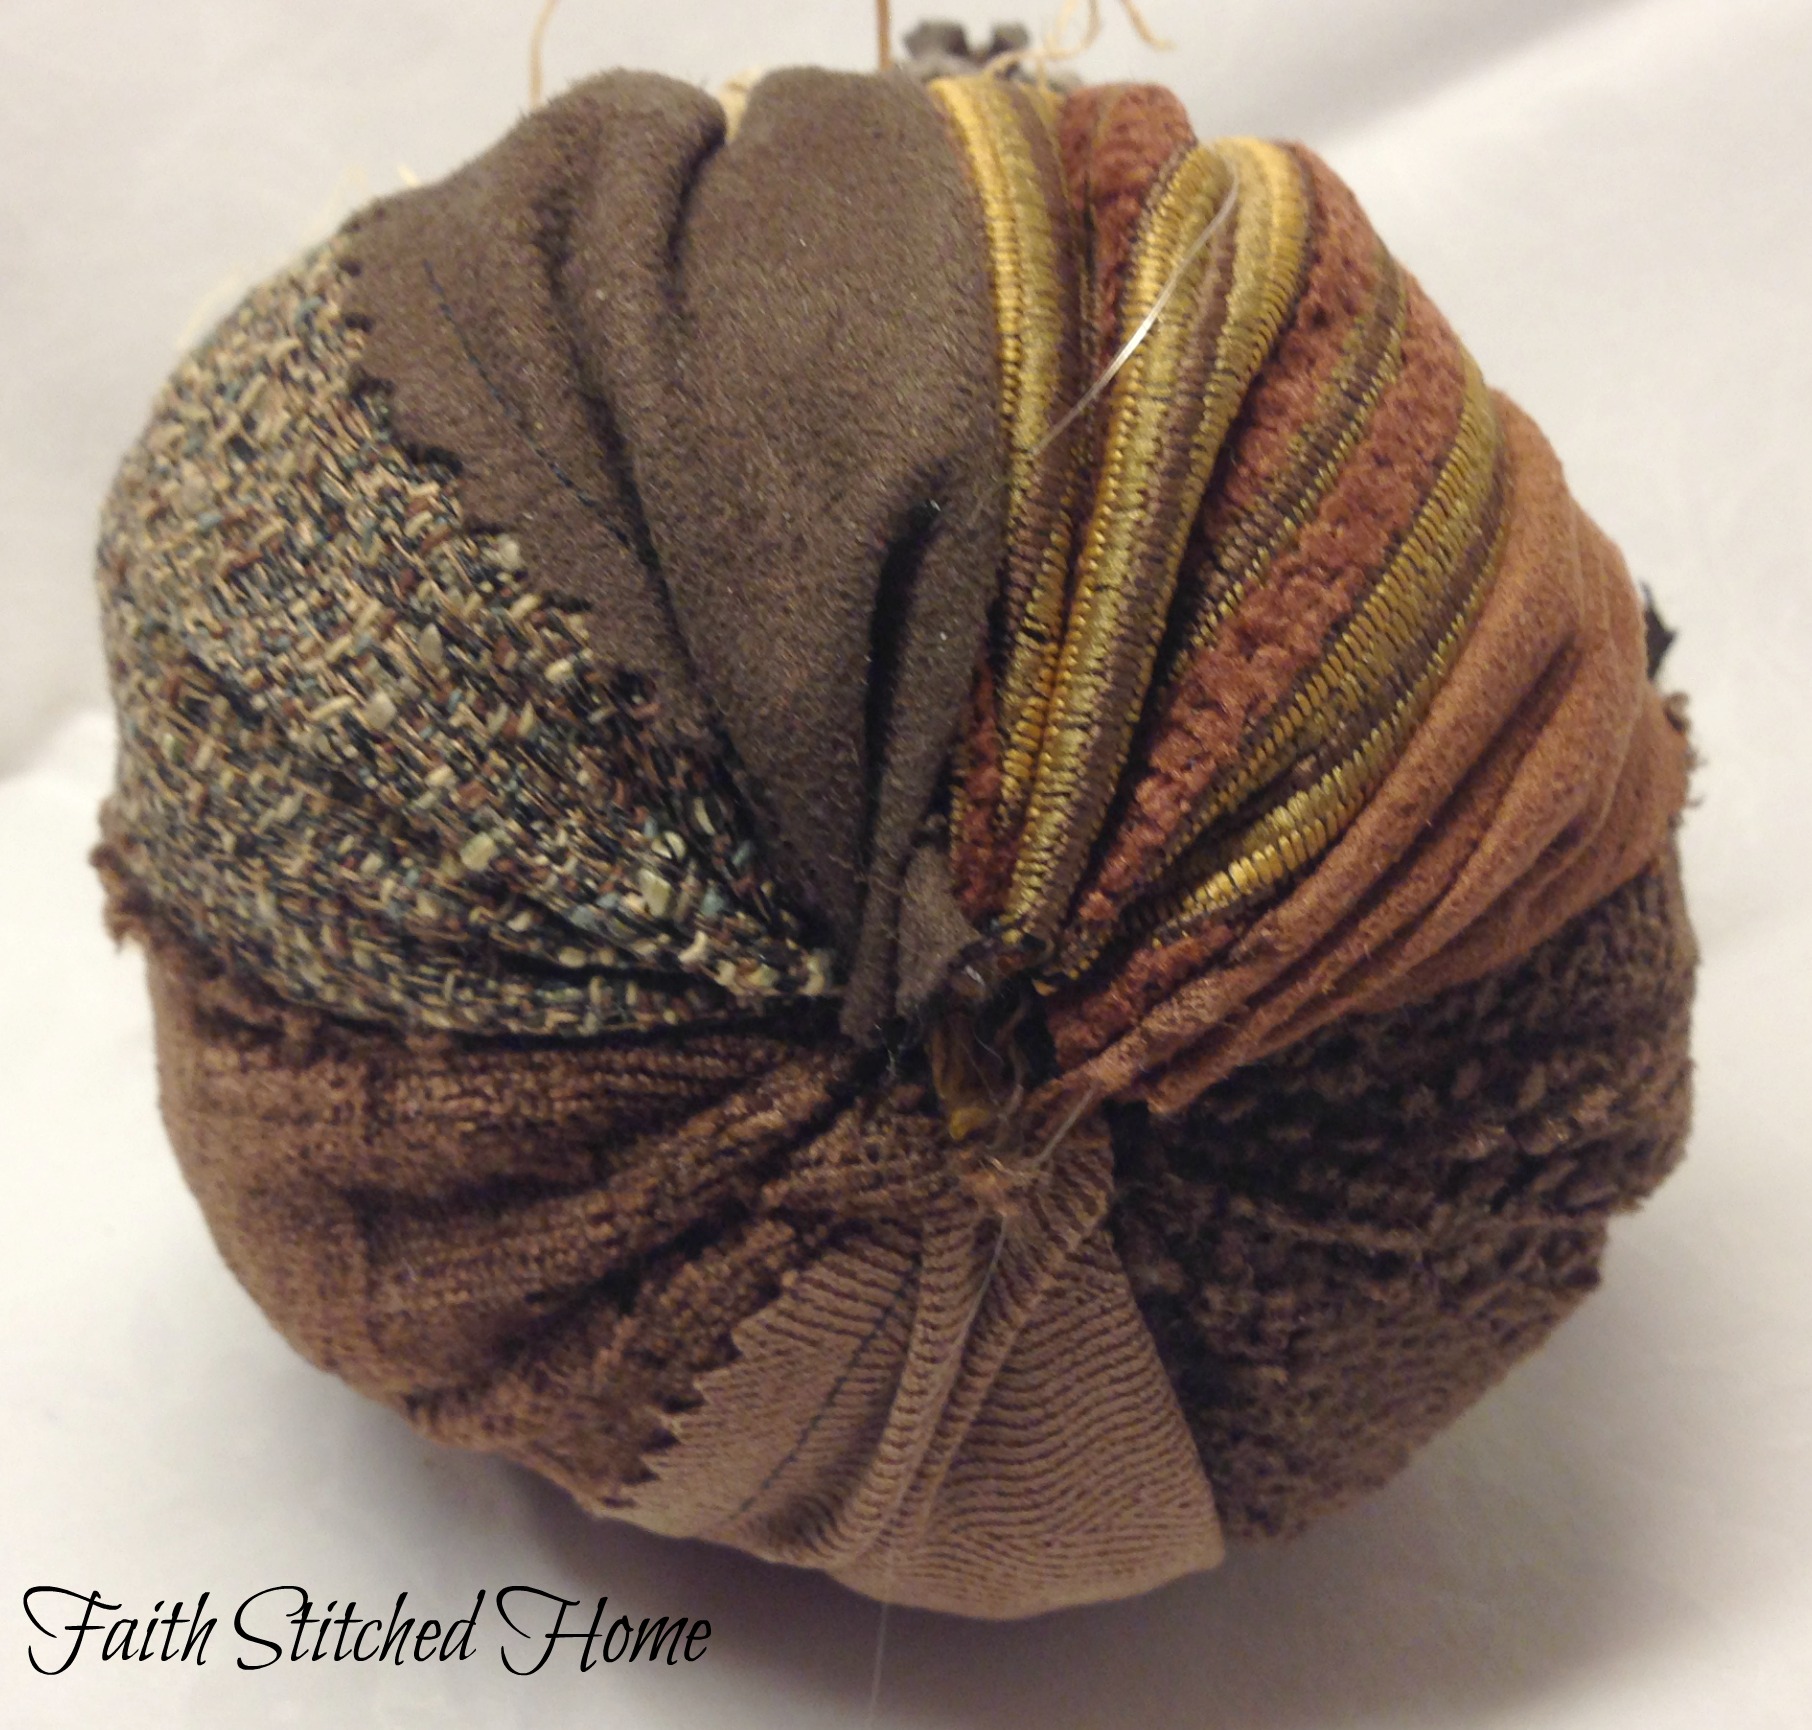
There you have it – a unique, one of a kind fabric pumpkin. No two alike!
I hope you try this great project! Let me know if you do.
xo, Faith
Leave a Reply